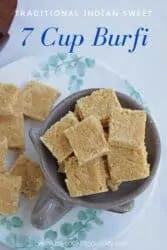
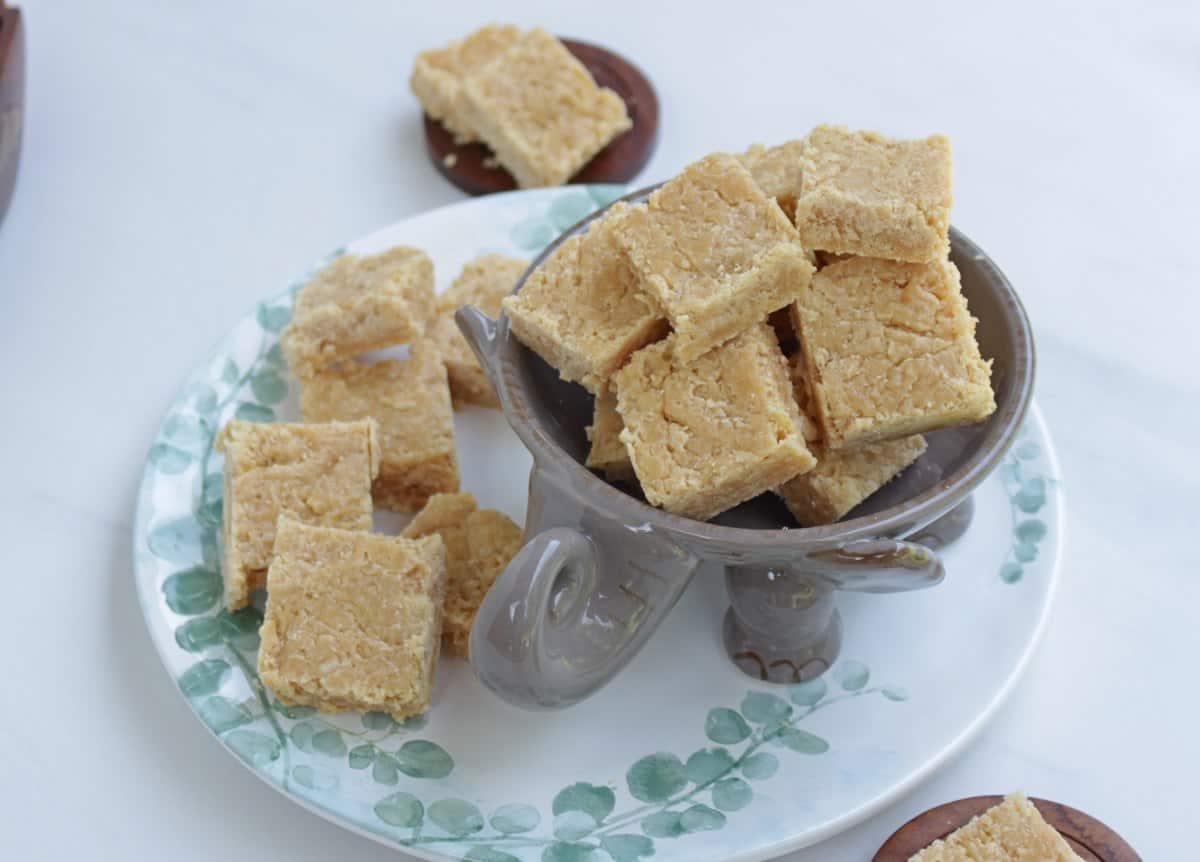
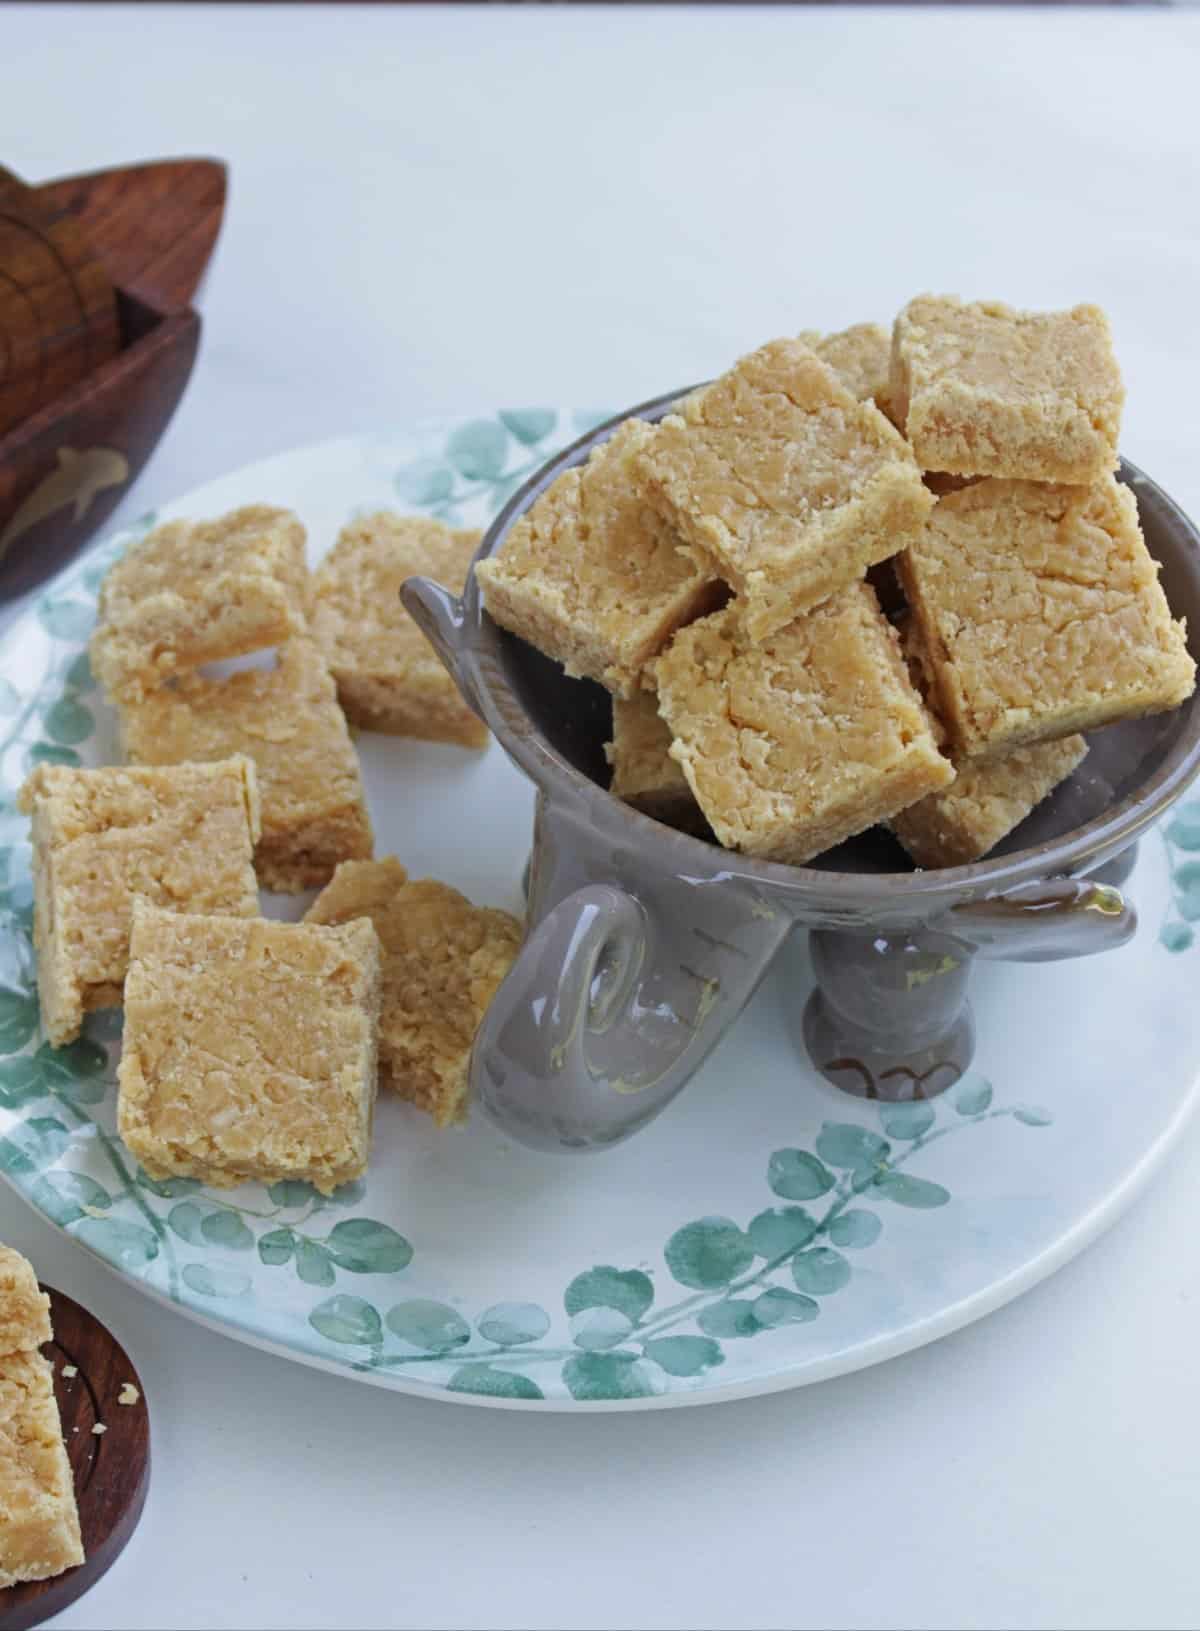
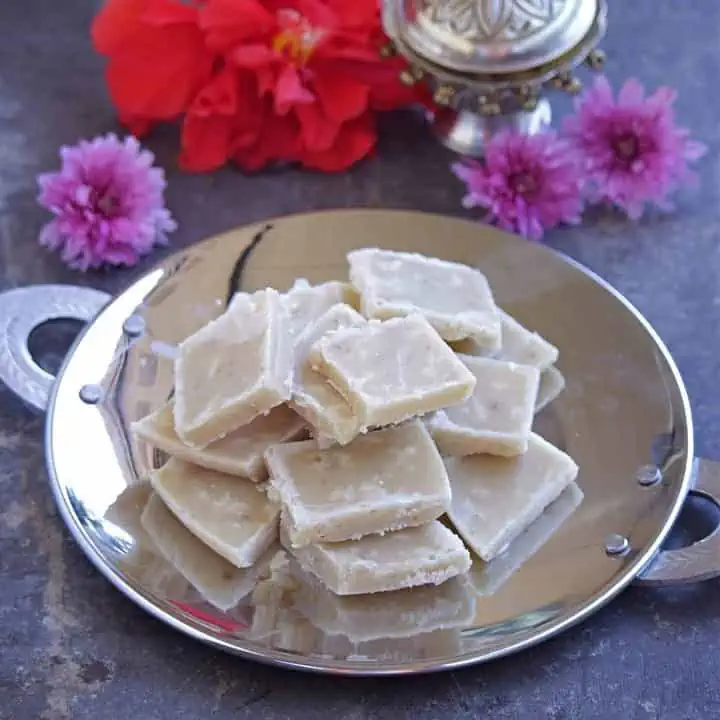
Festivals are not complete without a traditional dessert. Indian festivals revolve around food and sweets / desserts are an very important part of the celebration. This 7 cup Burfi is one of the easiest and quickest recipe we could make to distribute and enjoy with our friends and family. If this is you first time trying a burfi, then Seven Cup Burfi would have to be it. This is a starter burfi as it does not involve complicated measuring or ingredients. This recipe does not involve testing for the string consistency of the sugar syrup or even better we don’t even have to make a sugar syrup. This is literally a dump and stir dessert recipe.
What is a 7 Cup Cake
The recipe got its name for the reason that when you add the amount of ingredients added, it comes to 7. When I say I used one part of the ingredient, it means it equals the measure 1. So when adding the ingredients, make sure you use the same measure cup for all the ingredients. This 7 Cup cake can also be loosely called as Besan Burfi as we use chick pea flour / kadalai Maavu in the recipe.
Ingredients needed
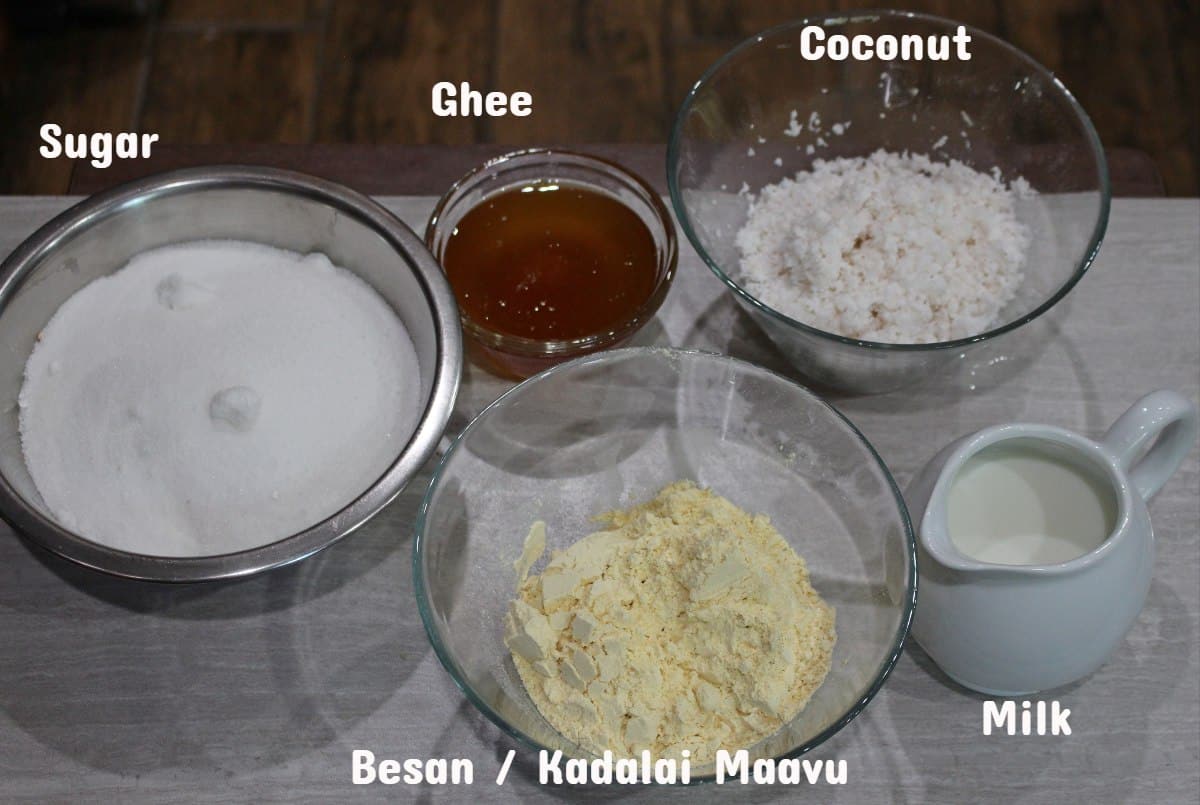
We need 5 ingredients to make this recipe.
Besan also known as Kadalai Maavu or chick pea flour. We will need one part / 1 cup of it. Sugar - We can use granulated sugar for the recipe. If you are using raw sugar, the color of the burfi might be a little darker. We will be using 3 parts. Milk - I use regular 2 % fat milk. We can use full fat milk as well. We will need 1 part of milk. Coconut - Grated fresh coconut works the best. We need 1 part / 1 cup of coconut. Ghee - we need clarified butter or ghee for the recipe. Homemade or store bought would work for the recipe. And finally we will be using 1 part of ghee.
Do the math and they would equal 7 parts / 7 cups.
Step by Step Process
Prep Work
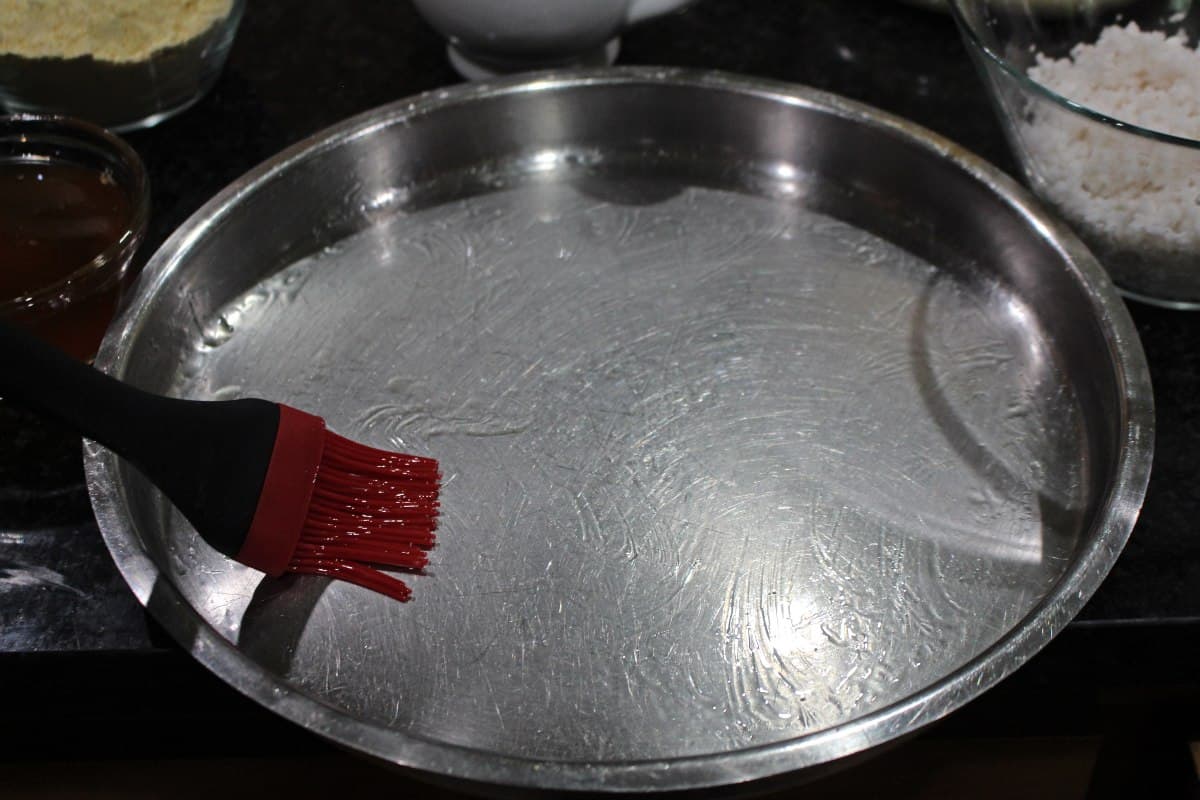
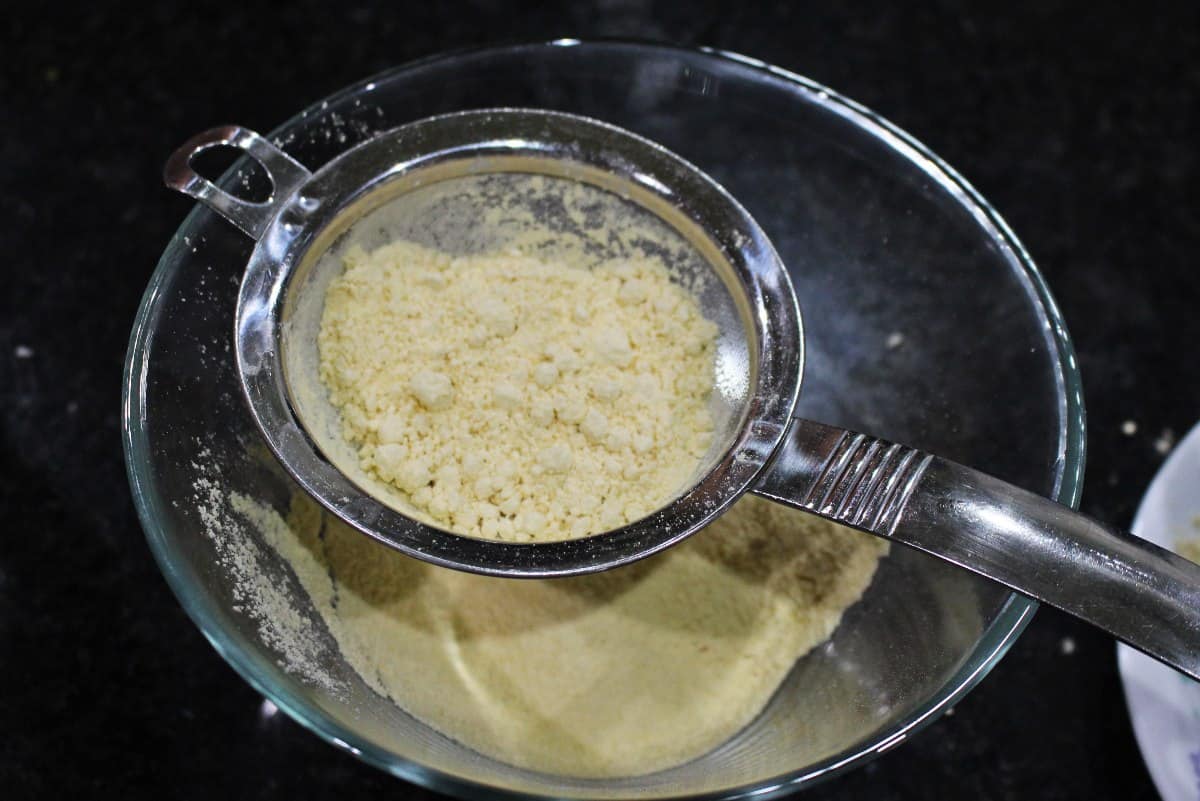
We need to have a greased plate ready to pour the prepared burfi. Also sieving the besan / kadalai maavu helps in making a smooth burfi without any lumps.
Making the Burfi
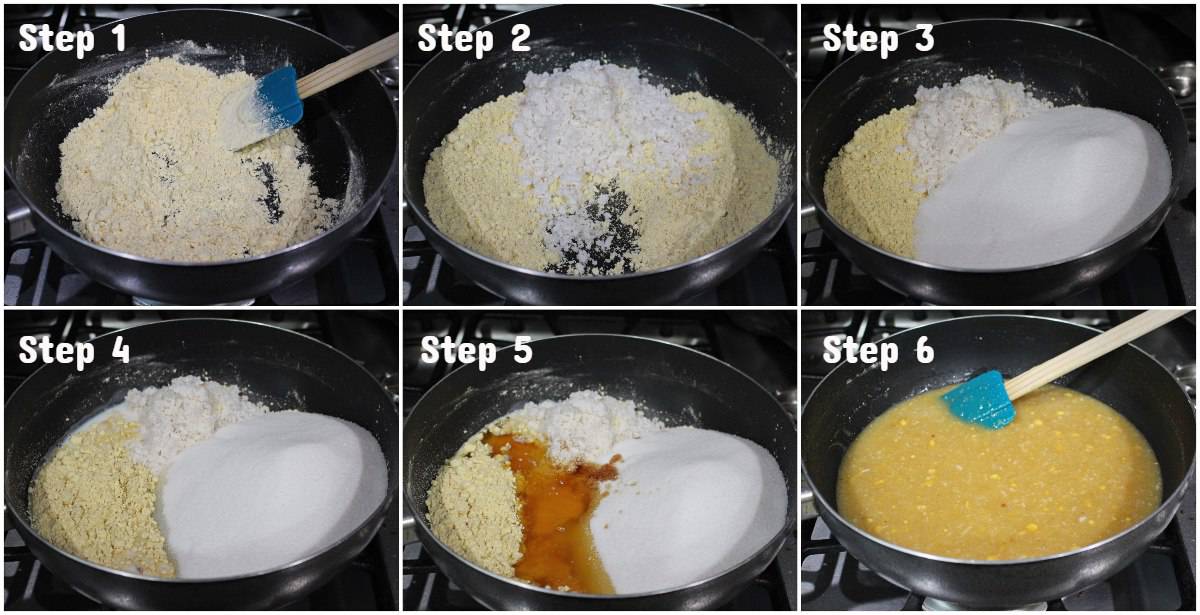
In a non stick pan, fry the besan/kadalai maavu for few minutes until the raw smell goes away and the flour starts turning aromatic. Make sure not to fry it too long and don’t let it change color. (step 1)
Add the grated coconut to roasted flour. (step 2)
Next add the entire measure of the sugar. (step 3)
And the milk. (step 4)
And lastly ghee. (step 5)
Mix everything together in low flame and you will notice that the mixture liquefies as it heats. (step 6)
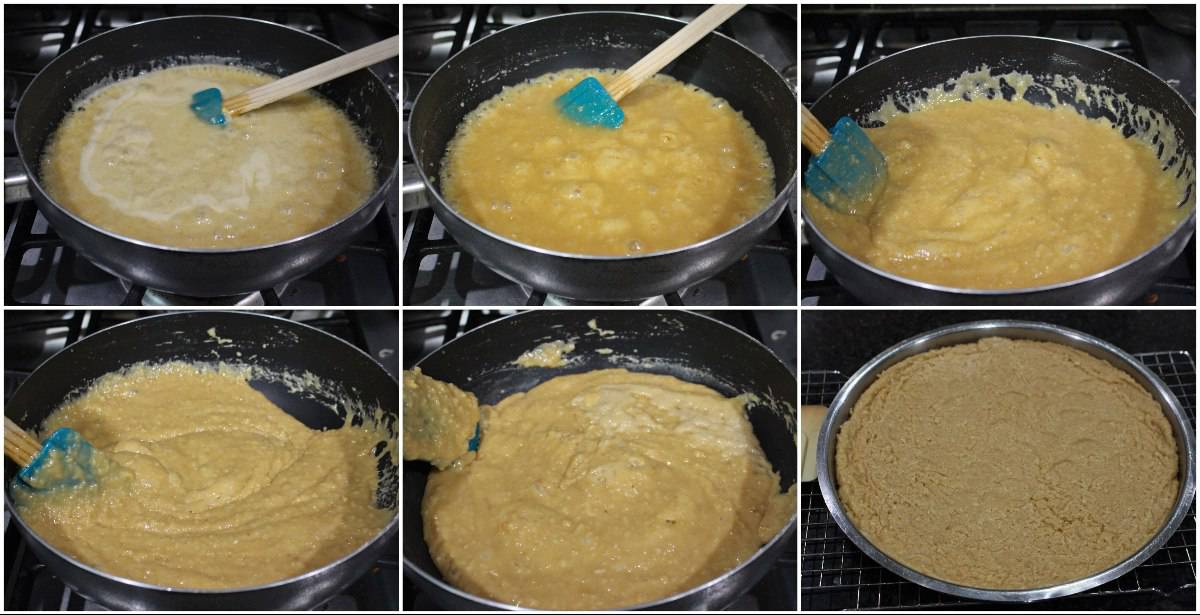
Look at the collage below to see how the 7 cup burfi cooks and forms a perfect fudge like texture at the end.
Once the mixture starts becoming foamy at the ends of the pan and the whole mixture starts to wrap around the ladle, we know it is time to pour it out into the prepared / greased plate.
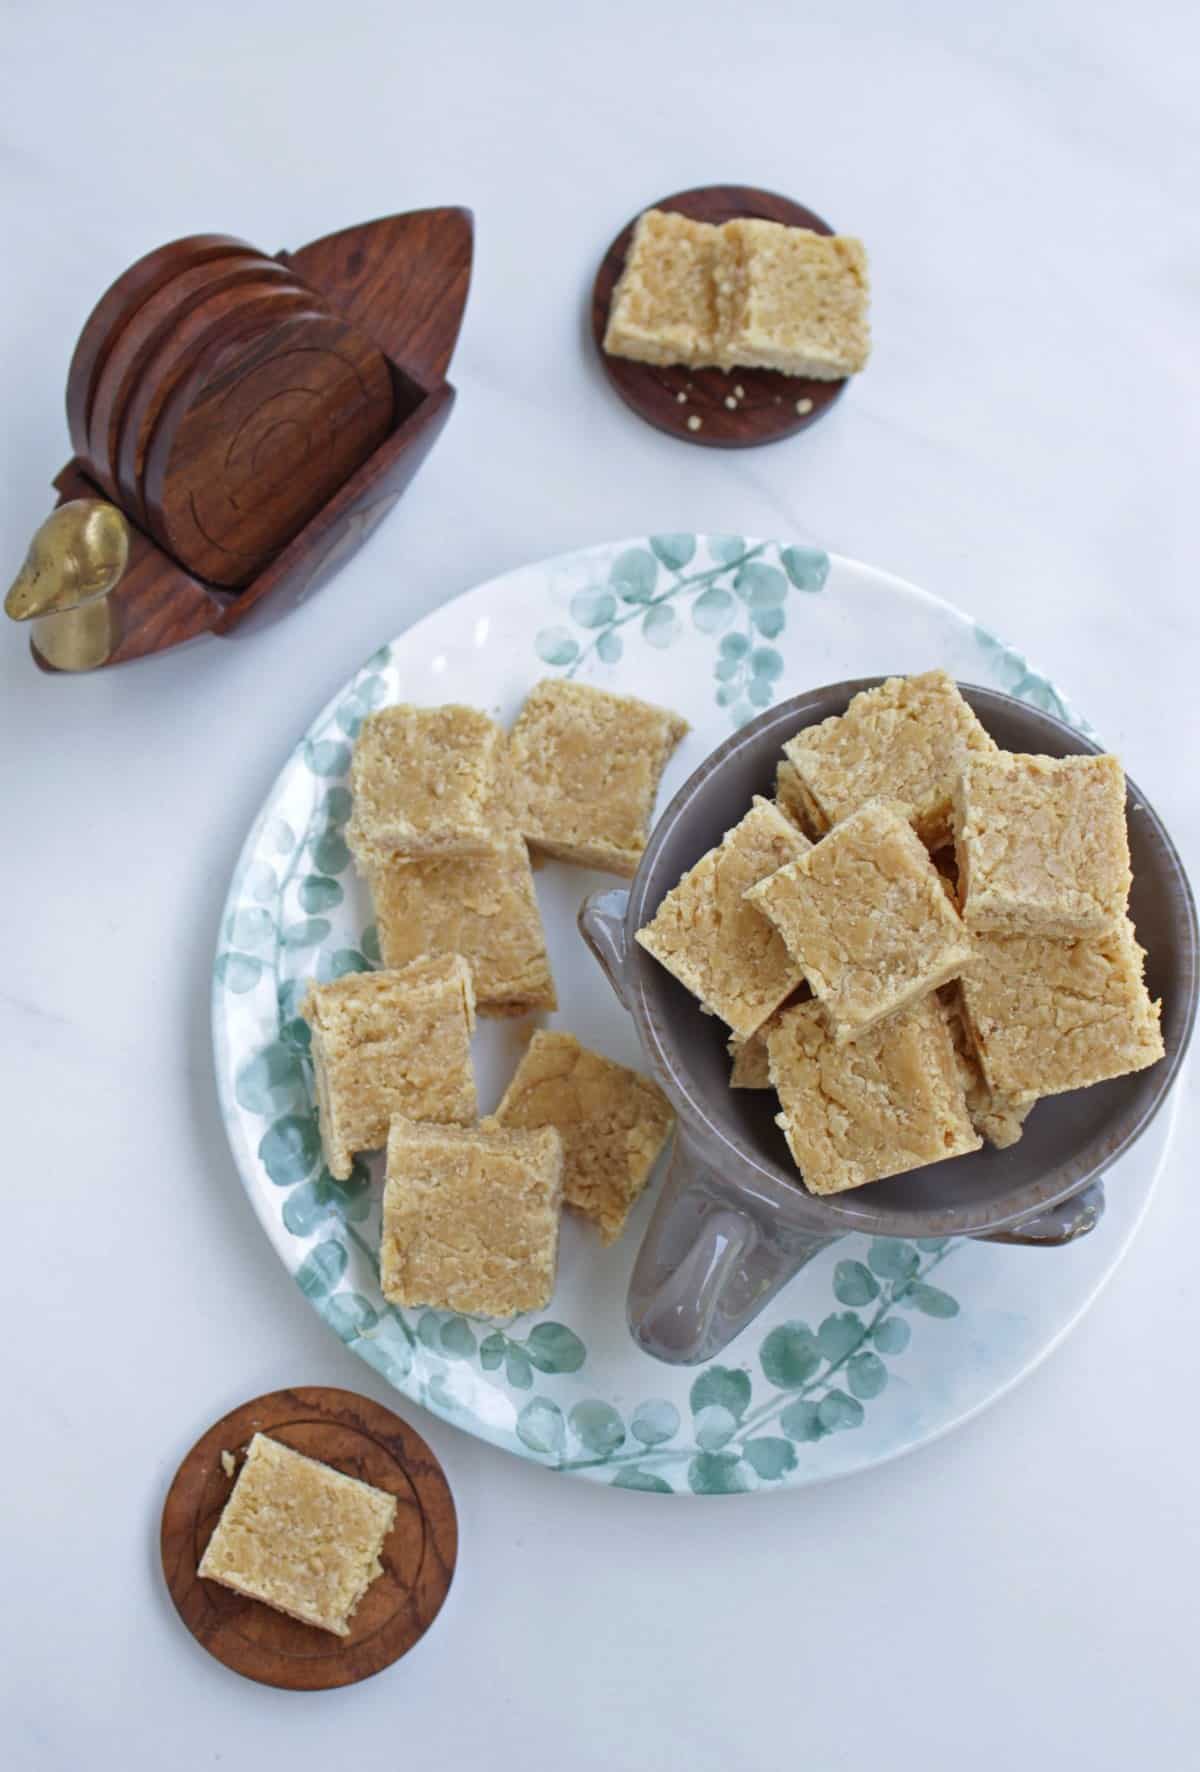
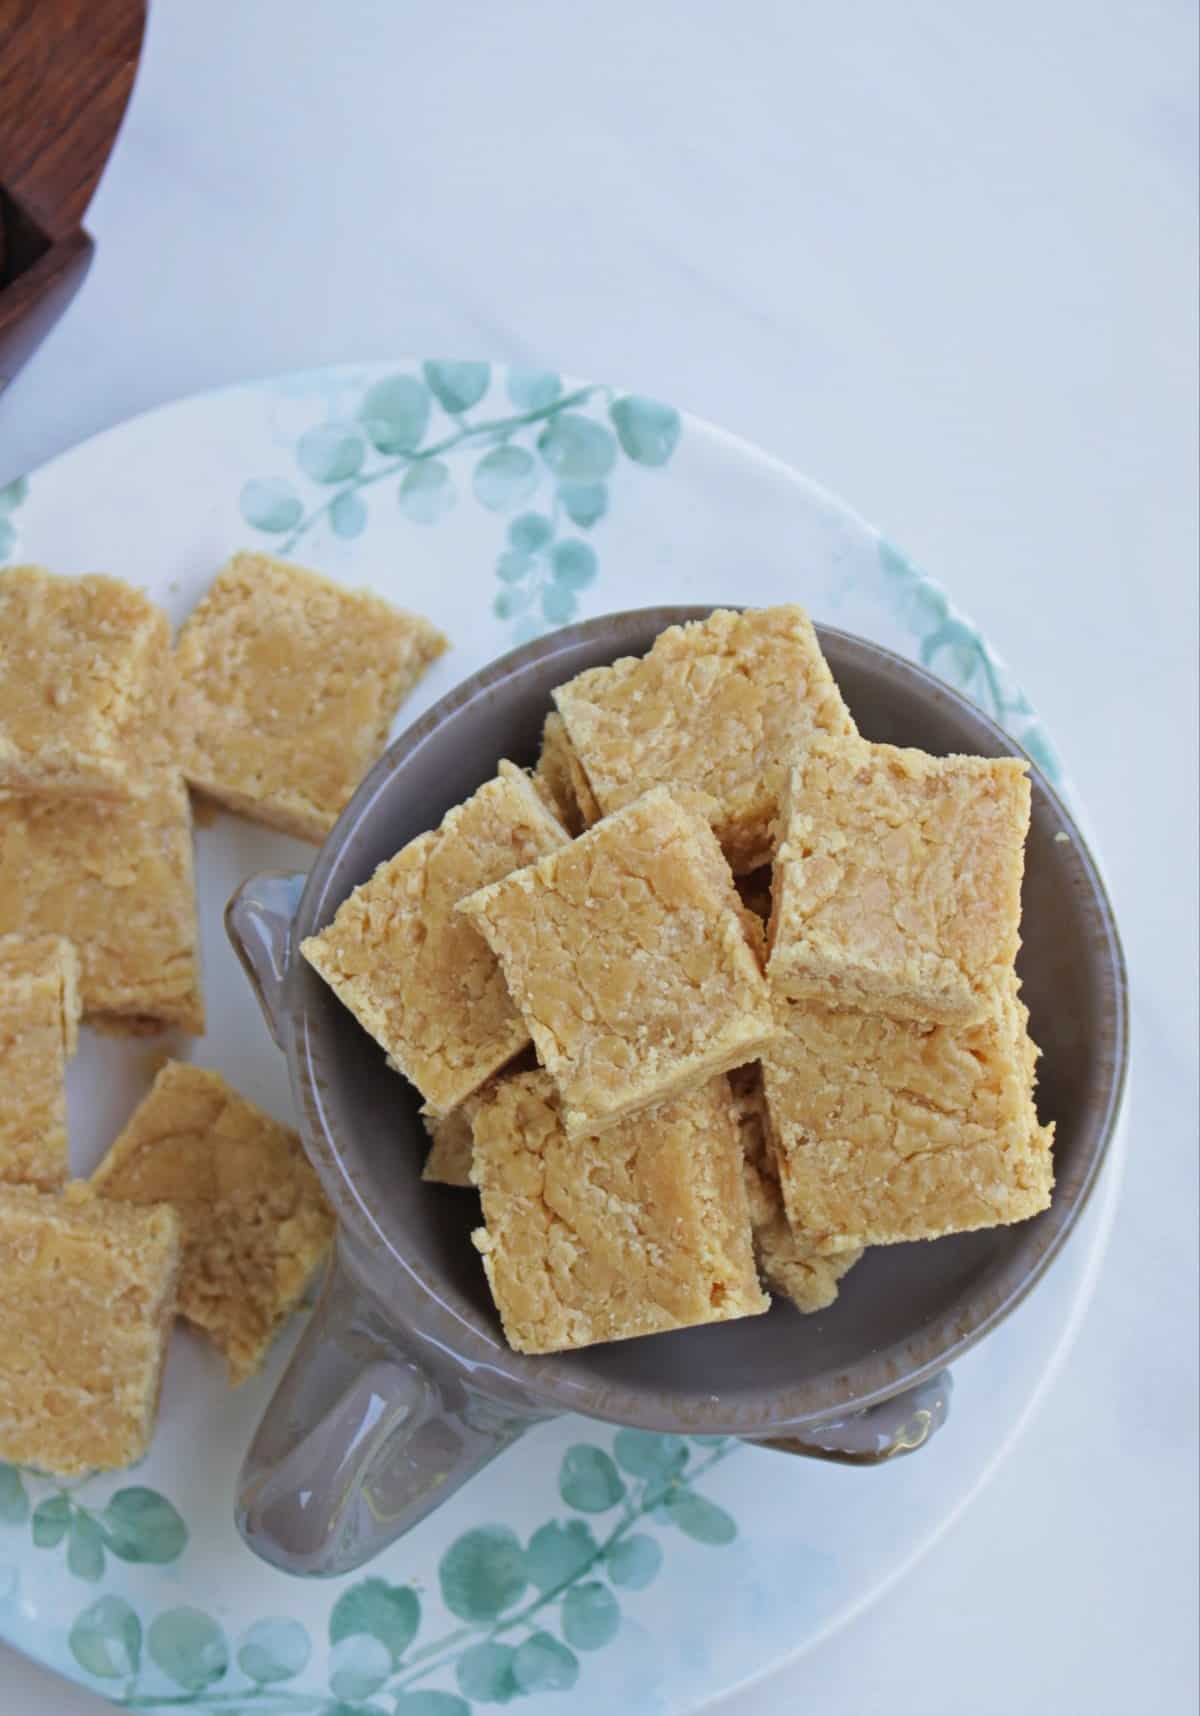
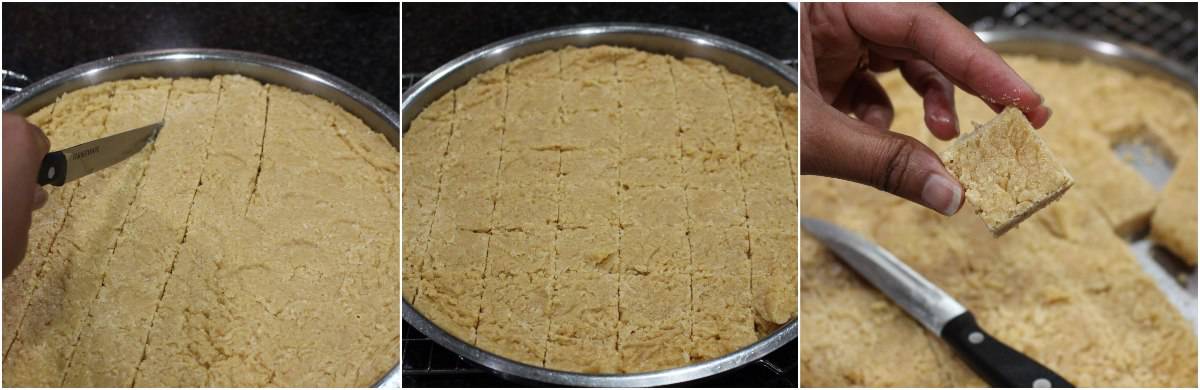
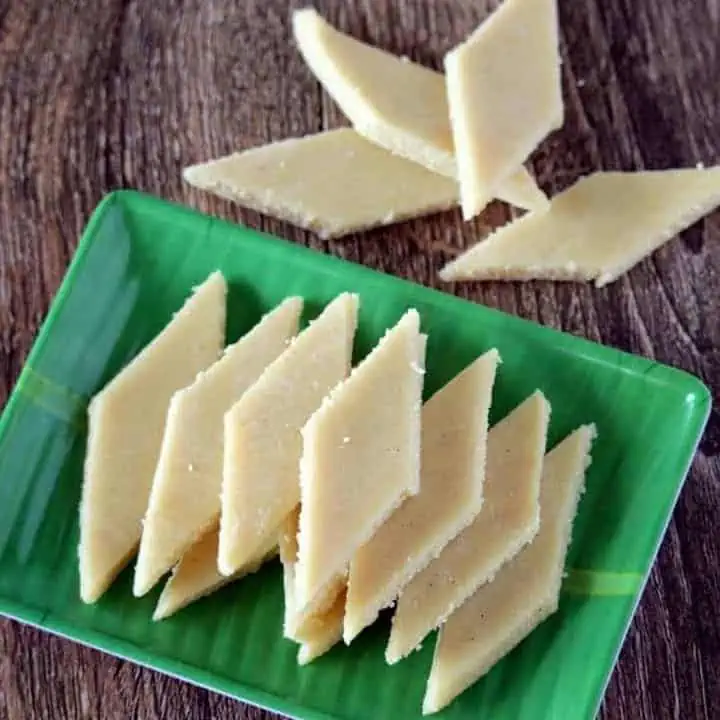
Let the 7 cup cake cool down a bit and then using a greased sharp knife, shape it into desired size pieces. I have mine at about 1 inch square piece. Let it cool further and then once completely cool, store it in an airtight container.
Frying the besan helps bring the strong smell of the raw chick peas flour down. Make sure you just fry it enough to turn pleasantly aromatic and not to let it change color.
Freshly grated coconut works the best for the recipe. If your grated coconut is larger in size, running it through a blender to grind it into a finer size. This will help in making a smoother burfi.
Ghee is very important for the flavor and texture of the burfi. I have not tried using anything else other than ghee.
Finding the end stage can be a little tricky. What helps for me is to looks for foaming and bubbling at the corners when we stir the burfi and also the frothy bubbles will be much lighter in color.
Make sure to pour the burfi out right away to the greased plate. Once it reaches the end stage, staying in a hot pan keeps cooking the burfi and it will become too hard and crumbly.
If you have to make a mistake when trying this recipe, it is saferr to cook it more than less. Less cooked burfi will be very fudgy and chewy.
More Burfi Recipes to make
If you made this recipe and liked it, give a star rating on the recipe card or let me know in the comments below. You could also share it with me on Instagram using #MyCookingJourney and tagging me @sandhya.ramakrishnan. You could follow me and my recipes on Facebook |Instagram | Pinterest | twitter
Recipe