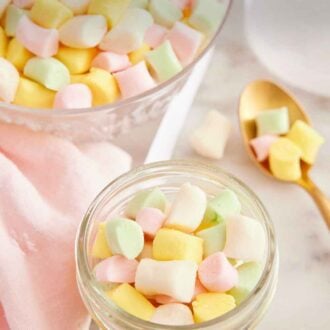
Better yet, these homemade butter mints can be tailored to fit all your special occasions. Add a few drops of food coloring to add a pretty pastel hue for baby showers, leave them white for elegant wedding showers or bridal showers, or mold them into lots of fun, different shapes for a child’s birthday party. They also make a great gift during the holiday season! For more easy homemade candy recipes, try my homemade fudge recipe, Turtles Recipe, or cream cheese mints recipe next!
What You Need To Make This Recipe
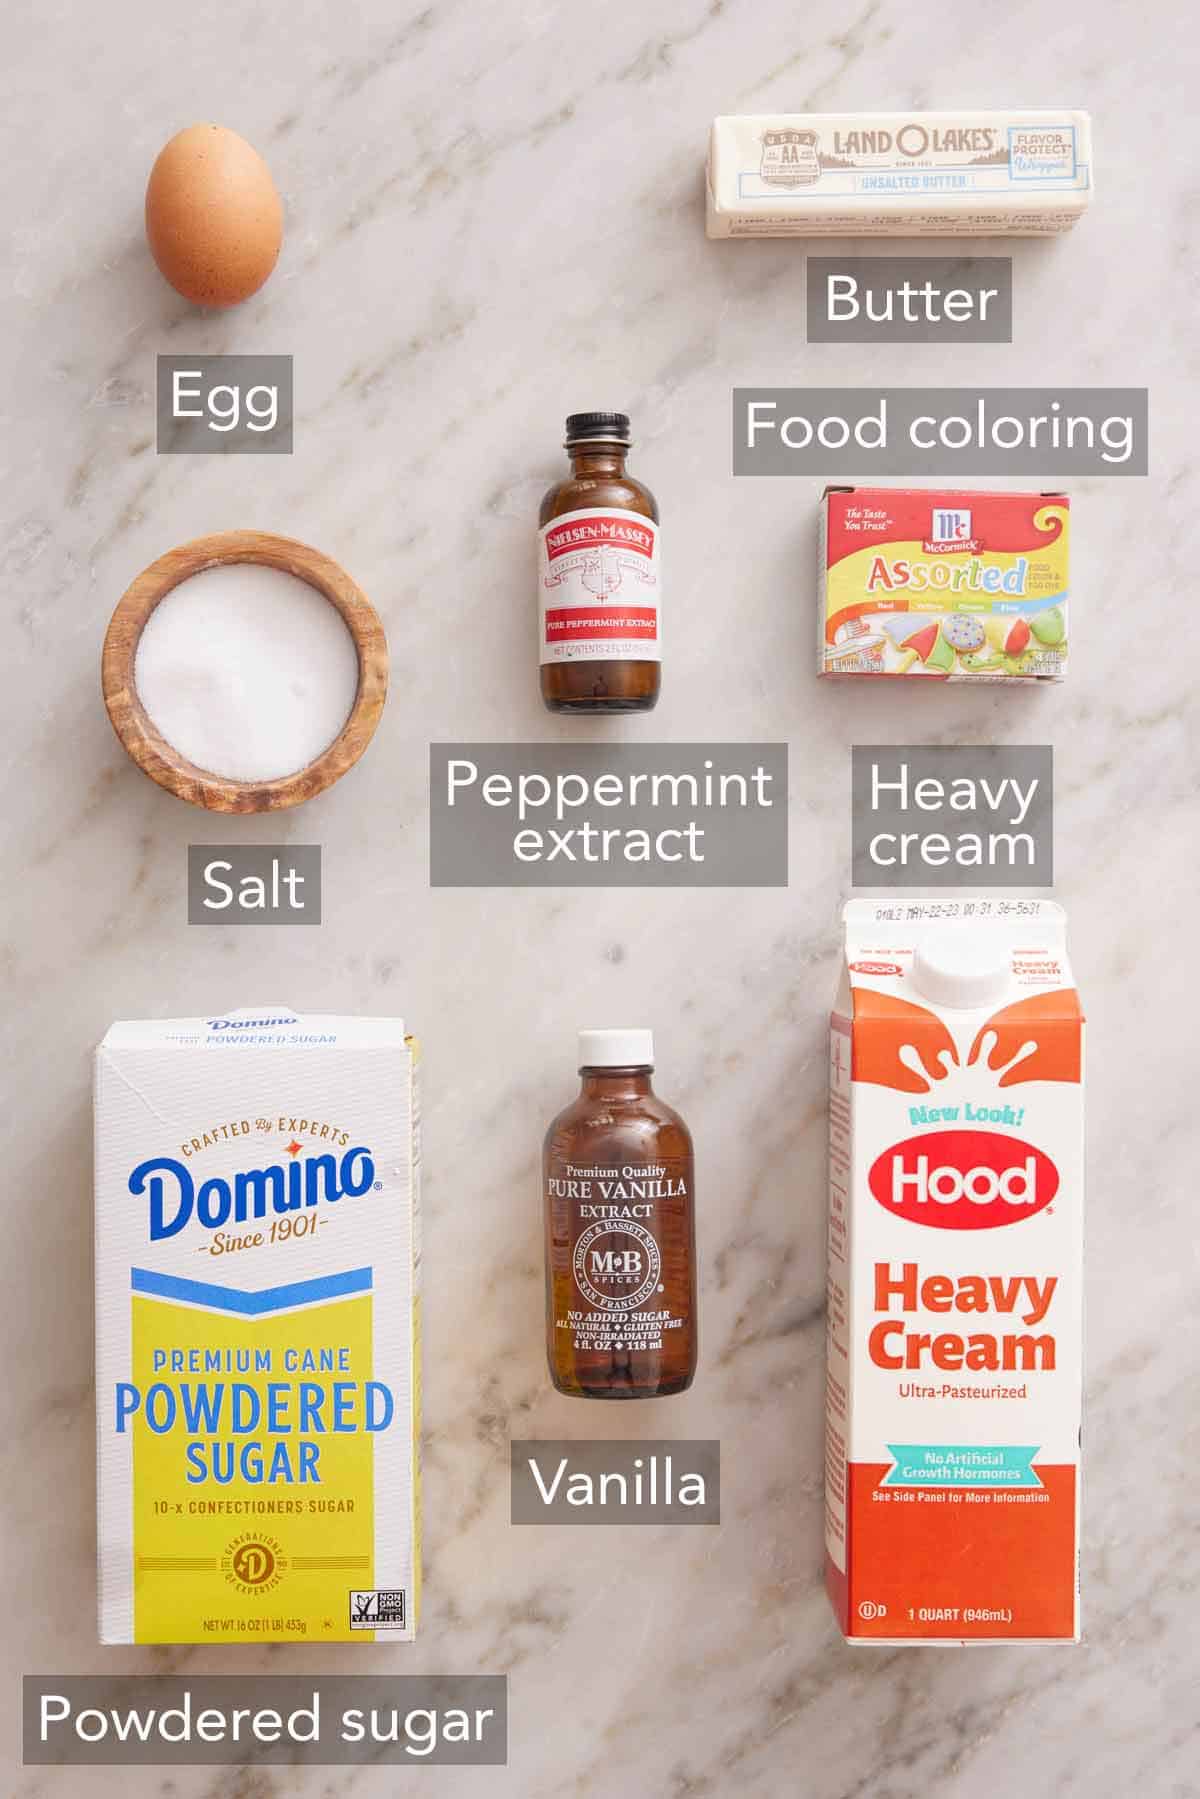
Unsalted butter & salt — starting with unsalted butter and adding salt to taste is the ticket here to the best balance of flavor. Powdered sugar — also called confectioners’ sugar, this sweetener is essential for crafting the perfect butter cream mints. If you’re fresh out, make your own by blitzing a ratio of 1 cup granulated sugar with 1 tablespoon of cornstarch or potato starch in a food processor. Heavy cream — for adding an extra layer of richness. In a pinch, you can use slightly lower-fat whipping cream instead. Vanilla extract & peppermint extract — vanilla adds an aromatic warmth while peppermint brings the cool freshness. Feel free to adjust how much peppermint you use to fit your taste preferences. You are also welcome to use pure, food-grade peppermint oil or edible essential oil, but start with just a drop or two; it’s potent! Food coloring — while technically optional, food coloring is an excellent way to customize your treats. If you prefer a more vibrant tone, I suggest using gel food coloring over liquid.
How To Make Butter Mints
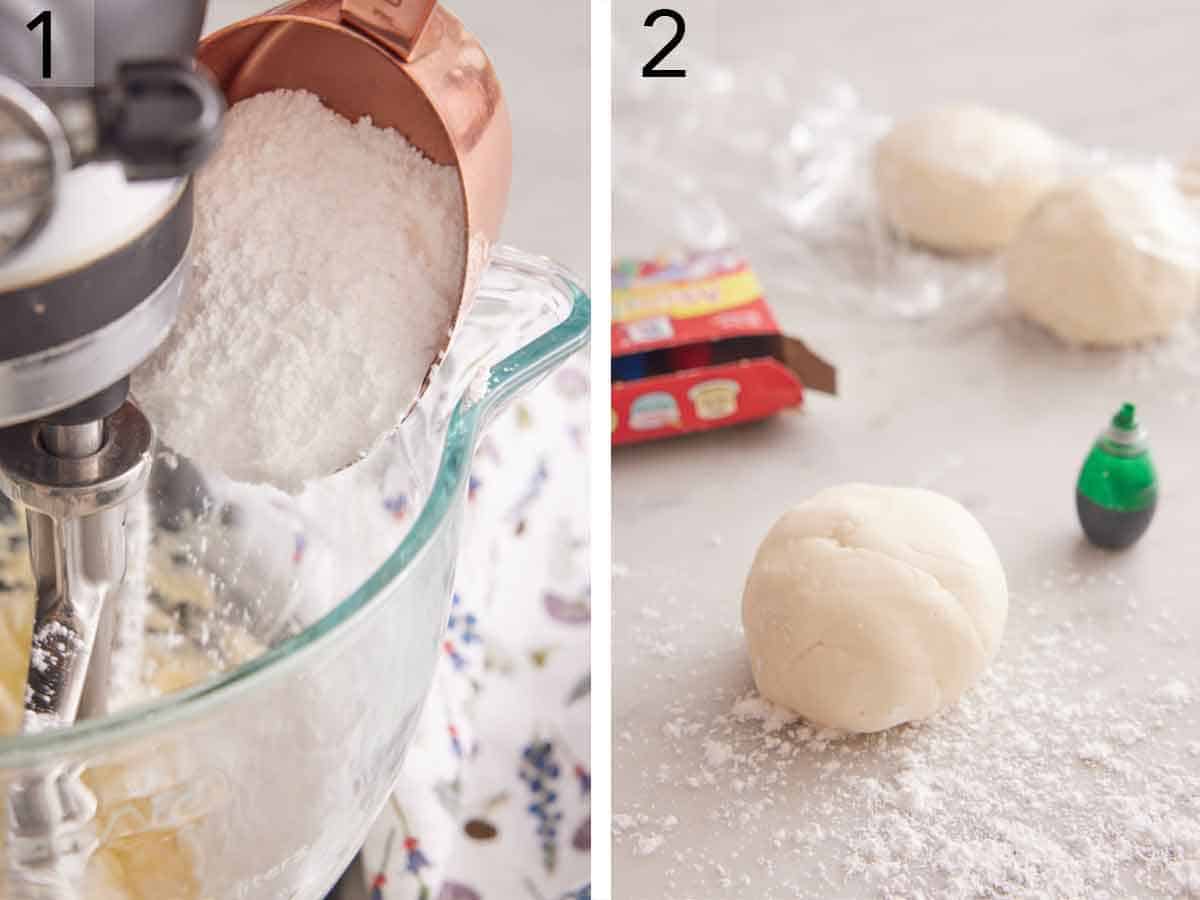
- In the bowl of a stand mixer fitted with the paddle attachment, beat the butter and salt on medium speed until creamy. (You can also use an electric hand mixer.) Add 3½ cups of powdered sugar, cream, vanilla, and peppermint extract (more will yield a stronger mint flavor). Mix on low speed until the sugar is incorporated, about 1 minute. Stop and scrape down the sides of the bowl. If the mixture feels sticky, mix in the remaining ½ cup powdered sugar. Increase the speed to medium-low and mix until smooth, about 15 to 30 seconds.
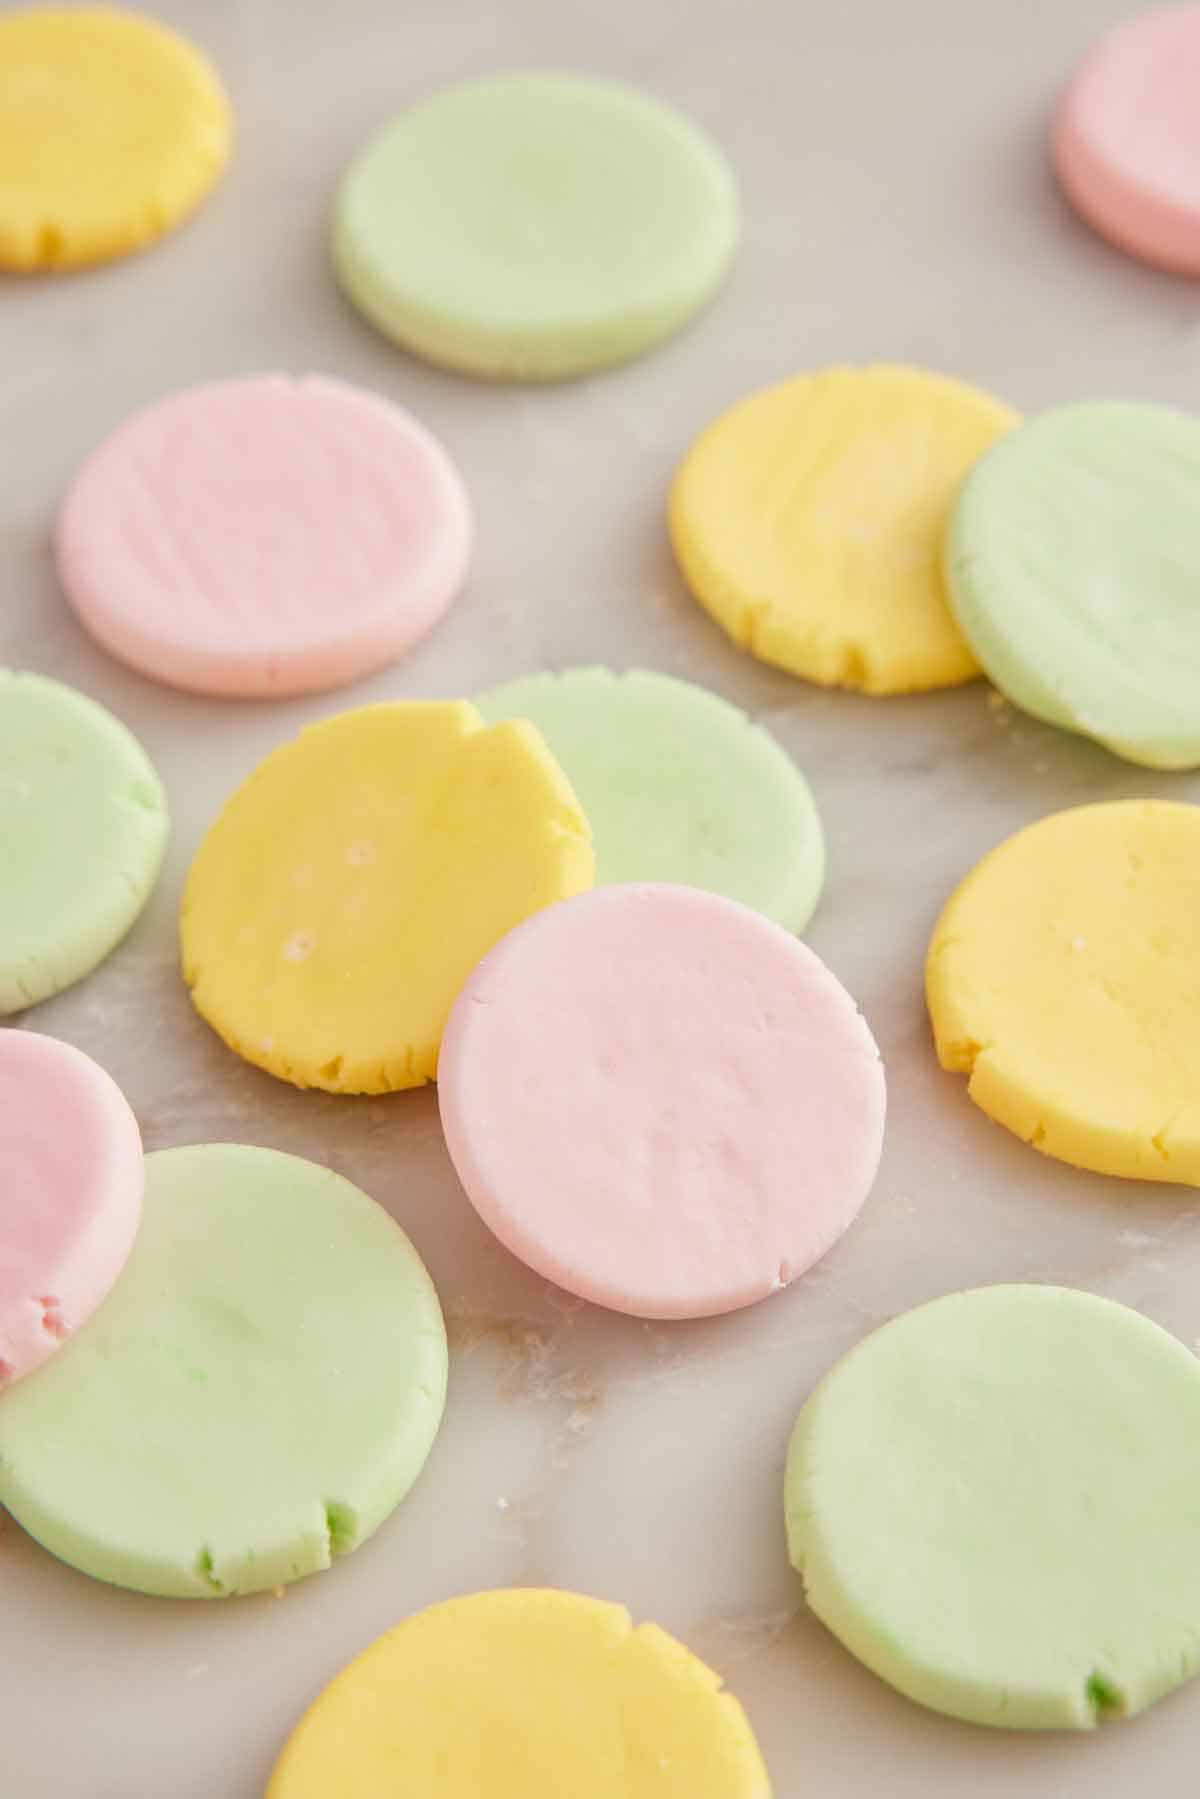
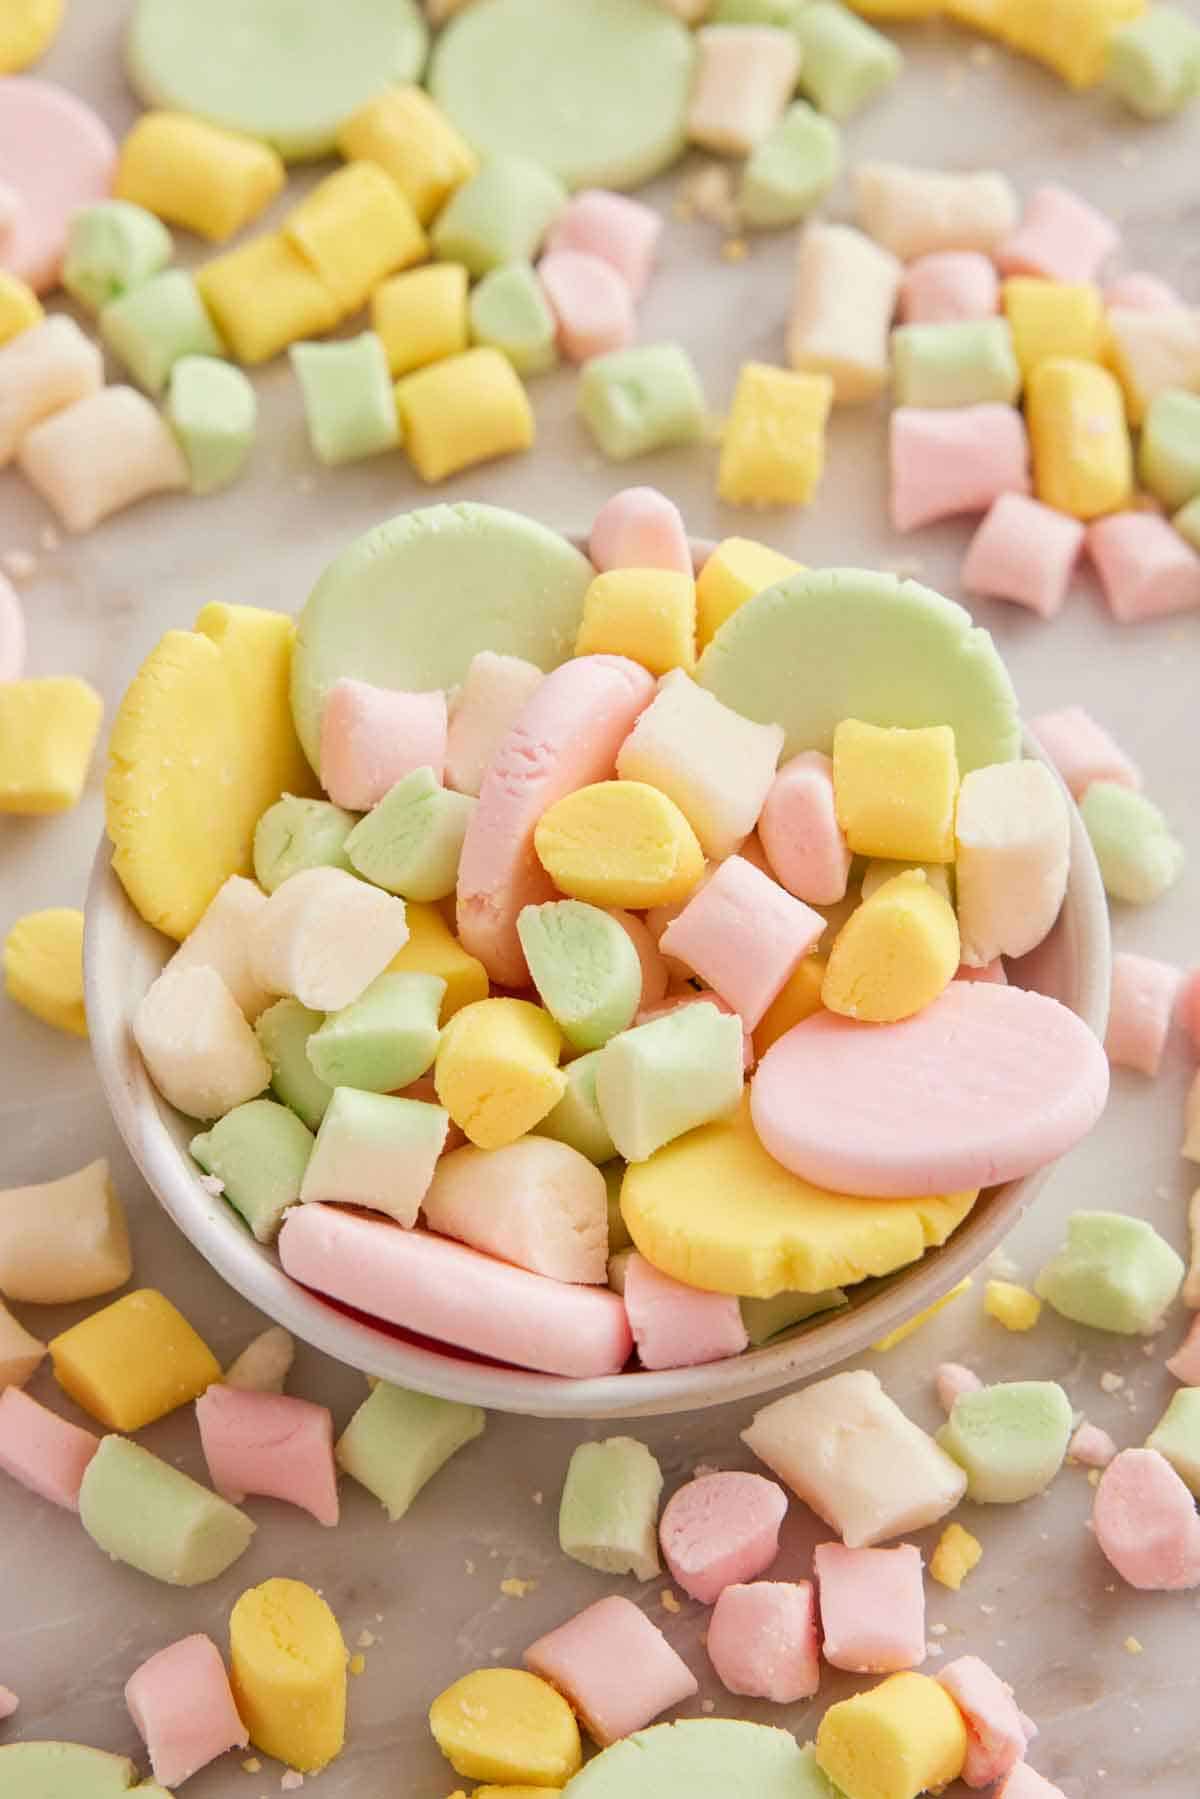
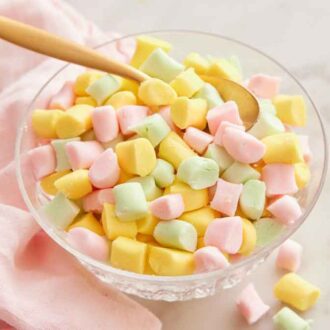
- You are welcome to leave the wedding mints white. However, to color the butter mint dough, dust a smooth work surface with powdered sugar. Divide the candy into equal portions (I did thirds for three colors). Keep one portion out and wrap the others in plastic wrap. Add a drop or two of food coloring to the candy and knead until evenly dyed. Wrap the dyed candy and continue with the other portions.
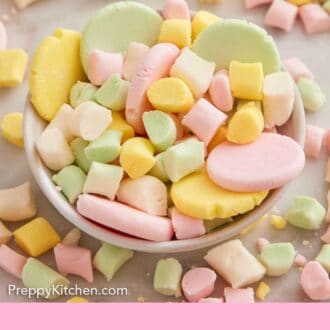
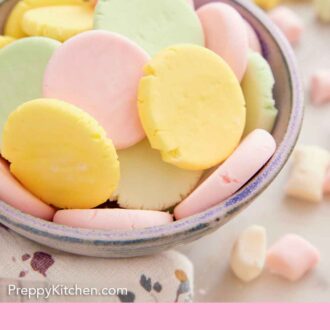
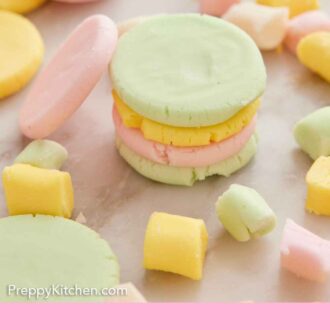
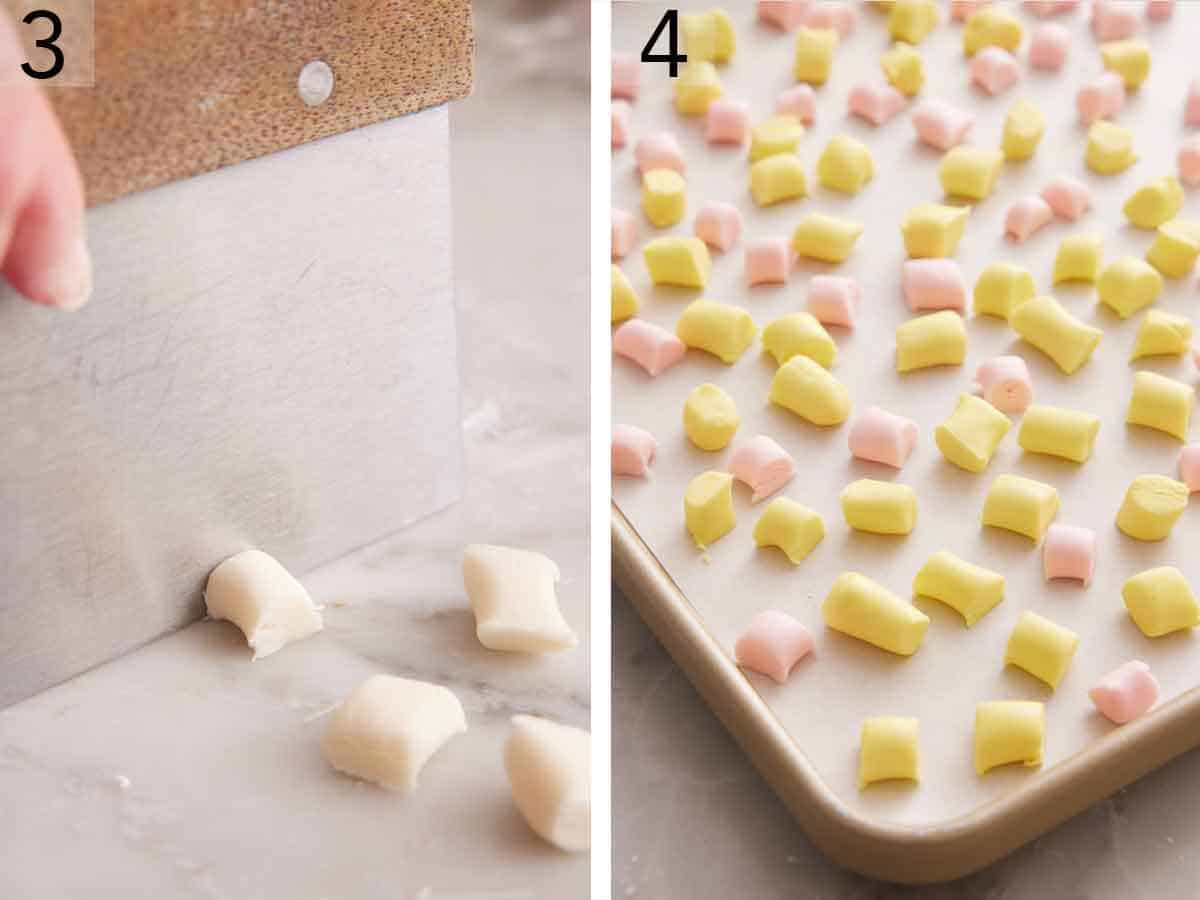
- Roll each portion into a ½-inch-thick rope. Using a knife or bench scraper, cut the rope into bite-sized pieces. You can also roll the dough into little balls and press them into flat disks.
- Place the candies in a single layer on a large baking sheet and air dry for 12 to 24 hours. Store in an airtight container for up to 1 month.
Pro Tips For Making This Recipe
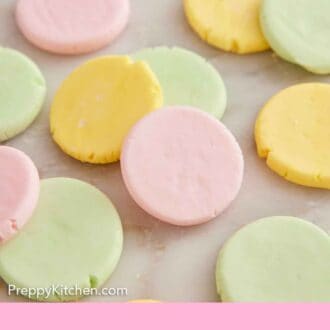
Color at will. I used pink, green, and yellow gel food colorings for my candies, but have fun with the colors and dye them however you wish! Use a good brand of peppermint extract or oil. Cheaper extracts can have an unpleasant or bitter flavor. My preferred brands are Nelisen-Massey or Simply Organics. Don’t rush the drying process. Allow the mints to dry overnight to give them time to firm up and reach the perfect melt-in-your-mouth consistency we’re aiming for. You can leave them to dry for long, about 72 hours, for crisp, melt-in-your-mouth mints.
If you’ve tried this Butter Mints recipe, then don’t forget to rate the recipe and let me know how you got on in the comments below, I love hearing from you!