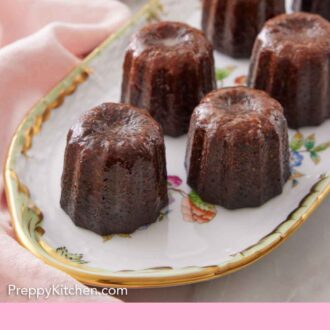
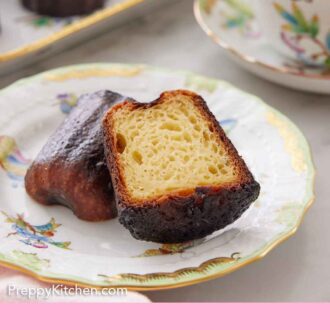
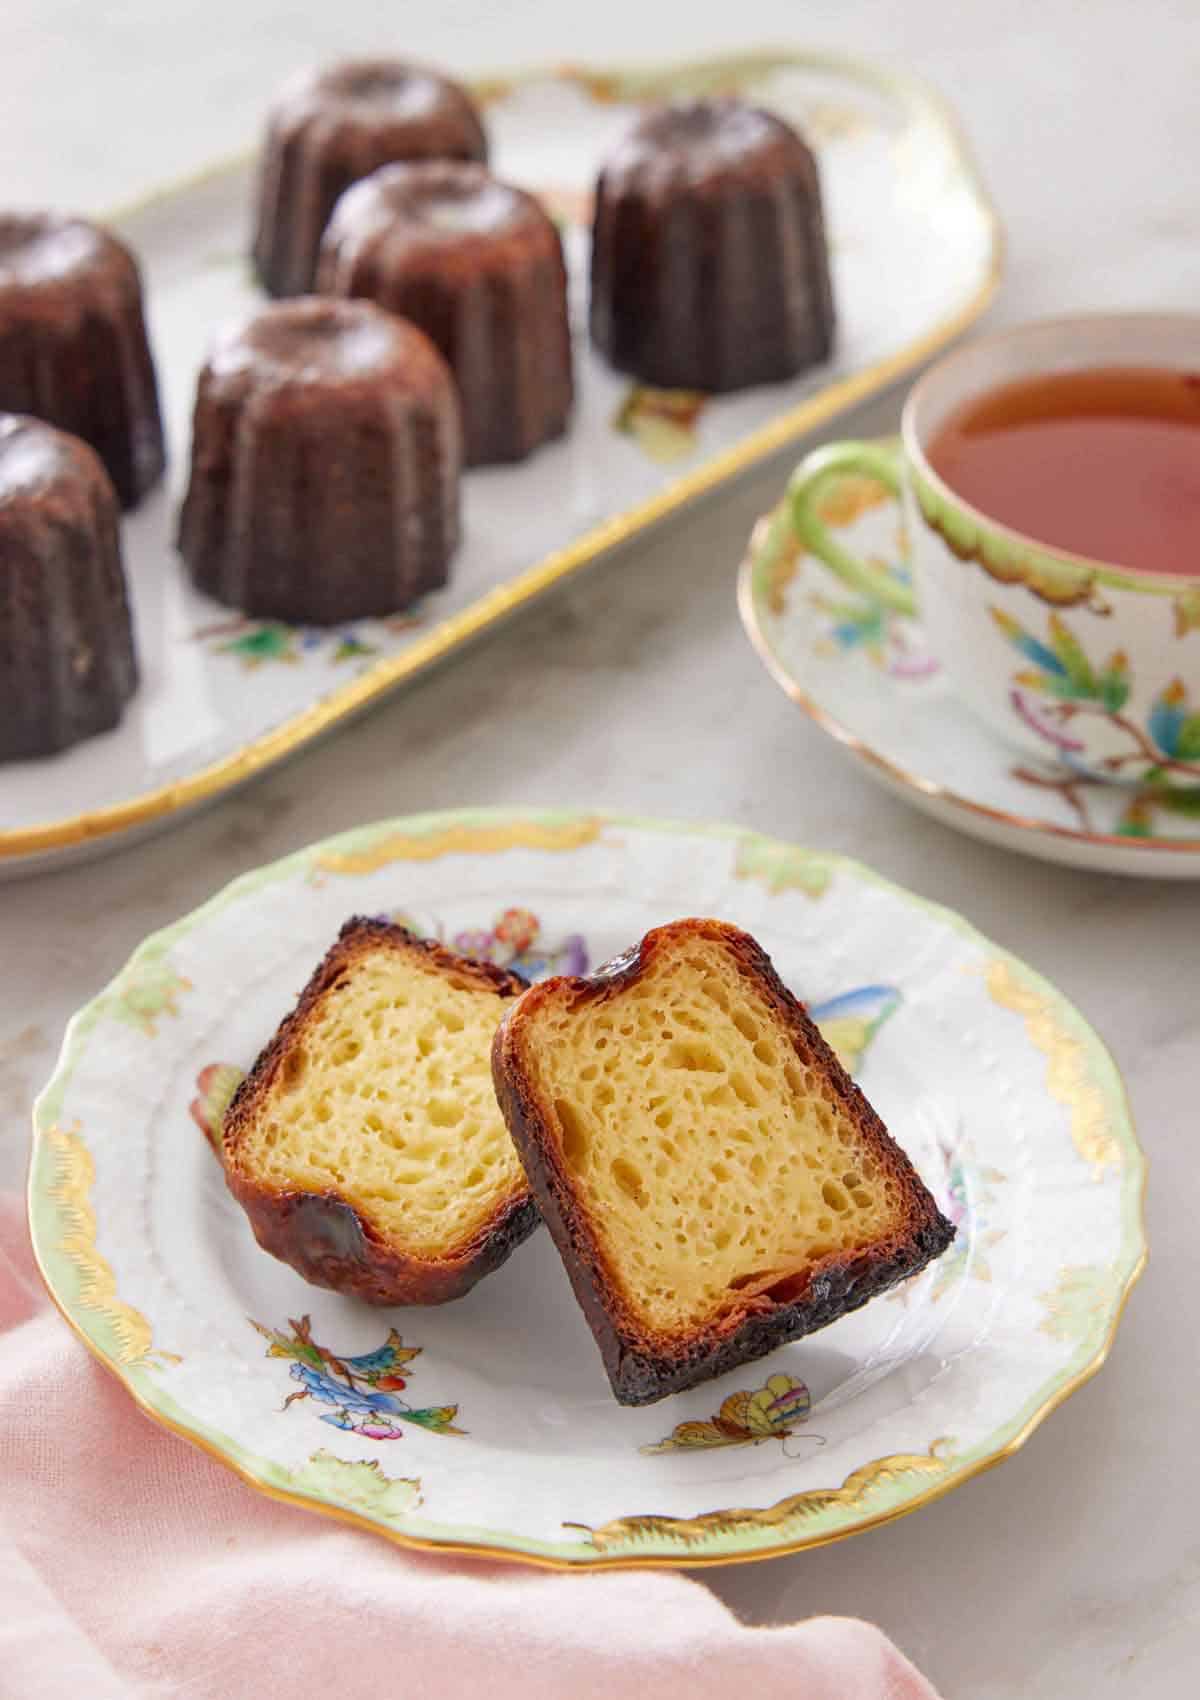
There are many theories as to where the pastry originated but like most recipes, it’s challenging to identify which is the correct theory. The most common theory is that canelés originated from the Couvent des Annonciades in Bordeaux in the 15th or 18th century (hence the name canelé de Bordeaux). Currently, you can find them throughout France and in some pâtisseries abroad. While I won’t lie to you and say making canelés is easy, I will say they’re worth the effort. They can be challenging to make as they require patience and practice, but the end results are absolutely stunning. Their caramelized exterior makes for such a satisfying experience as you bite into an almost pudding-like custardy interior after breaking through the crispy shell. They are a showstopping pastry that is perfect for special occasions. If you want another delicious French dessert recipe, then try my macarons recipe, profiterole recipe, or mille-feuille recipe.
What You Need to Make This Recipe
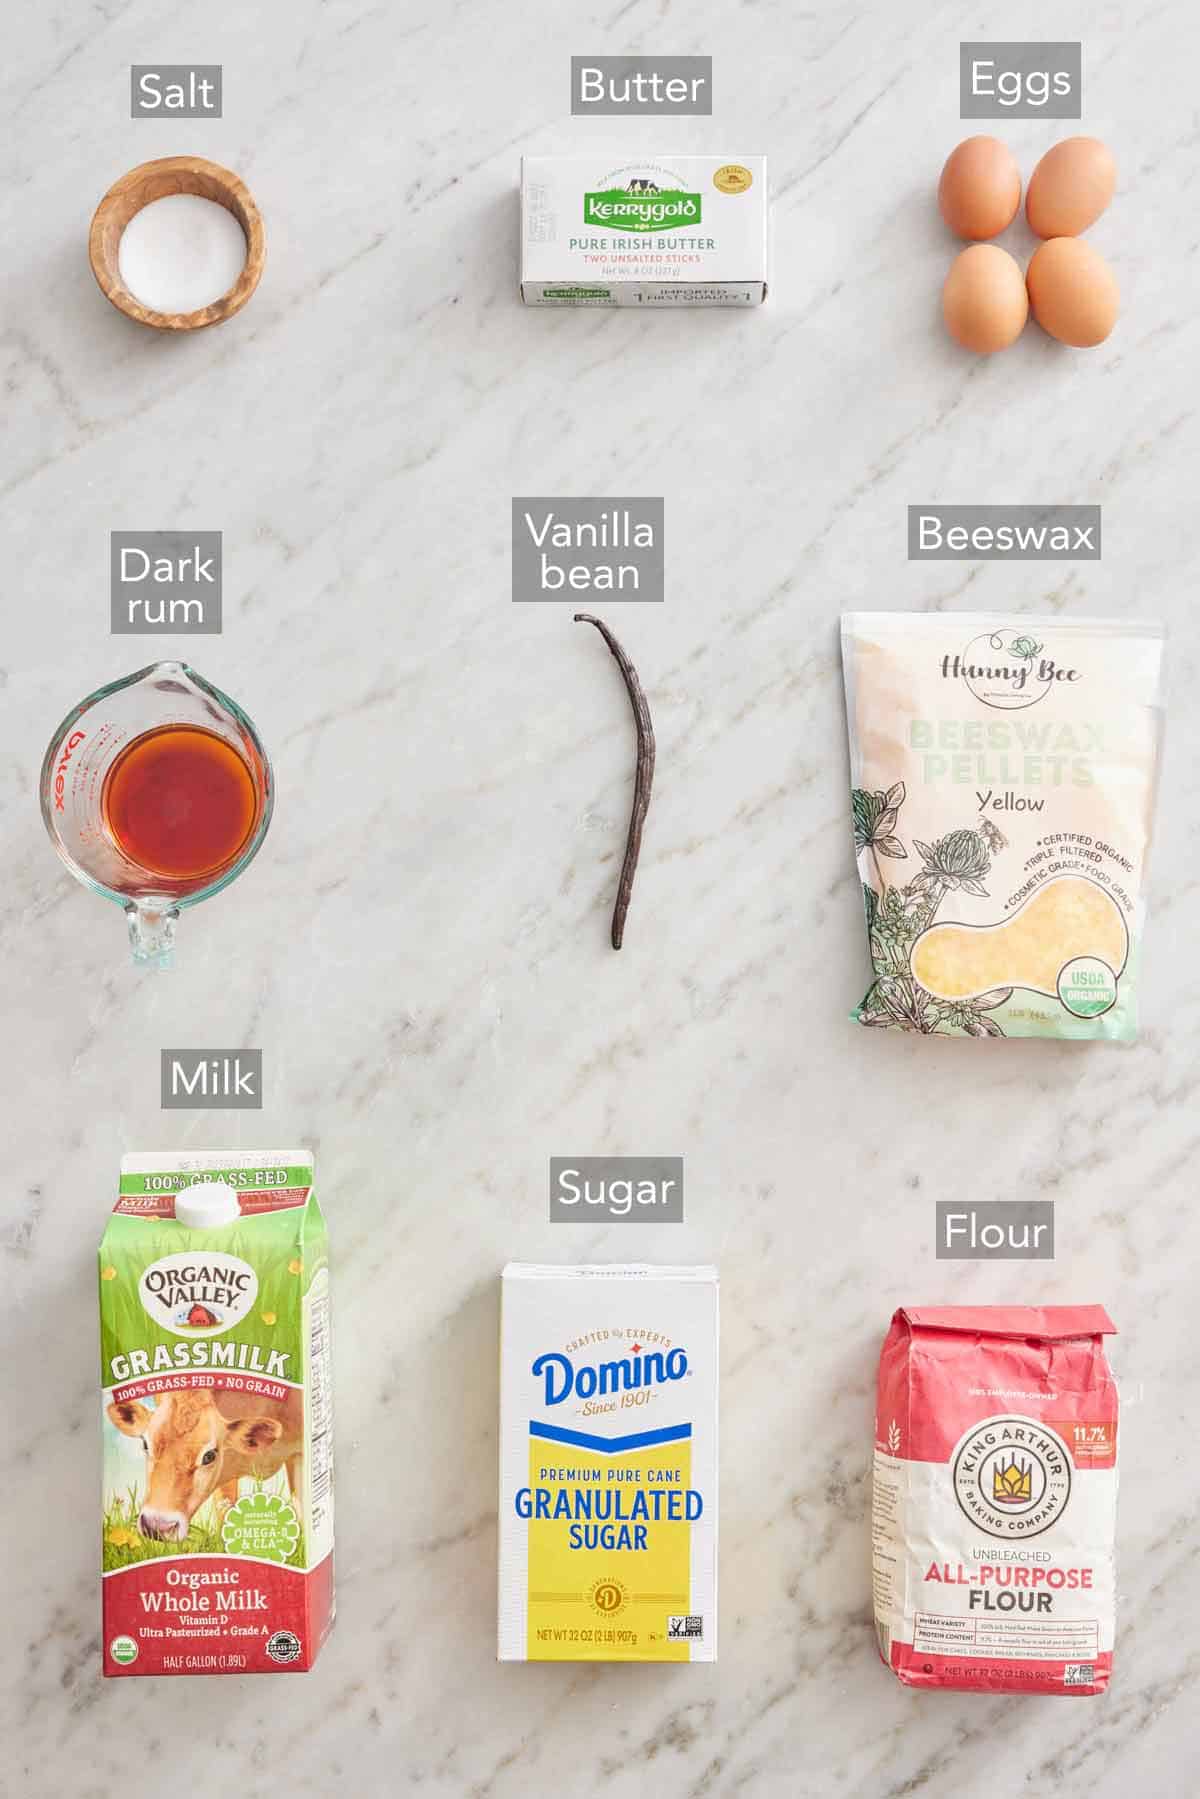
Milk — whole milk is ideal as the canelés benefit from the higher fat content in whole milk to create a wonderfully custardy interior. Butter — I highly recommend using European-style butter as it has a higher fat content, and again, it helps create a custardy interior. Eggs — the eggs help with the texture of the canelés, and the extra yolks make them even richer and more flavorful. Flour — all-purpose flour is best as it provides just enough structure without making the interior cakey or too chewy. Rum — the rum will bake off in the oven, leaving you with just the rum flavoring. Beeswax — you will need beeswax to get the classic, beautiful, and shiny exterior of the canelés. Be sure to use food-grade unscented beeswax for the coating.
How to Make Canelés
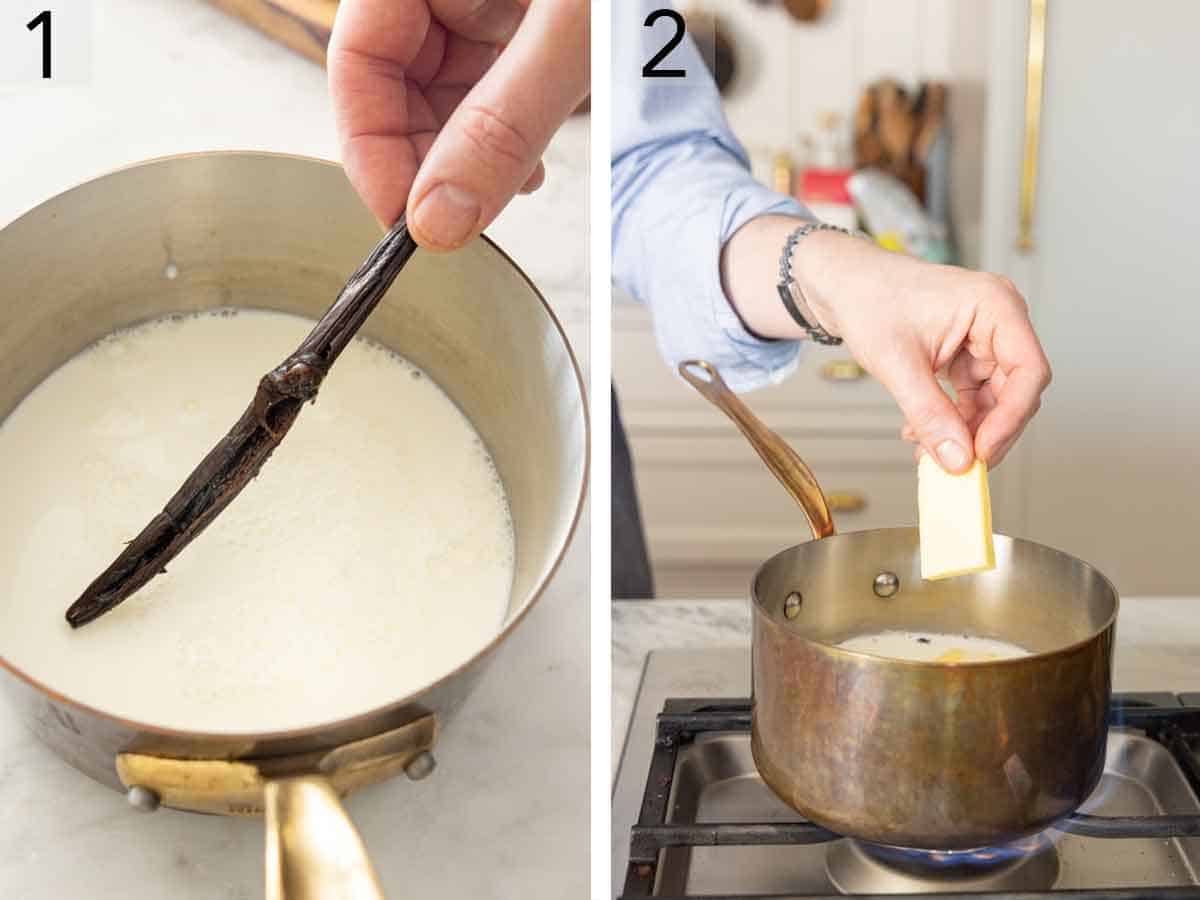
- Combine the milk and ¼ cup of sugar in a small pot. Split the vanilla bean and scrape out the seeds. Add both to the pot.
- Place the small pot over medium-high heat and bring to a simmer, stirring frequently. Add the butter and turn off the heat. Stir until the butter is melted.
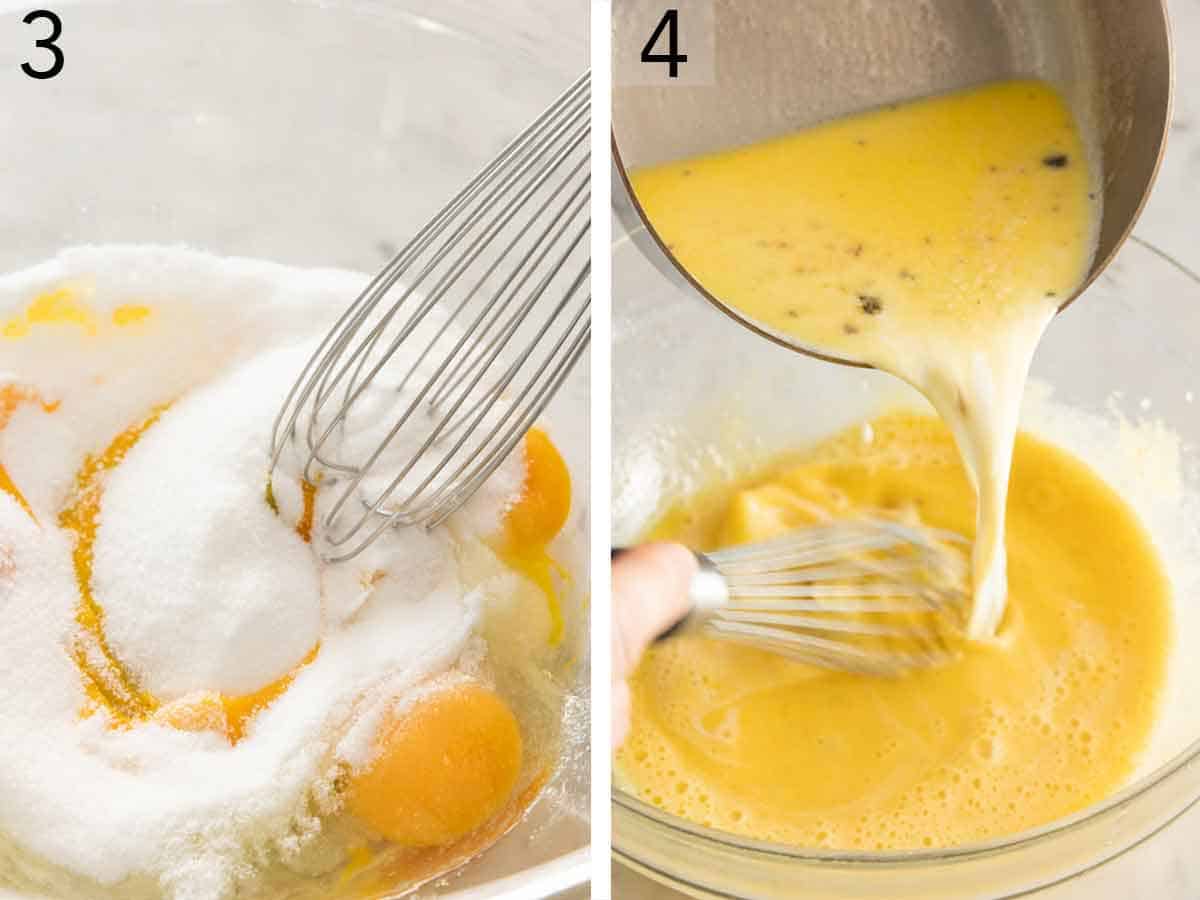
- In a large bowl, whisk together the egg yolks, egg, salt, and remaining ¾ cup of sugar until well combined.
- Remove the vanilla bean pod from the milk mixture and reserve. Slowly whisk in about half of the hot milk into the egg mixture.
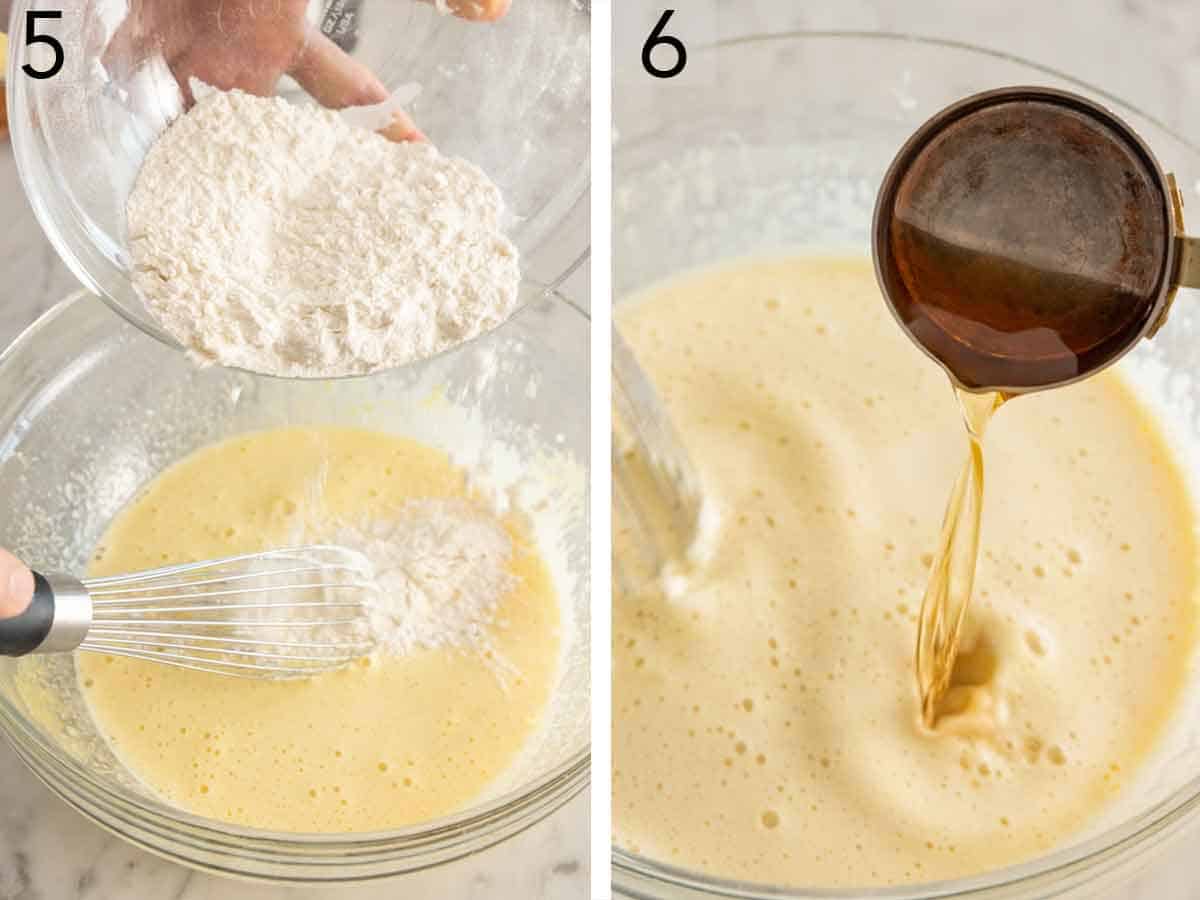
- Whisk in the flour until well combined, then whisk in the rest of the hot milk.
- Stir in the rum.
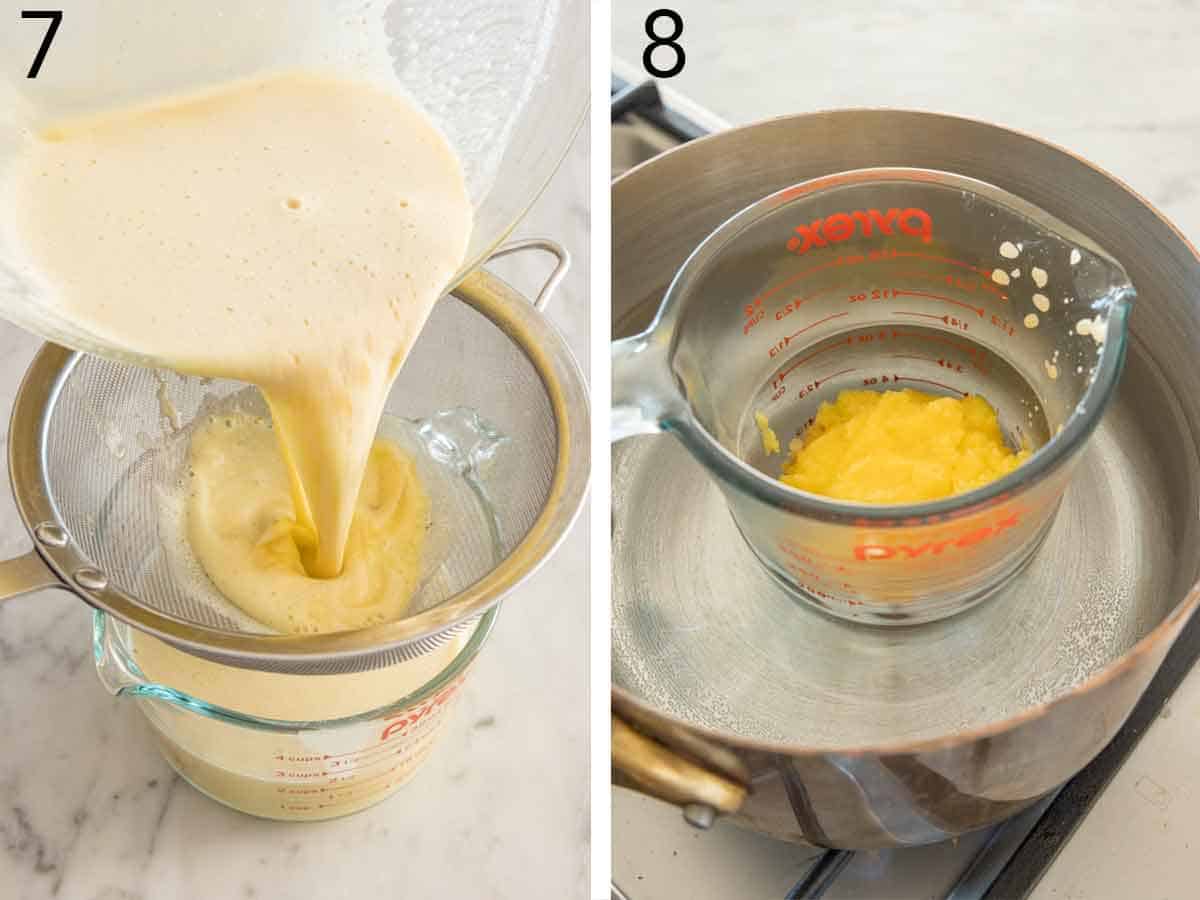
- Strain the batter through a fine-mesh sieve into a large container. Add the vanilla bean pod to the batter, cover, and refrigerate for at least 24 hours and up to 5 days.
- Combine the butter and beeswax in a wide-mouth mason jar. Gently melt both together in a pot of water over medium-low heat or in the microwave.
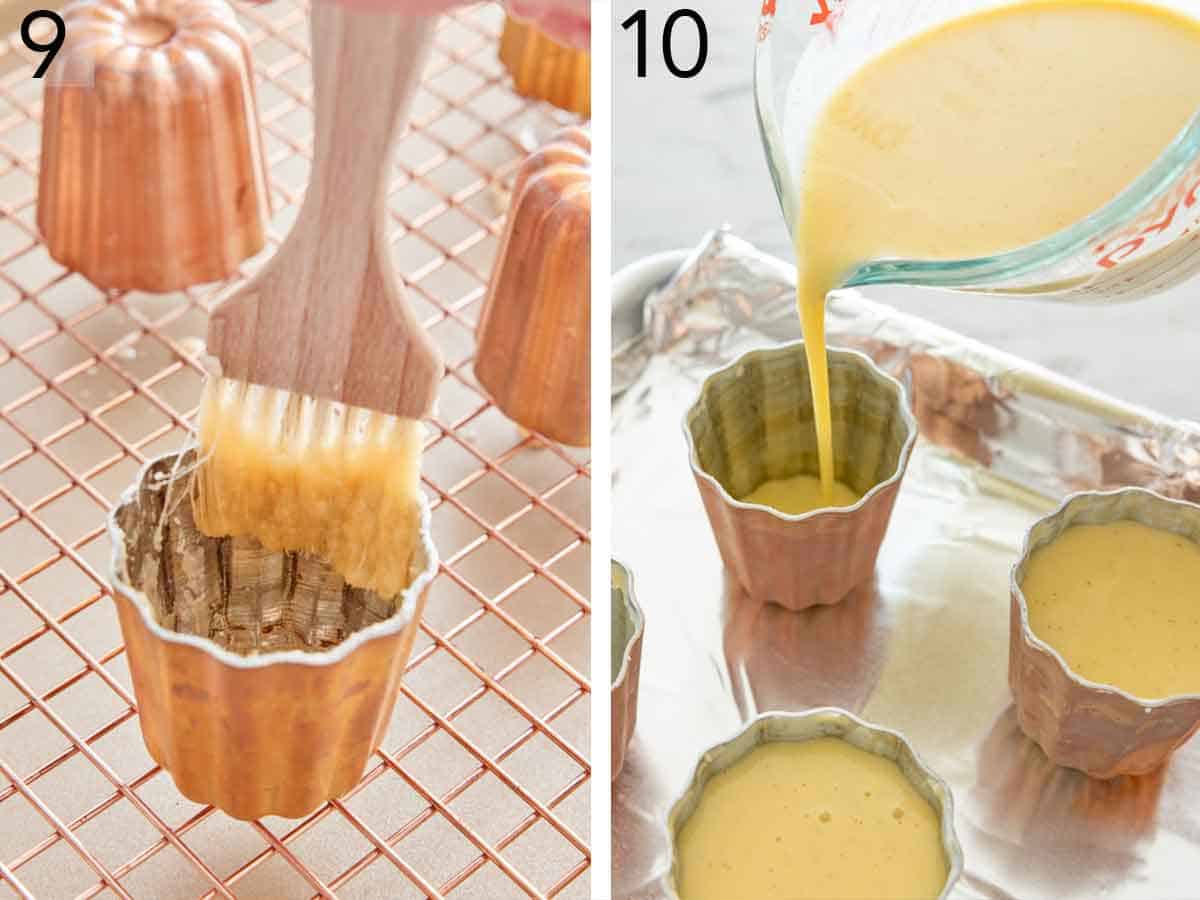
- Place the molds on a baking sheet and in the oven for a few minutes, just to warm them up. Wearing an oven mitt or glove, hold a canelé mold and brush a thin coating of the beeswax mixture all over the inside of the mold. Place the mold upside down on a wire rack to drain and cool. Repeat with your remaining molds. Once the molds have cooled, place them in the freezer until ready to use or at least 15 minutes.
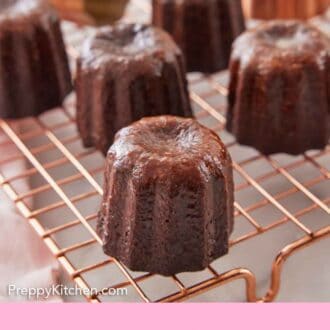
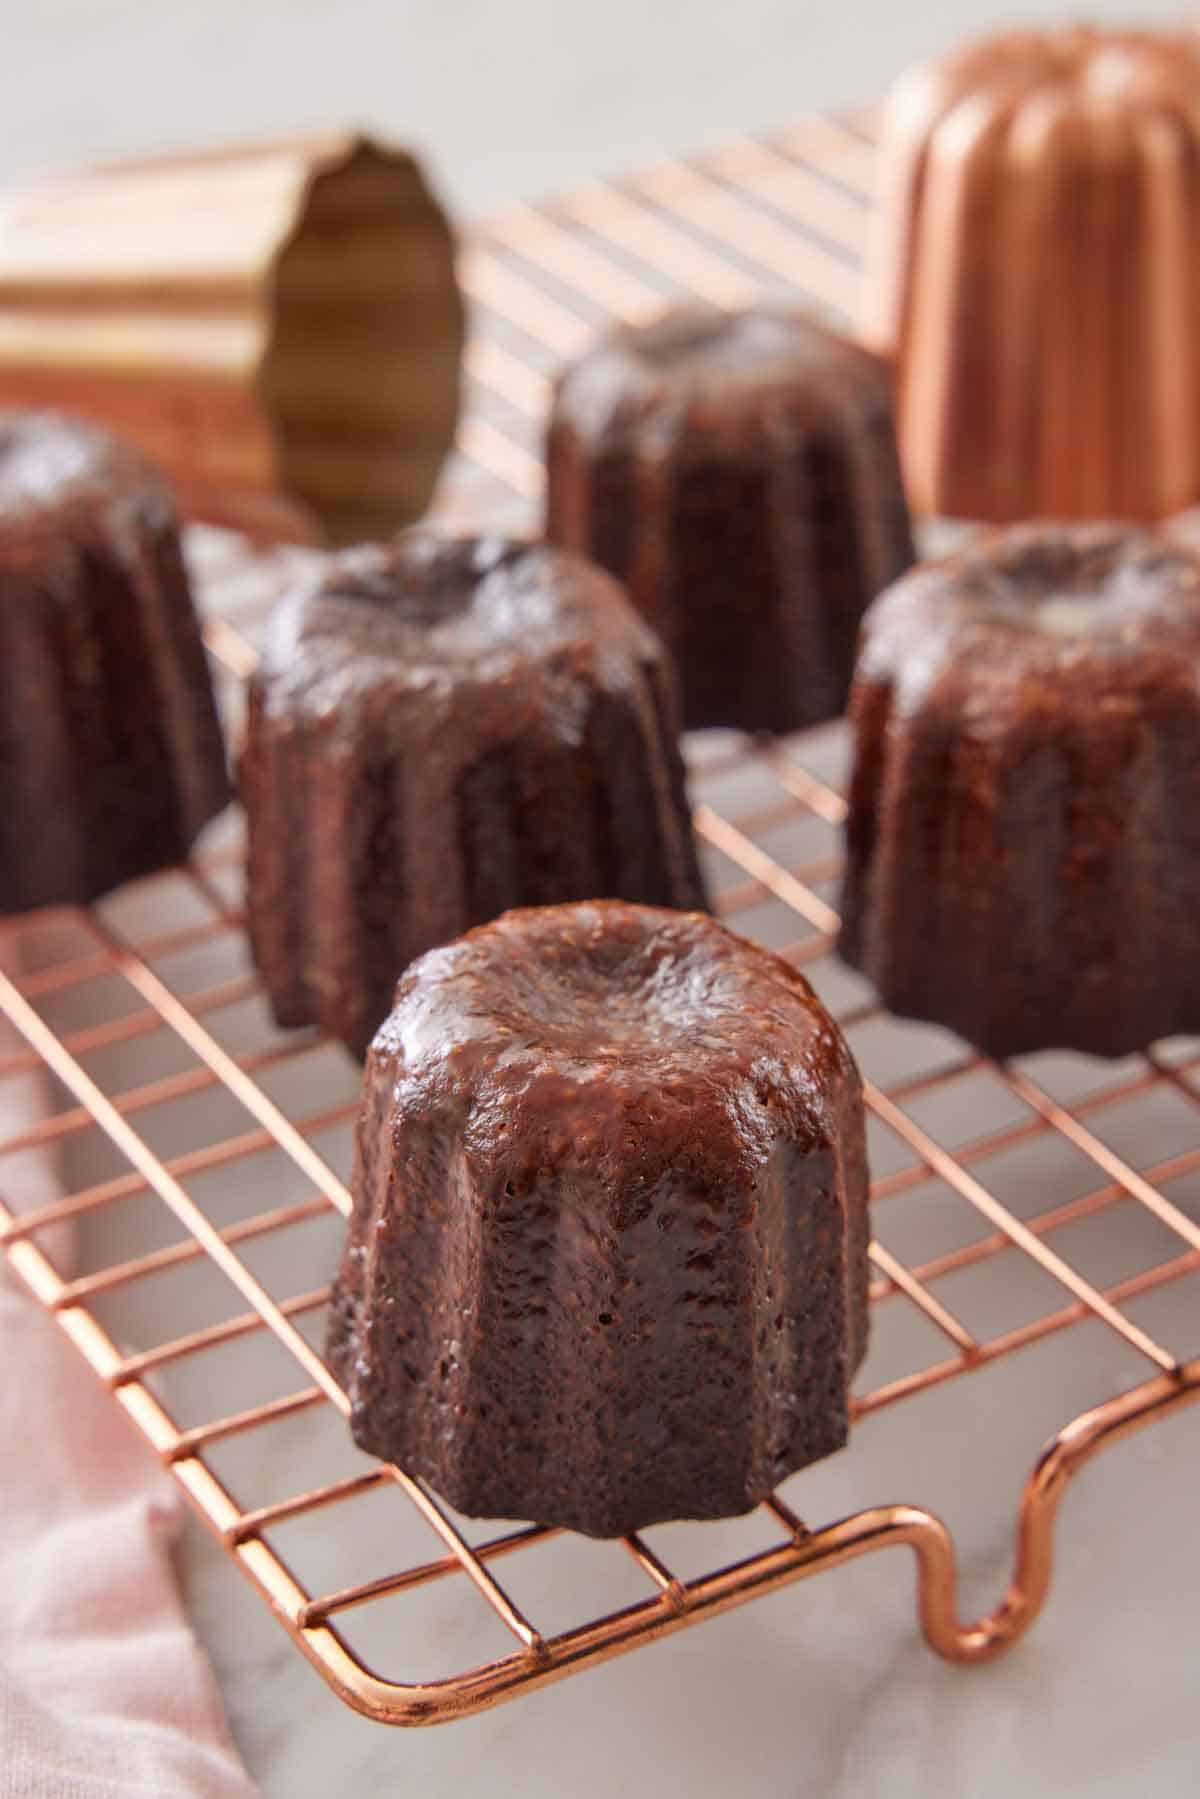
- Place up to 6 frozen molds on a small foil-lined baking sheet. Stir the chilled batter together and fill the molds on the baking sheet until they are almost full. Bake for 15 minutes. Reduce the temperature to 400F and continue baking for 45 minutes to 1 hour or until the tops are a dark brown and the canelés have settled back into their molds. Remove from the oven and immediately invert each mold onto a wire cooling rack. Remove the molds and allow the canelés to cool completely. Repeat the baking process with the remaining batter.
Pro Tips for Making This Recipe
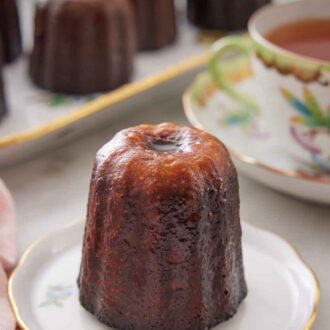
There are several different options for canelé molds, from the traditional copper molds made in France to other more economically priced molds and even muffin pan-style molds. All of them will bake a delicious canelé, but the final results may vary due to slight variations in the molds’ material, thickness, and shape. In testing, I found the French-made molds were somewhat tricky to get started with but gave the best results with the correct coloring and a crisp crust all over the canelés. The less expensive molds had a sunken white top. They still baked through and were delicious, but they did not have that classic look these French pastries are known for. The muffin pan-style molds worked very well but were squattier than the traditional copper molds. If using a muffin pan style of molds, I recommend not preheating the molds before coating them in the butter-wax mixture. Instead, lightly brush the coating onto the inside of the molds, then freeze as directed. Fill the molds about ½-inch from the top edge. The bake time may increase or decrease depending on the size of the molds. Just look for a deep golden brown color on the top of the molds. You will need to be patient and rest the batter in the fridge for 24 hours, as the texture of the interior of the canelés will not be the same if you bake them right away. Do not open the oven to take a look! The high heat at the beginning will ensure a crispy crust on the canelés, and opening the oven door will let all the hot air out. If you have a mixing bowl with a spout, I recommend using it to make pouring the batter into the canelés mold much more effortless. I highly recommend using a scale to measure your ingredients, as it’s the most accurate method. If you don’t have a scale, fluff your flour with a spoon and sprinkle it into your cups before leveling it off with a knife. This method prevents you from overpacking the measuring cup. Eggs are easier to separate when cold. I recommend separating them in advance if you have the time.
If you’ve tried this Canelés recipe, then don’t forget to rate the recipe and let me know how you got on in the comments below, I love hearing from you!