What you’ll need for this Cookie tree
I used my handy graduated star cookie cutters, which are PERFECT for this project. Click HERE to buy a set. You can also draw out a set of stars and use a small knife to cut the shapes out. A smallish star piping tip. I used a #30 but you can have a nice result with many different tips. A kitchen scale is not a must have but it really helps on nearly every recipe! I Love my OXO Scale, click HERE to buy one.
Pro Tips for the Best Cookie Tree
If your butter isn’t room temp just cut the sticks into a few slices and microwave on 50% power in 5 second bursts. Flip the butter with every burst. Measure your flour correctly! Adding too much flour to the recipe is the most common mistake. The best, and easiest way to measure flour is by using a scale. If you don’t have one then fluff your flour with a spoon, sprinkle it into your measuring cup, and use a knife to level it off. Scrape your bowl down a few times. If you have a glob to two of butter that doesn’t get mixed with the flour it will loose shape and melt when baked. The dough only needs to be chilled for about 20-30 minutes. Just until it’s firm enough to cut and handle without marring the edges. The different sized stars will bake for different times so bake the large ones on separate cookie sheets so they can come out later. I used a good amount of green food coloring for the buttercream but you can get a nice soft green by using matcha powder to color and flavor the buttercream. When you’re trying to get an especially vivid color with buttercream, make it ahead and you’ll see the color come through. You might need to let your buttercream set for a while after building the tree and before covering the tips of the stars in buttercream and decorations. If you can’s find the mini chocolate spheres I used for the ornaments try other smaller candies like M&Ms or even crushed candy canes.
How to make a cookie tree
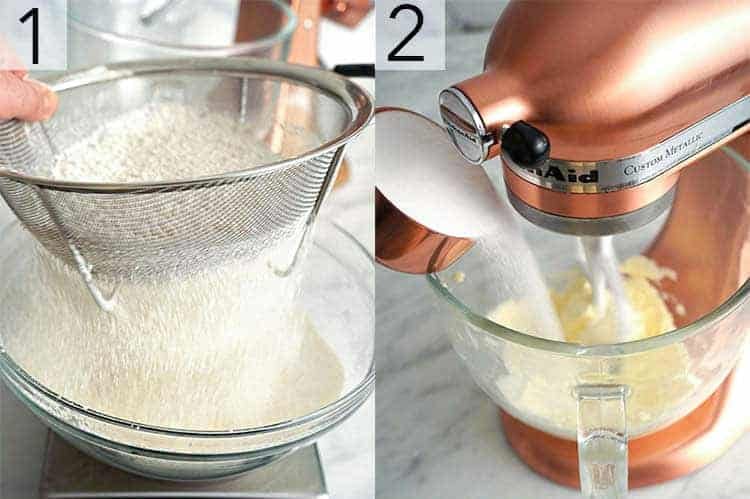
Sift your the flour, corn starch and salt in a large bowl. Give it a whisk.
In your standing mixer fitted with a paddle attachment, cream the butter and sugar together.
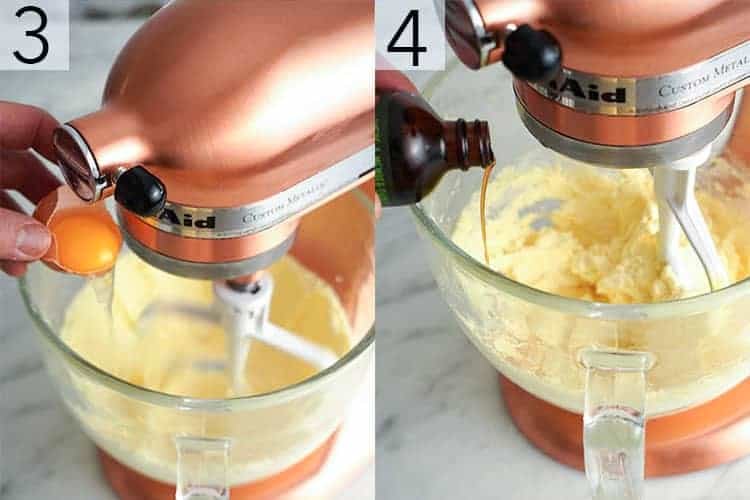
Add the eggs while mixing. Scrape down sides of the bowl.
Add 1 tsp vanilla extract and mix to combine.
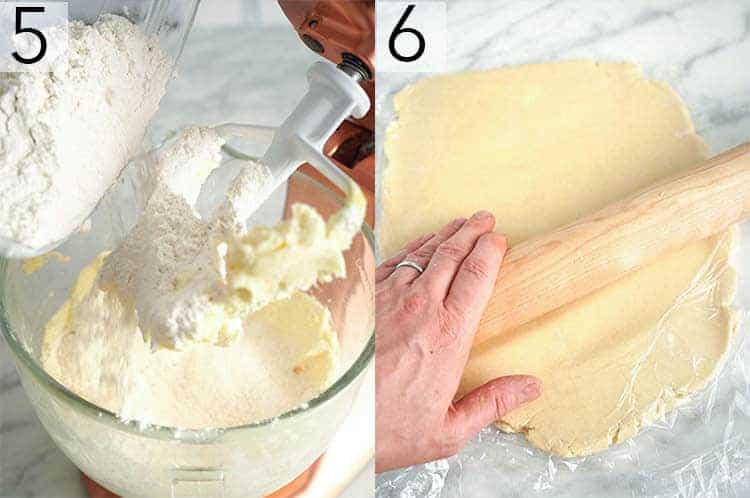
Pour in the flour mixture and mix until everything is well incorporated, making sure to scrape the bowl down.
Put the dough in a plastic bag, flatten it together, then chill it in the refrigerator so it firms up.
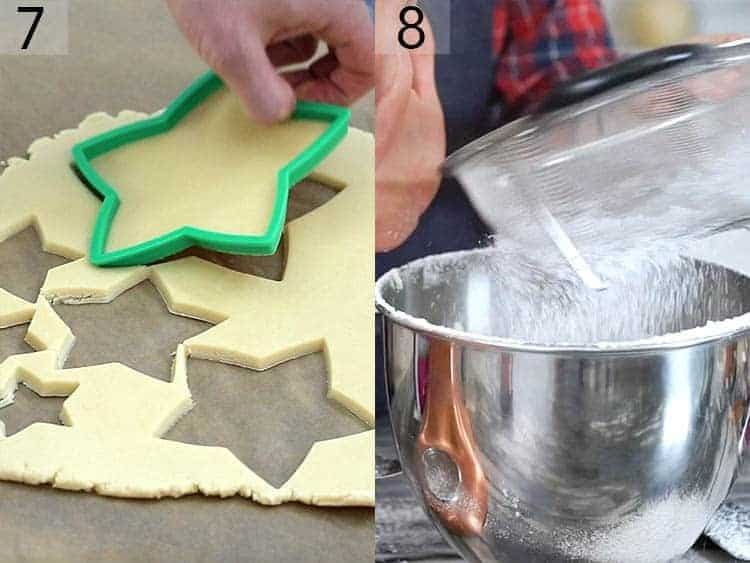
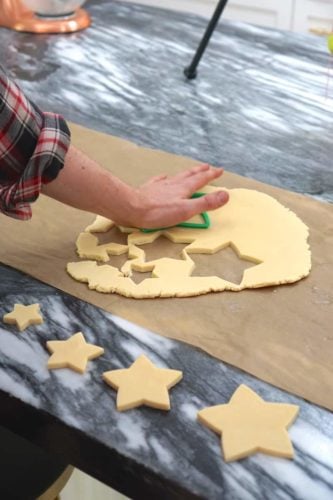
Once the dough is chilled, place it on a rolling mat, sprinkle with flour and roll out with a rolling pin. Move the dough around so to prevent it from sticking. Use your Star-Shaped cookie cutters to cut out your cookies. You’ll want lots of the smaller stars for spacers between the layers. Take away extra scraps to re-roll for more cookies. Place them on a parchment-lined baking sheet and bake at 375F for 12 minutes.
Cream your butter and salt then sift half the powdered sugar in and mix on low. Sift in the remaining sugar then mix again. Scrape the bowl down and add your vanilla and food coloring.
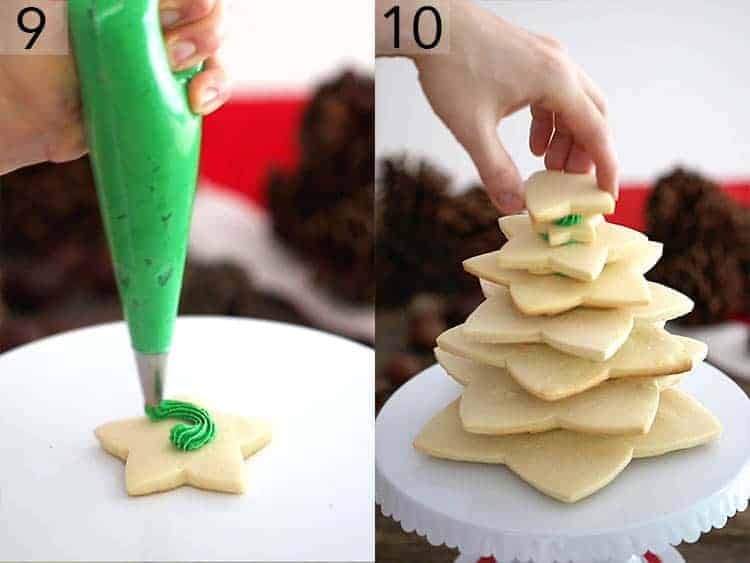
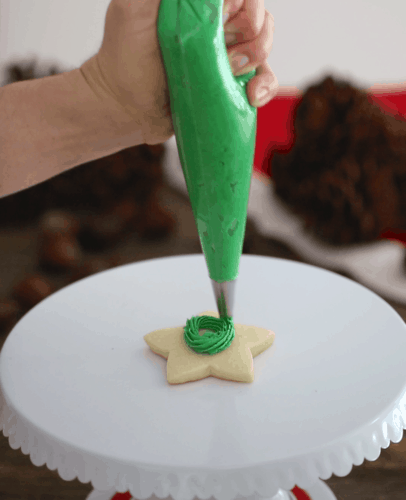
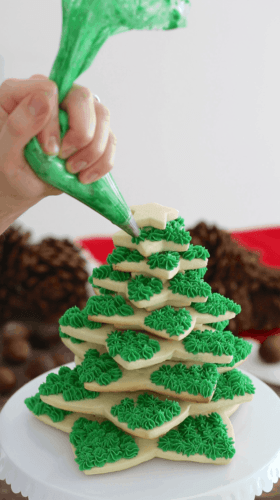
Transfer buttercream to a piping bag fitted with a #30 star tip. Pip a ring fo buttercream onto your first (cooled) cookie then place the largest star on top. Add another ring of buttercream then place a smaller star on top followed by the second to largest star.
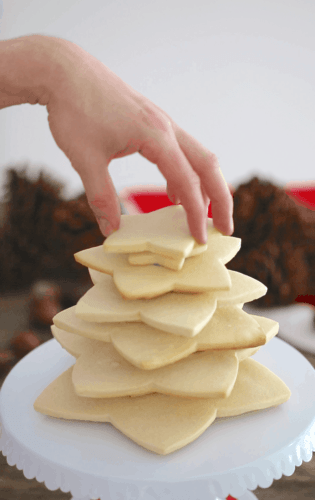
Continue building your cookie tree until it is at the height you desire. You may want to let the tree hang out for a while so the buttercream sets and stabilizes the tree before decorating.
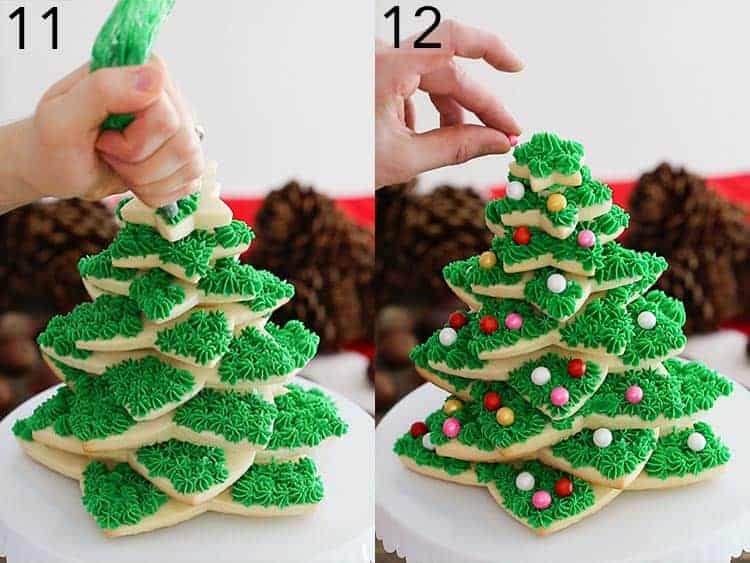
Pipe dollops of green buttercream onto the tips of your cookies.
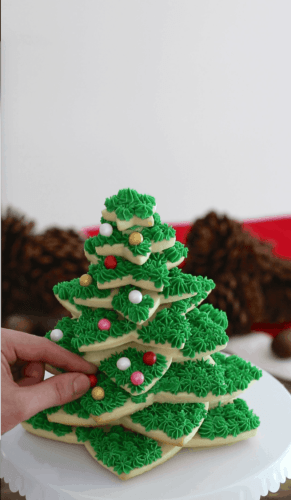
Add the ornaments! This step is optional but I happened to have some candy colored chocolate balls that were PERFECT for this. You can use M&Ms or any colorful candy you like.
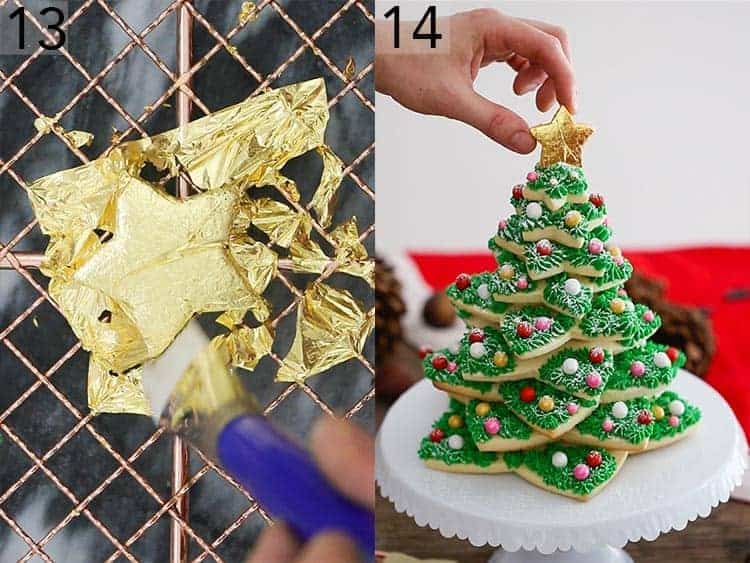
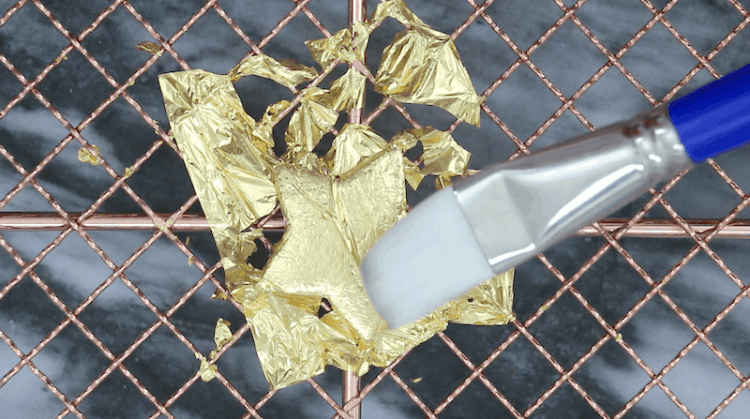
To make my golden star I painted on a thin layer or sugar glaze and the gold leaf stuck right on! If you don’t have any edible gold leaf on hand you can use some yellow food coloring to dye a bit of buttercream or glaze and cover your star with that.
Dust with powdered sugar then place your star on top and enjoy! If you’ve tried these cookies then don’t forget to rate the recipe and let me know how you got on in the comments below, I love hearing from you!