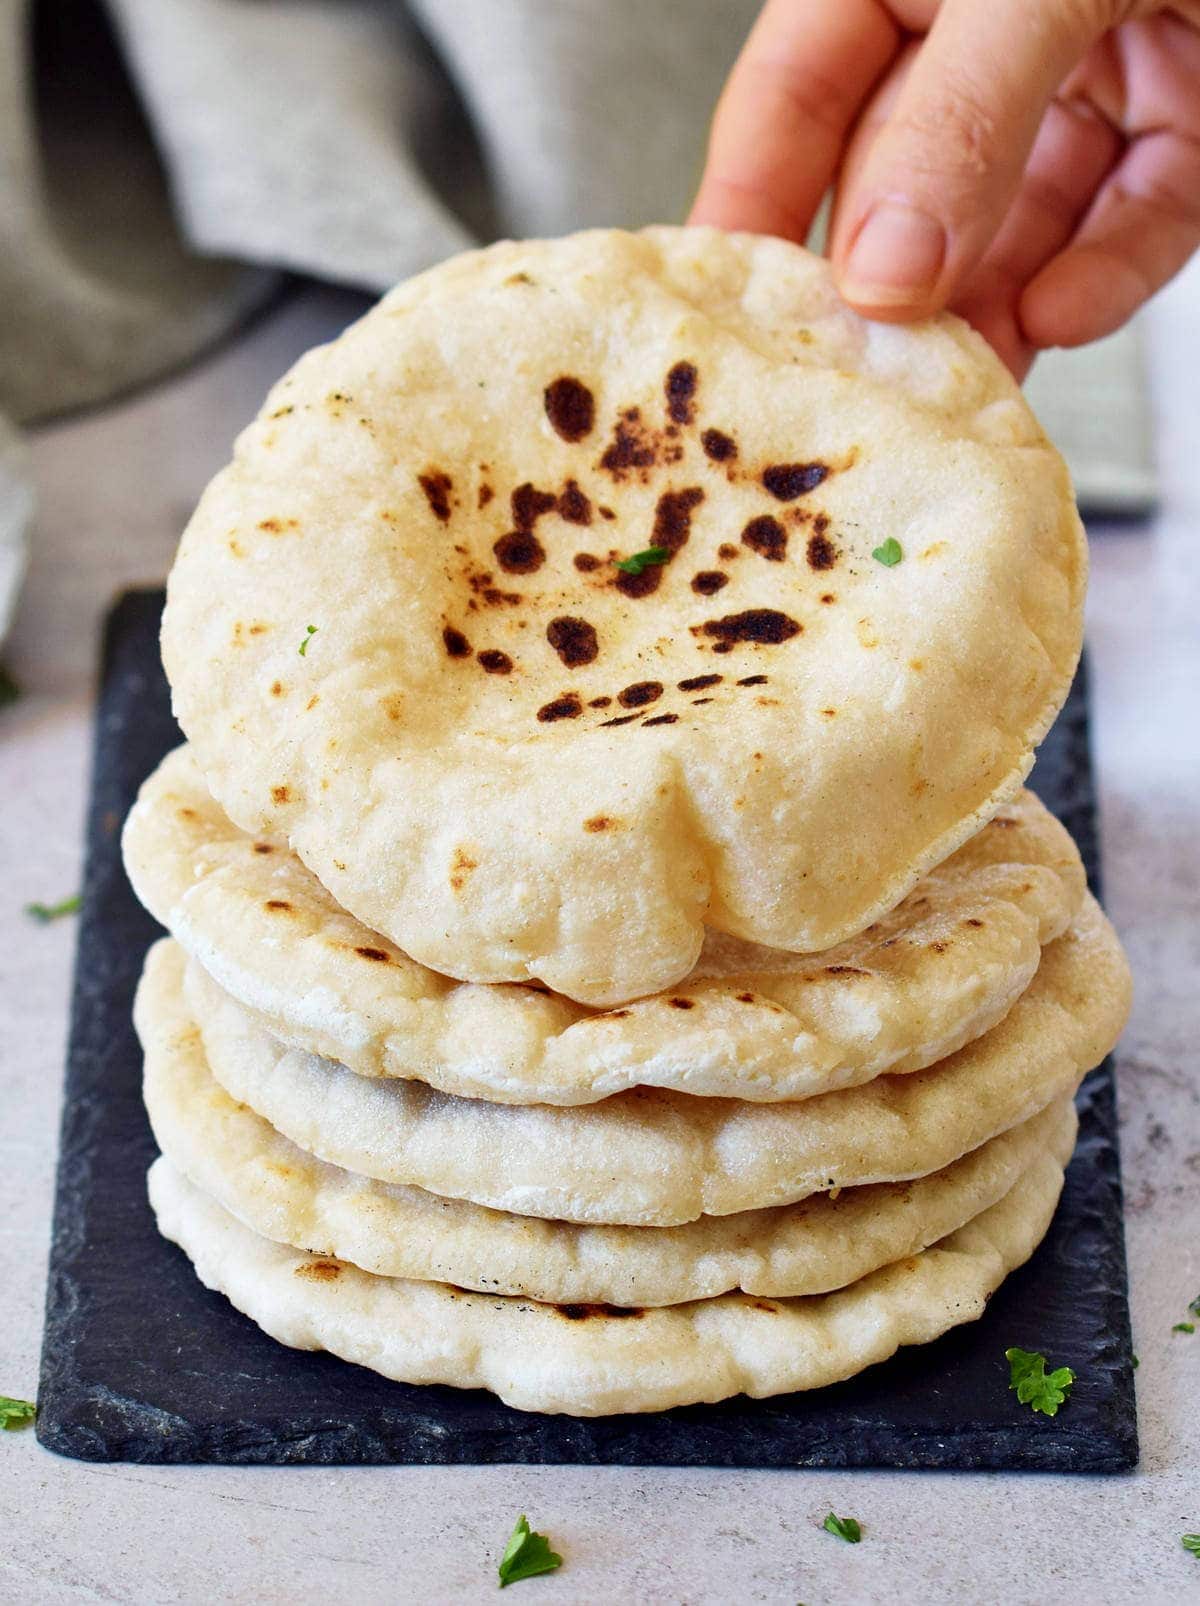
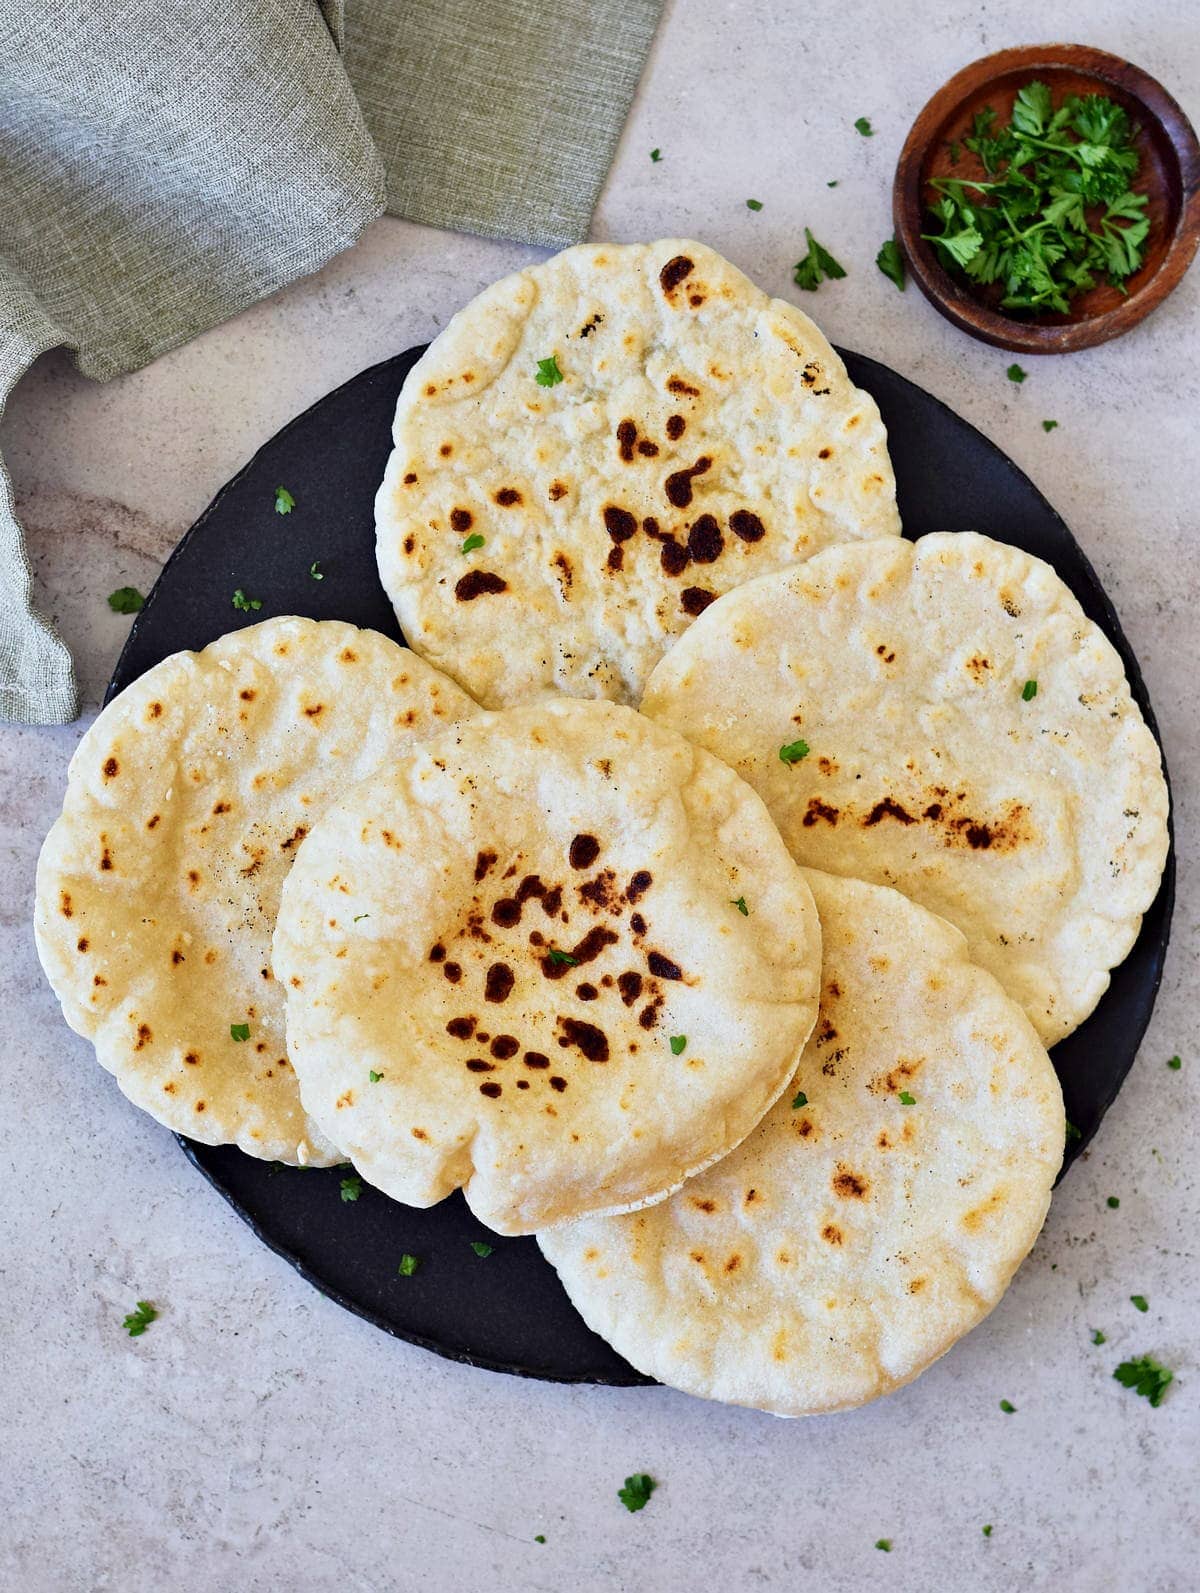
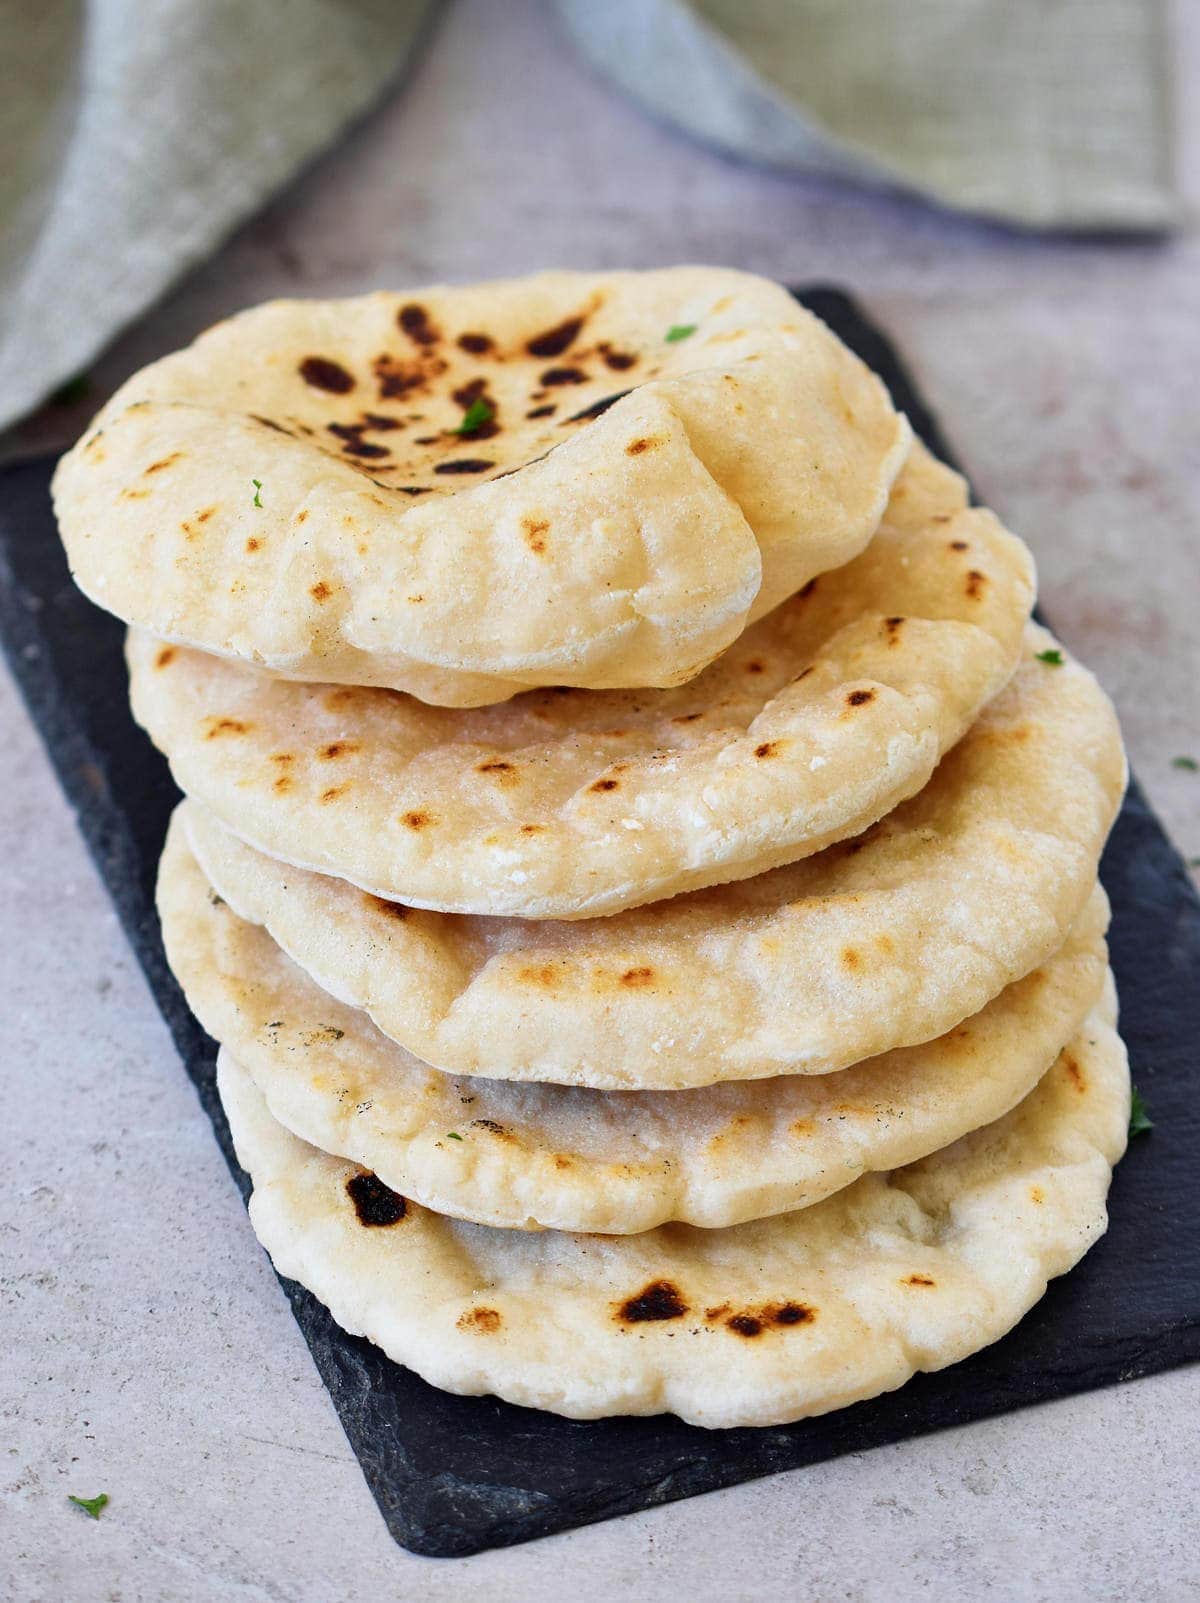
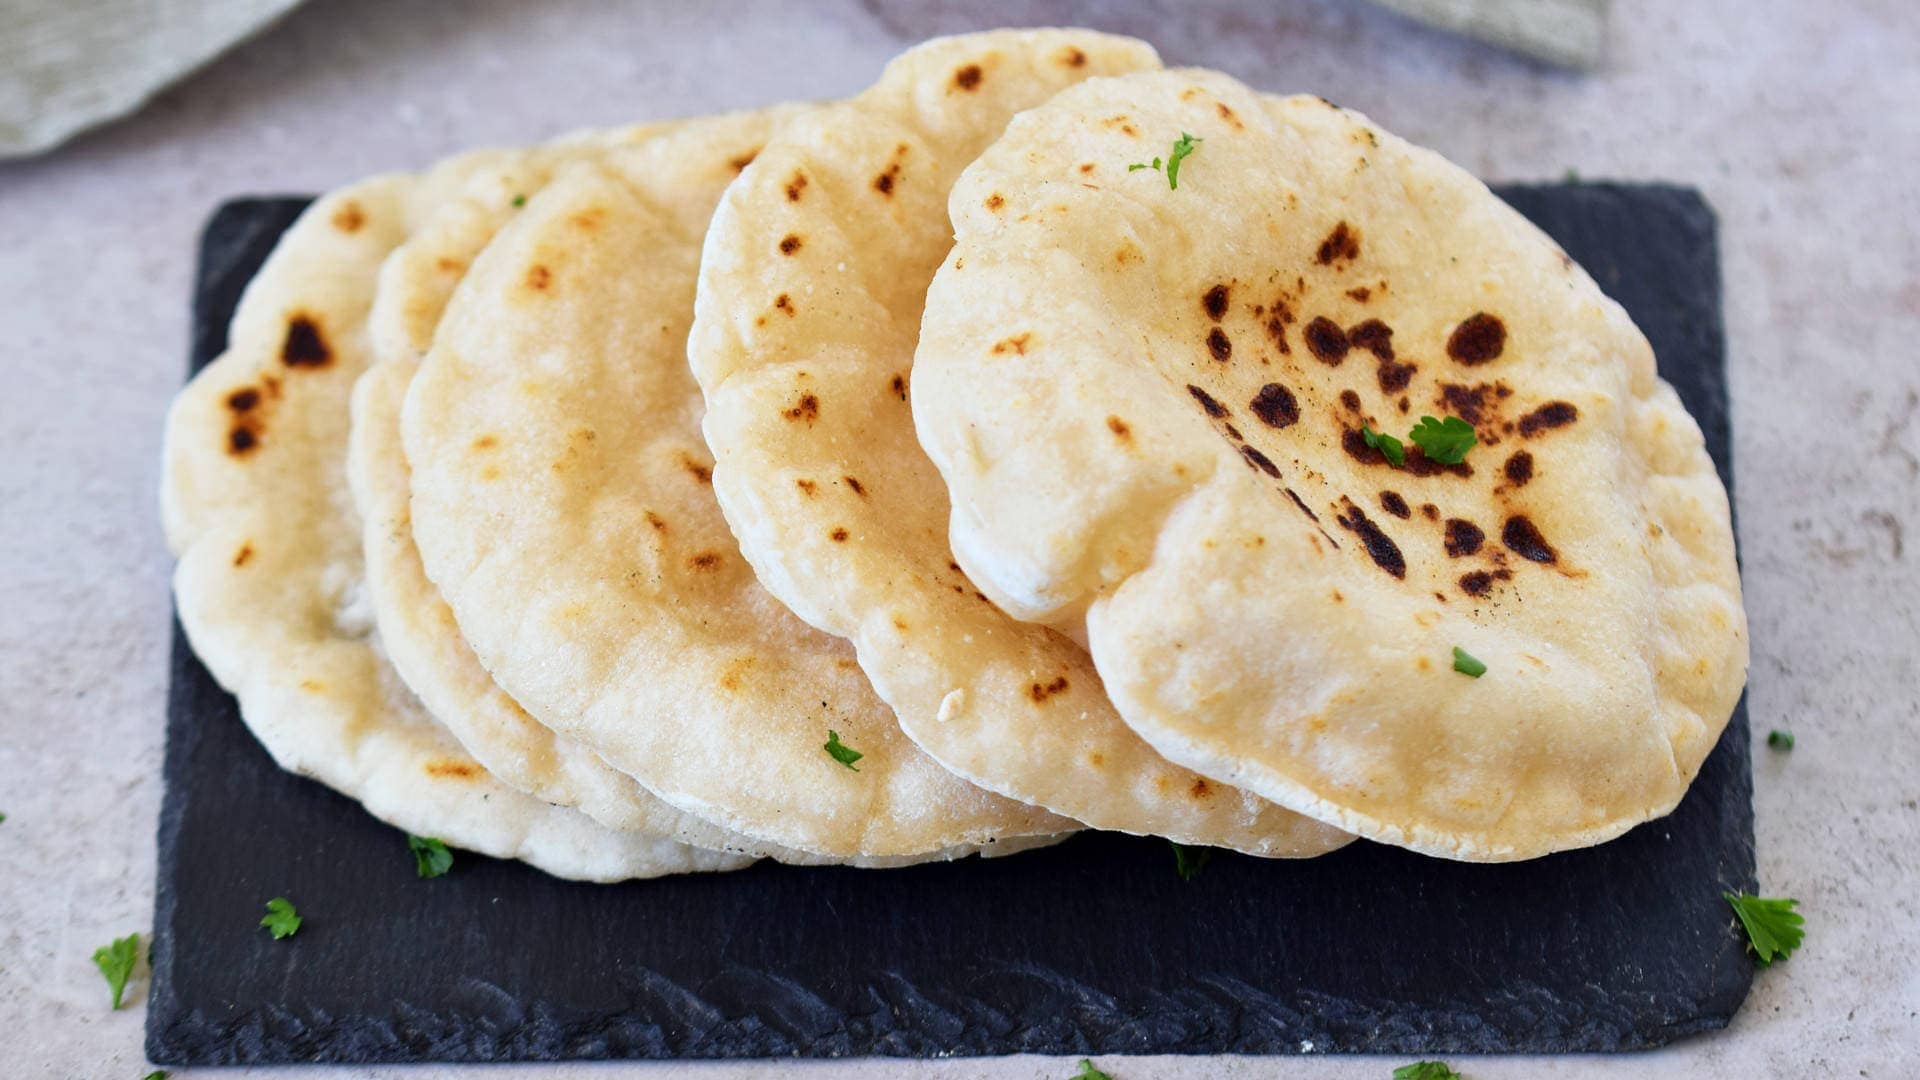
Fluffy, Tender, Gluten-Free Flatbread
Having posted my naan recipe recently, I’m really getting into the spirit of home-baked GF bread, especially simple gluten-free flatbread style recipes like this pita bread (Pitta for those in the UK). What is pita? Pita bread actually refers to a family of flatbreads that are yeast-leavened and originate in the Middle East and are also popular in the Mediterranean (e.g. Greece). There are several varieties, including the most common pita bread containing a pocket (aka pita pockets or Arabic/Syrian bread) which are perfect for stuffing with fillings. There are also thicker pocketless versions (similar to naan), used to serve alongside kebabs.
Is Pita Bread Gluten-Free?
Pita is traditionally made with wheat flour and is known for being light and pillowy – not exactly qualities synonymous with gluten-free bread. Luckily, inspired by my gluten-free pizza dough recipe and with something to prove, I got myself in recipe testing mode and didn’t stop until I had this fluffy gluten-free, vegan pita bread recipe. I was actually blown away by how much I was able to get the pita to puff up, but I also love how cost-effective they are. The ‘free from’ aisles in stores aren’t exactly known for being easy on the bank balance (I mean, have you noticed the price difference between wheat pita and gluten-free pita bread?!) and so making these simple items at home is a great way to enjoy foods you love in a lower-budget way. More than that, though, if you’ve ever taken the time to actually look at the ingredients found in many grocery stores’ GF bread options, you’ll notice lots of very questionable additives and preservatives. In the end, you have to pay more for a product that usually doesn’t taste as good and is filled with ingredients that many would rather avoid. All the more reason to turn to this simple, natural, homemade pita bread recipe!
How To Make Pita Bread?
I’ve included basic step-by-step instructions just below. For the full ingredients list, measurements, complete recipe method, and nutritional information read the recipe card at the bottom of the post.
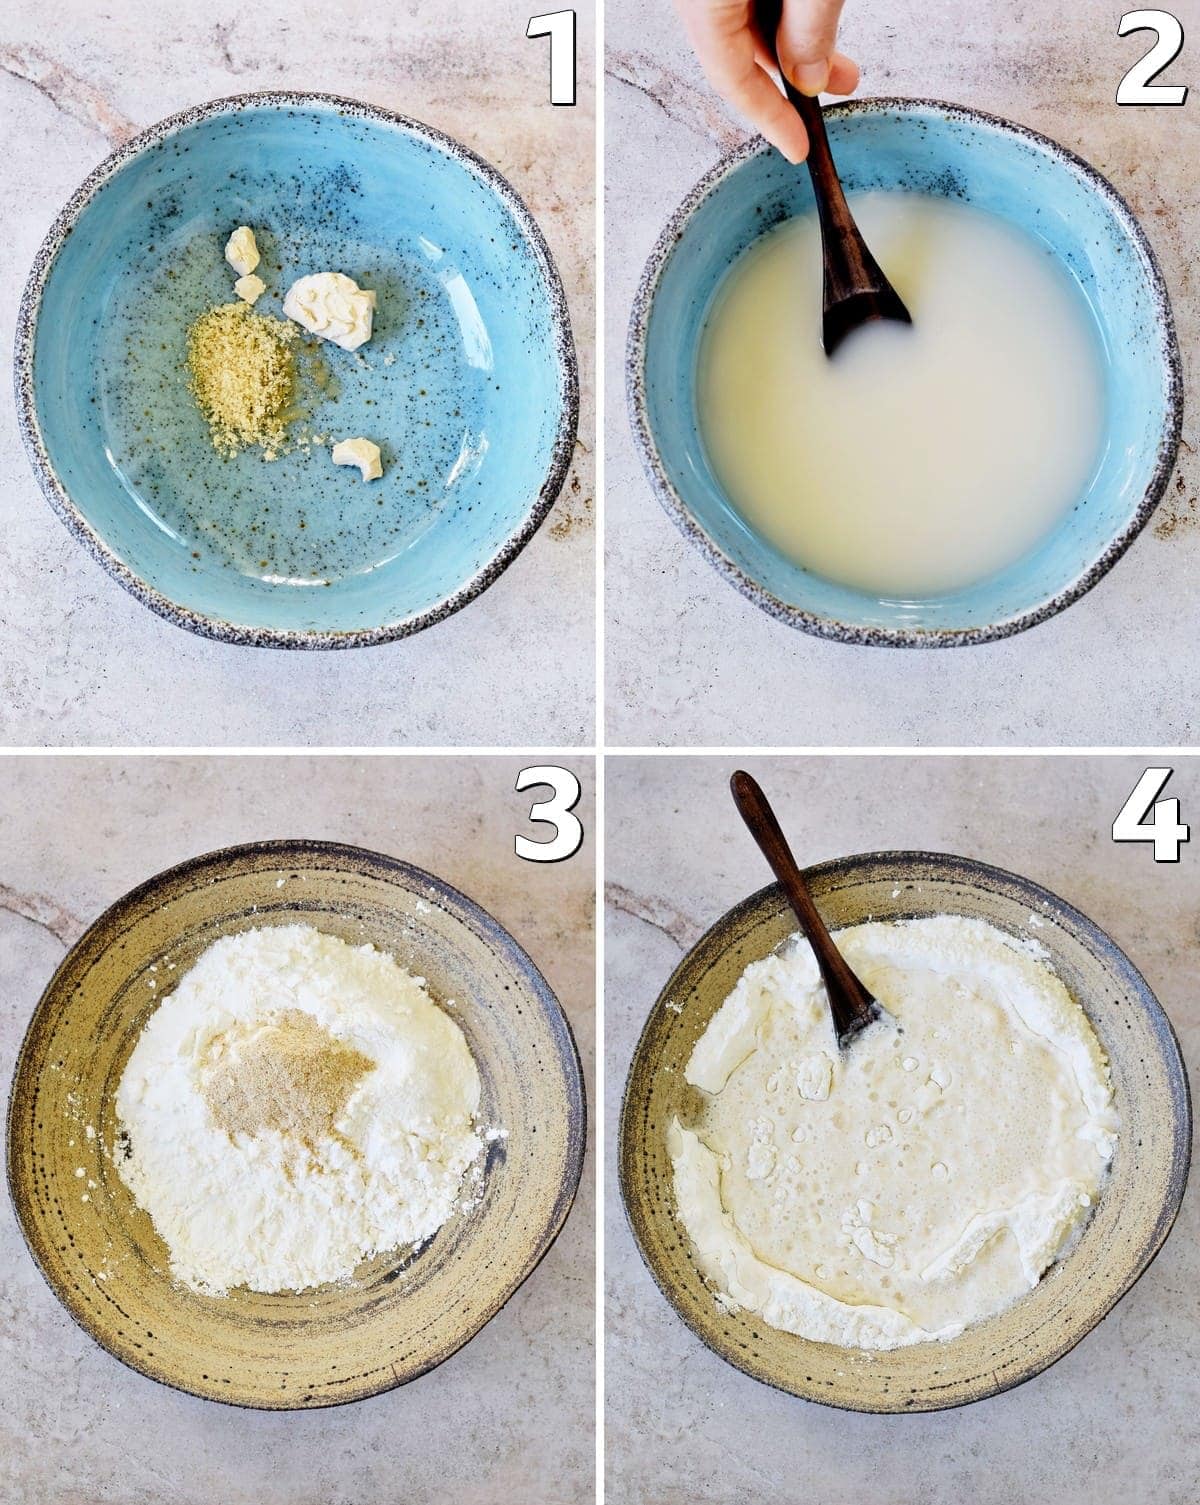
Prepare the yeast mixture
Heat your water to around 40°C (lukewarm), add the yeast, sugar, and stir well with a spoon. Then set aside for five minutes for the yeast to activate – it should begin to froth up and become slightly bubbly.
Make the gluten-free dough
Combine all of the remaining dry ingredients in a large bowl and mix, then add the yeast mixture and oil and stir with a wooden spoon until combined.
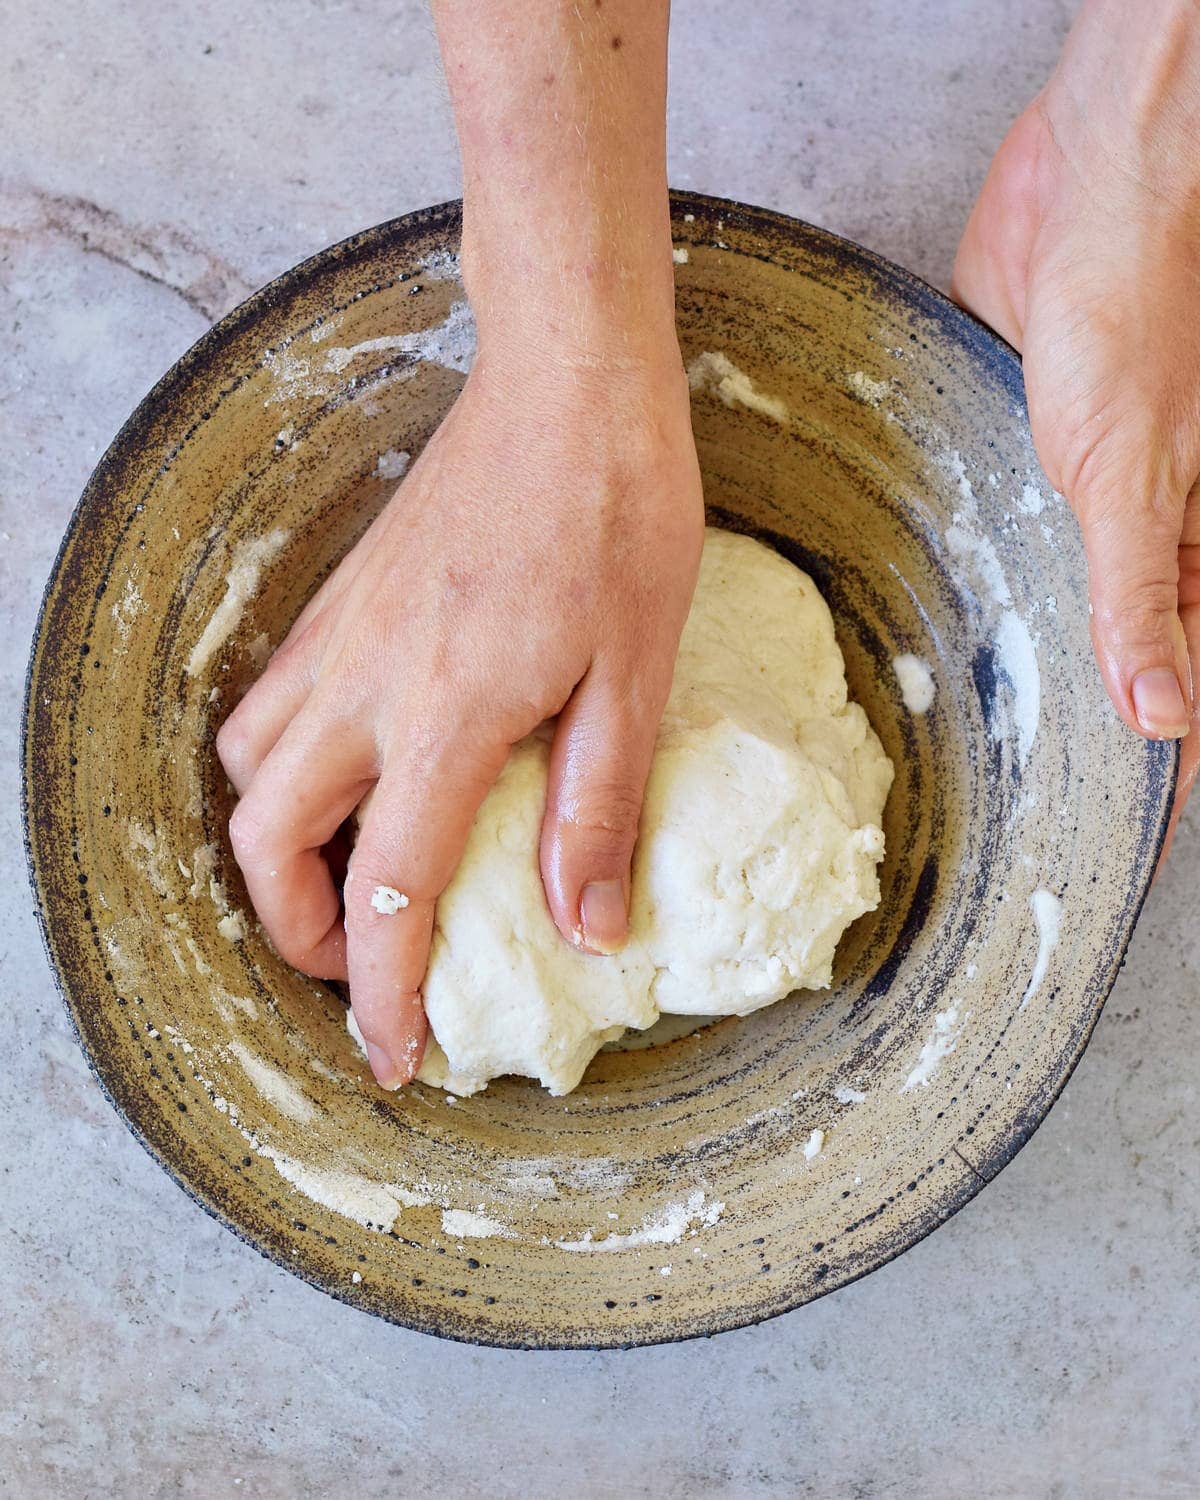
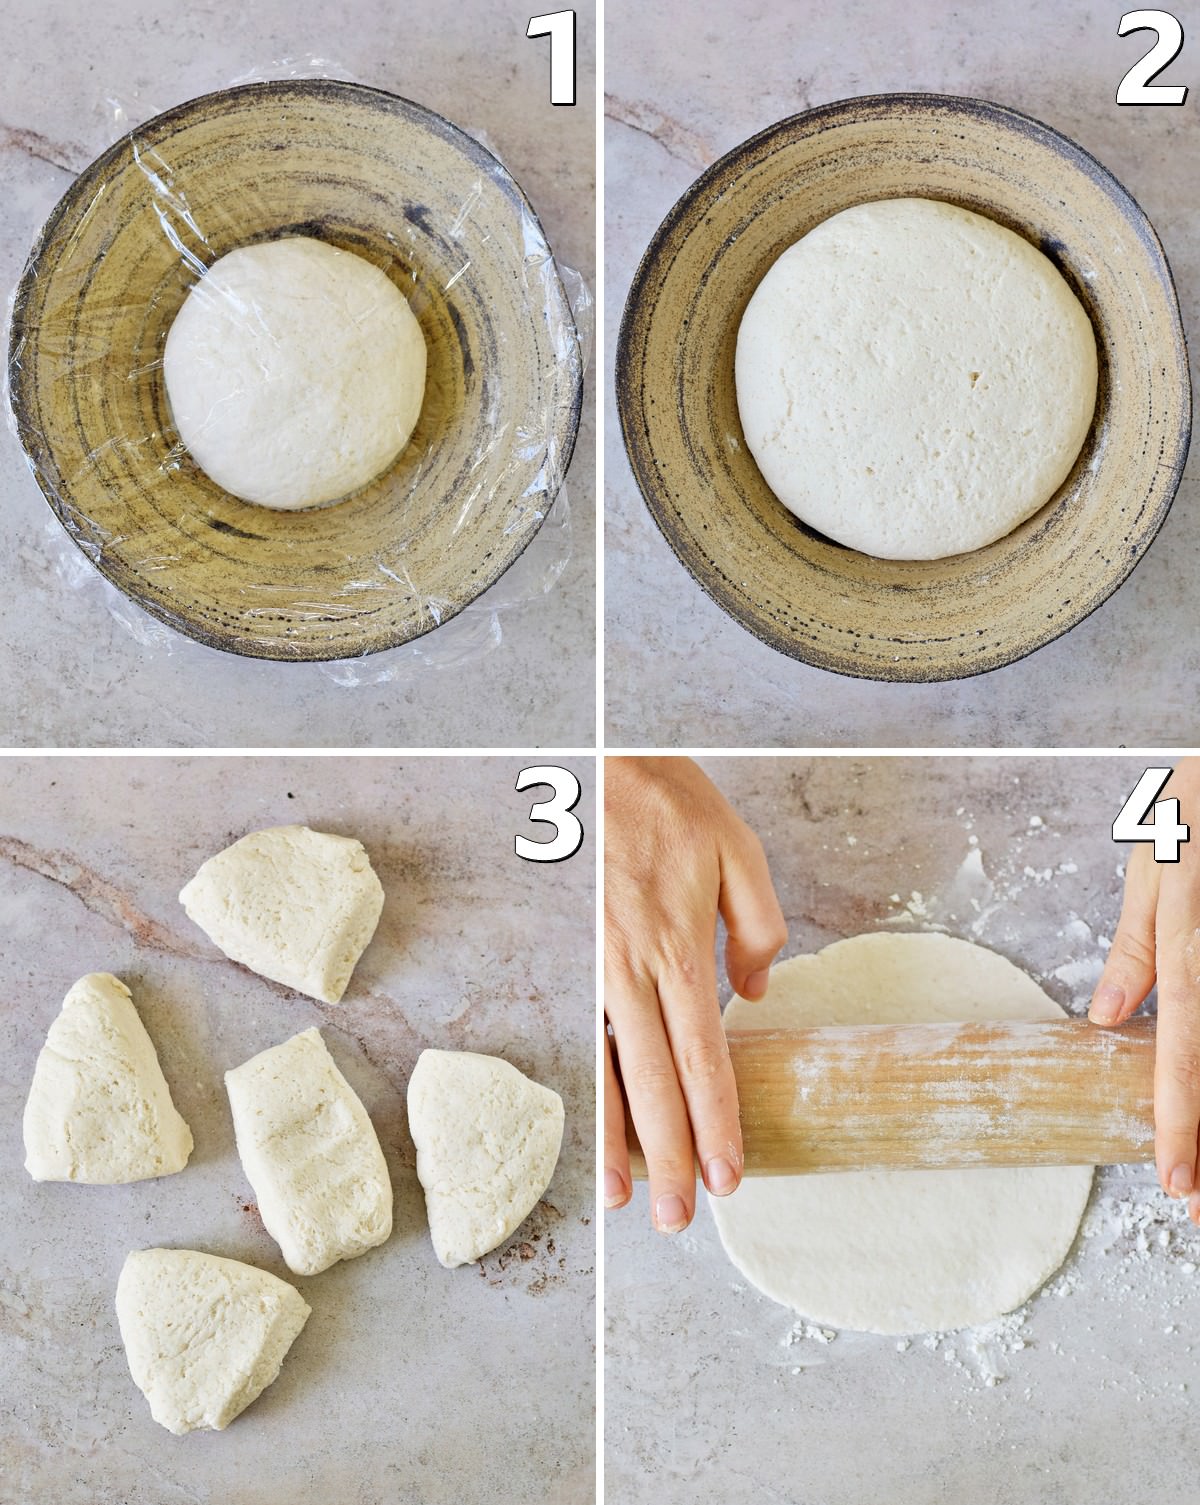
Knead it & allow it to rise
Knead the gluten-free dough for a few minutes, form a ball, and place it back into the bowl. Then, cover the bowl with cling film and allow it to rise in a warm area (preferably between 40-50°C) for 45-60 minutes. Note: You could heat your oven for just a few minutes, then switch off and leave the dough in the warm oven.
Shape the pitas
Divide the dough into 5 pieces (around 90g), or 10 if you want mini pittas, and shape each piece into a ball. Leave to rest for a further 10-15 minutes before rolling each dough ball into a circle around ¼-inch thickness using a floured rolling pin.
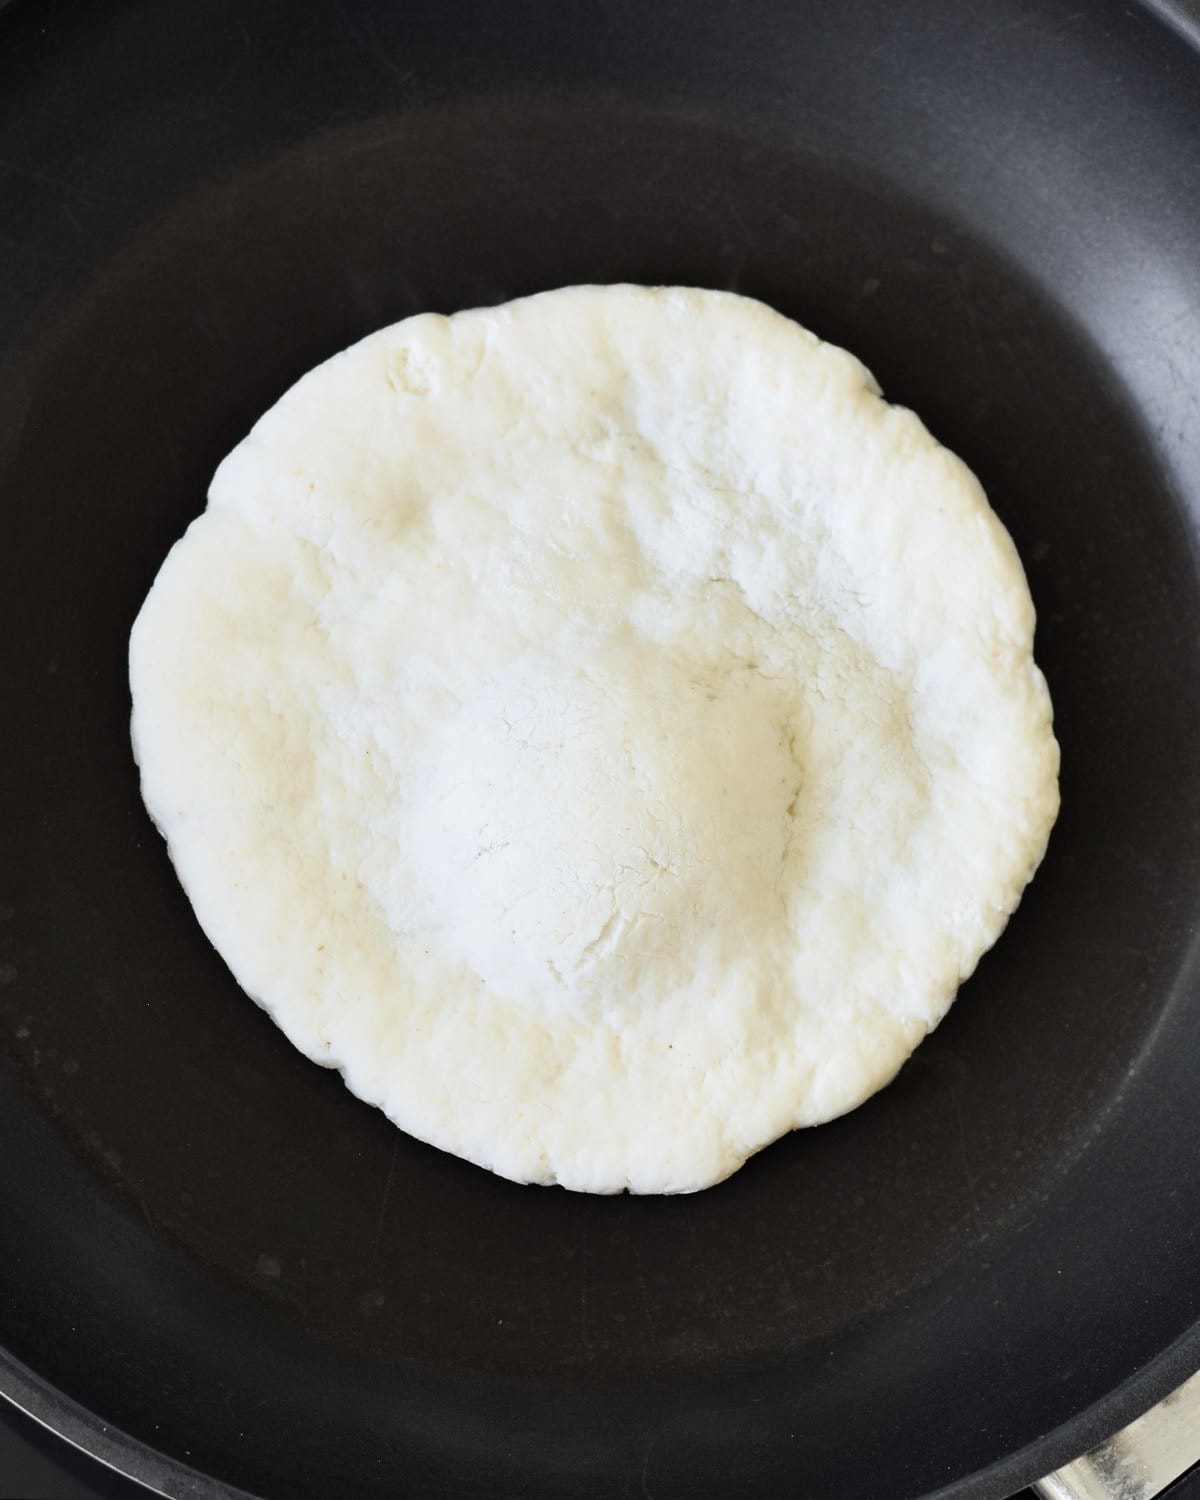
Cook the pita bread
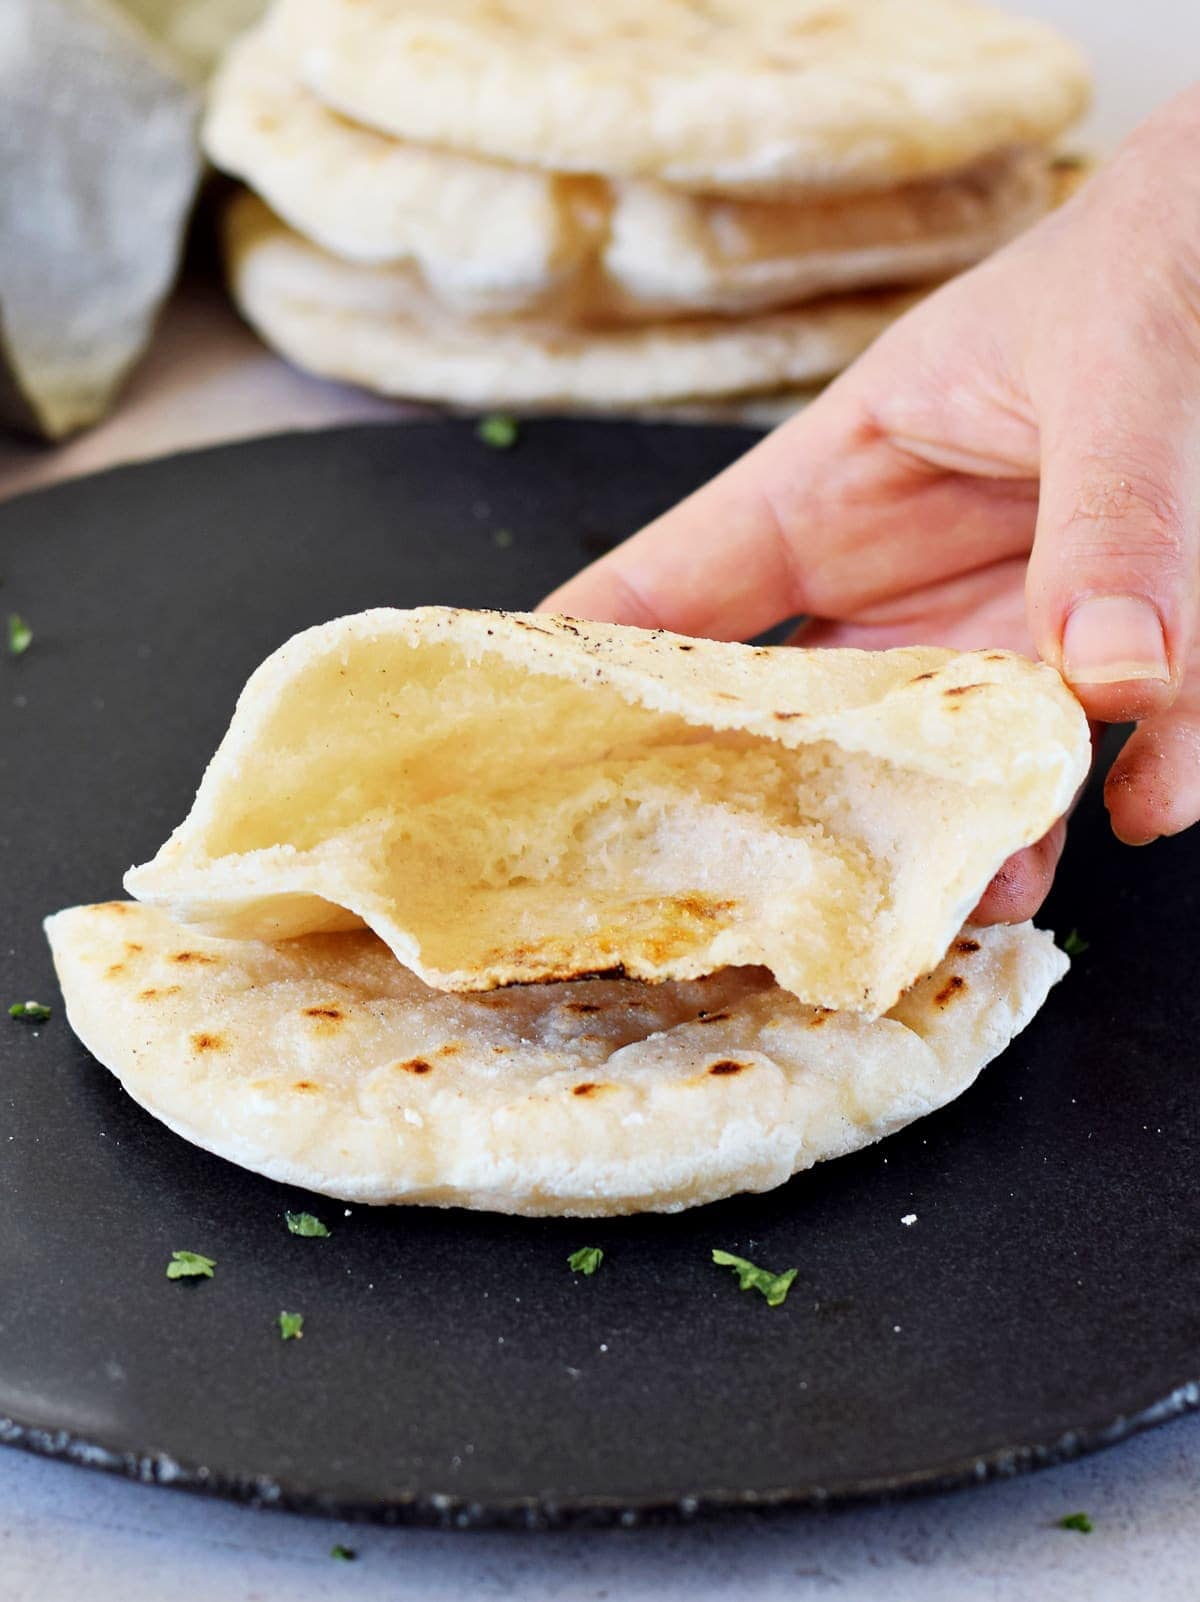
This is the critical step in getting the gluten-free pita to puff up. Make sure not to use heat that is less than 390°F (200°C). Heat a skillet over medium-high heat (I chose 390°F on my induction cooker). Once hot, cook a pita in the pan for 1 minute – until bubbles begin to form on the surface.
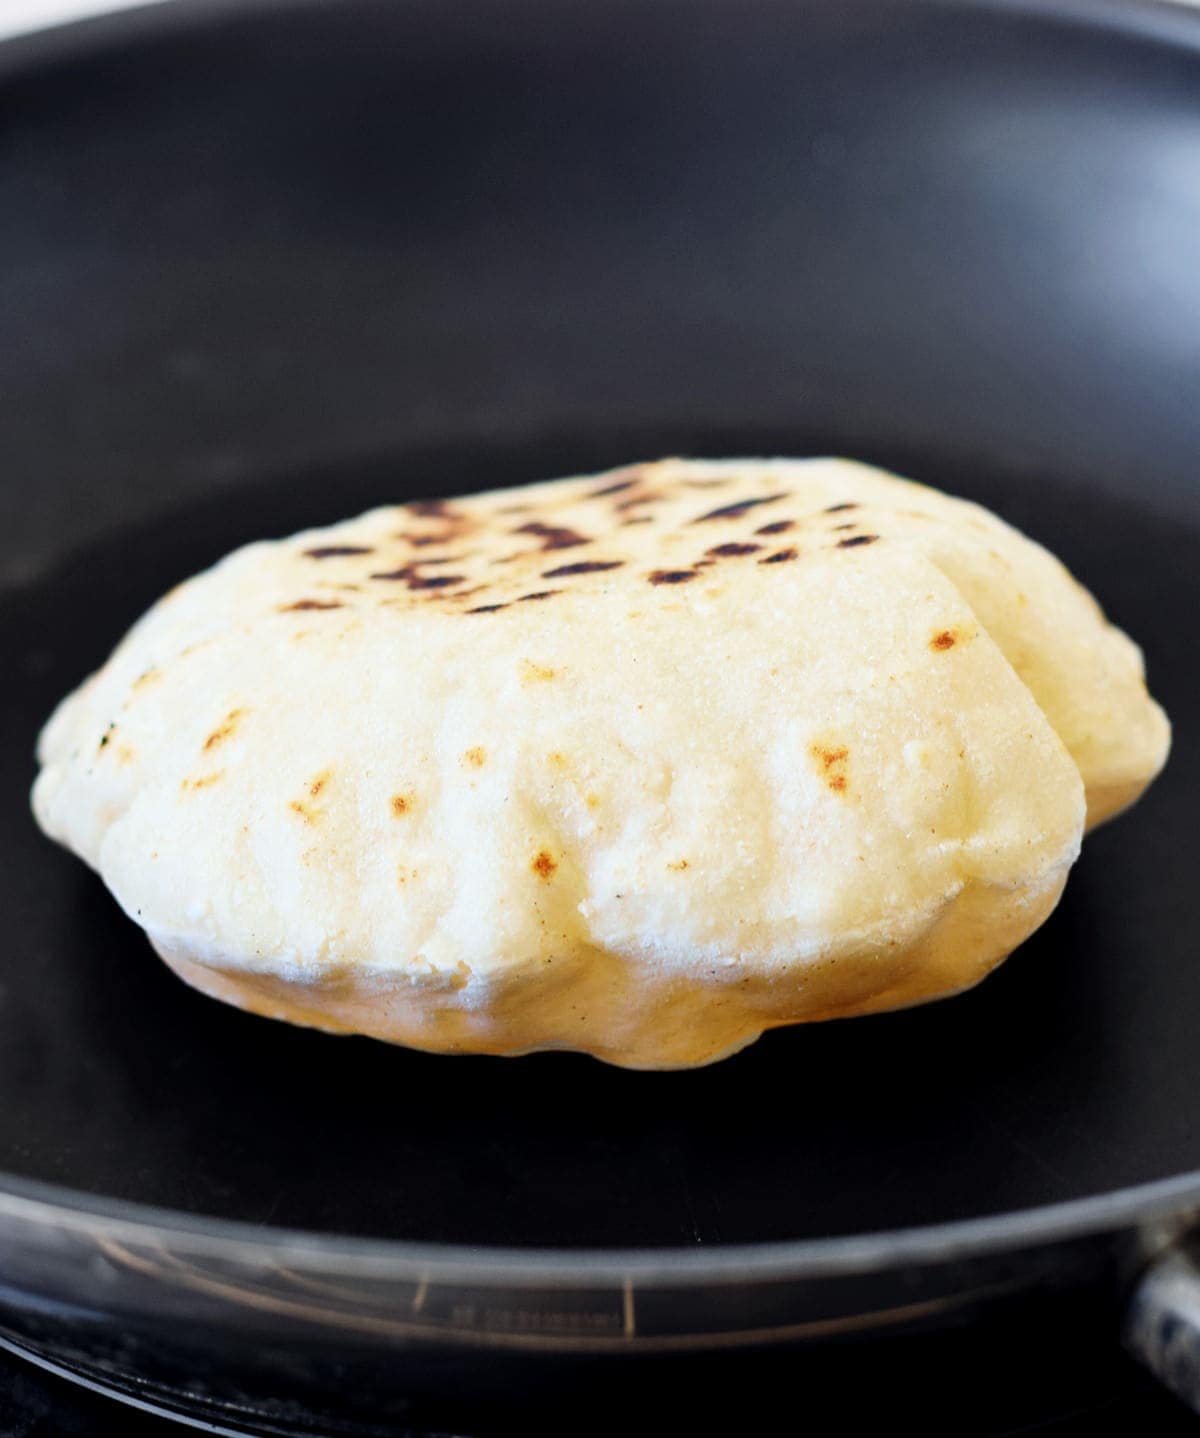
Then, flip the pita over and cook for a further few minutes on the other side. Flip once more, and it should puff up and form a large pocket. Repeat this with the remaining pita dough. Keep all cooked ones covered with a clean, dry kitchen cloth to stop them from drying out/crisping up. How much the gluten-free pita bread puffs up (if it does at all) can be solely down to how thick your dough is rolled out. If you test one pita and it doesn’t puff up, roll the next one thinner and try again. This can take a little bit of practice to get the thickness sweet spot, but when you do – hello pocket-y goodness!
How To Make Ahead & Store?
To Make Ahead:
You can prepare the gluten-free dough in advance and only cook a little at a time. The prepared, uncooked dough can be kept in the fridge, covered, for 2-3 days.
To Store:
I prefer to make the gluten-free pita bread fresh, so they don’t dry and crisp up. However, leftovers can be stored in an airtight container (to avoid them from drying out), for a few days. I like to splash them lightly with a little water and microwave for 10-15 seconds. Or bake in the oven for a couple of minutes), to soften them. This vegan pita bread should also be freezer friendly for up to a month, though it isn’t something I’ve tried. Make sure to wrap the bread well before freezing.
How To Serve?
As pita pockets – i.e., stuffed with falafels, tahini sauce, and salad or even this Vegan Shawarma Kebab. Use leftovers of this gluten-free pita for traditional Lebanese and Middle Eastern dishes like fattoush salad. Cut and bake into pita chips for dips – like this Vegan French Onion Dip or Easy Vegan Spinach Artichoke Dip. Use as a makeshift gluten-free flatbread ‘pizza’. This is a great way to use any that don’t puff up as much as you’d like). Top with your toppings of choice and stick under the broiler for a few minutes. You could also oven-bake them for 10 mins or so until the toppings are warm/melted. Make pita pocket versions of your favorite taco/enchilada fillings. Like these Chickpea Tacos, Oven-Baked Spinach Tacos, or Enchiladas With Lentils. Use with burgers, as an alternative to burger buns.
Useful Recipe Notes
Tapioca flour: You can most likely also use arrowroot flour instead, though I haven’t tried it. Psyllium husk powder: This ingredient is important and shouldn’t be substituted. Rice Flour: Unfortunately, with gluten-free baking, it isn’t simple to swap out the flours to whatever you’d prefer. Each flour reacts to ingredients in different ways. For that reason, I can’t easily suggest alternatives or guarantee results if you choose to use a different gluten-free flour. To make a version with wheat flour: Use 160 ml warm water, 10 g fresh yeast, 1 1/2 tsp organic cane sugar, 270 g all-purpose flour, 1/2 tsp salt, and 2 tsp oil. I tried making the pita bread in the oven, but they didn’t puff up. It may work with a pre-heated pizza stone in the oven, using the hottest setting. Pitas usually need temperatures of at-least 230C/450F to turn the water in the dough to steam and cause the pita to puff up into a pita pocket. You can optionally add some nigella seeds or poppy seeds to the dough for more flavor. For a Mediterranean style gluten-free flatbread, you can roll the dough out thicker. That way, it won’t puff up and have a pocket but should still have a fluffy, slightly chewy texture. When making this homemade gluten-free pita bread, you can control the size and shape of your individual flatbreads. If you want snack-sized mini pitta, go for it- pizza boat-shaped flatbread, sure!
Other Related Bread Recipes
Moist Vegan Cornbread Gluten-Free Vegan Bread Gluten-Free Buns (Bread Rolls) Easy Spinach Tortillas Recipe Gluten-Free Tortillas
If you try this gluten-free pita bread recipe, I’d love a comment and recipe ★★★★★ rating below. Also, don’t forget to tag me in re-creations on Instagram or Facebook with @elavegan/ #elavegan – I love seeing your recreations.
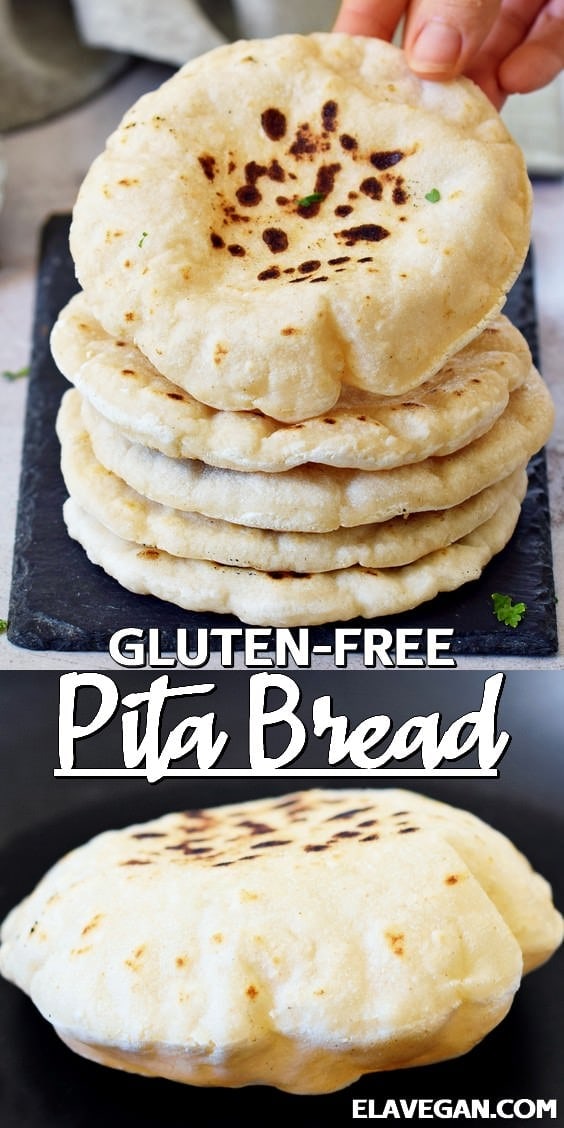
If you are using Pinterest, feel free to pin the following photo: