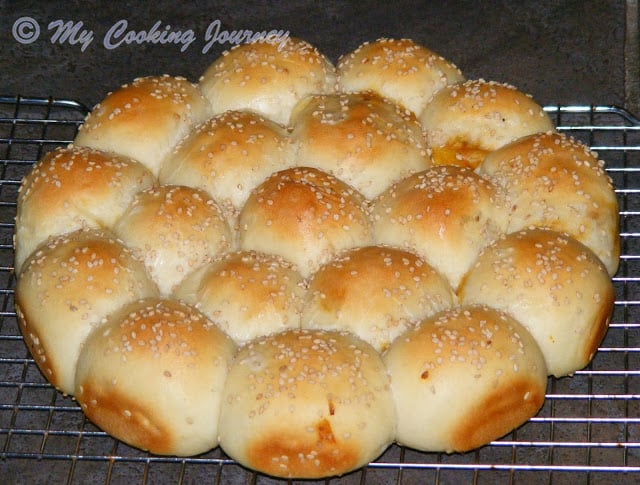
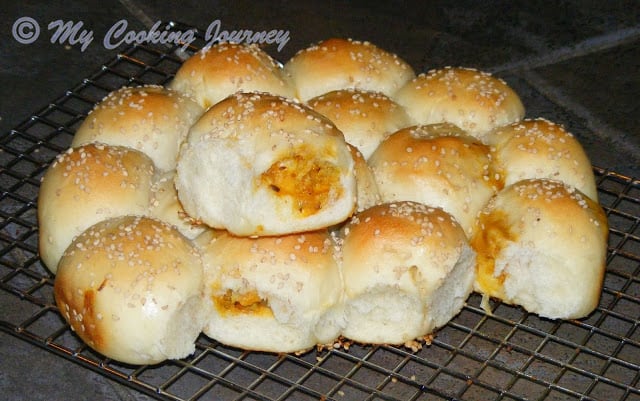
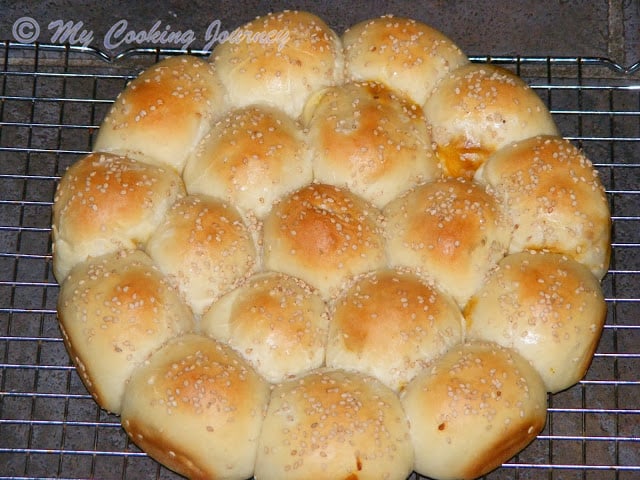
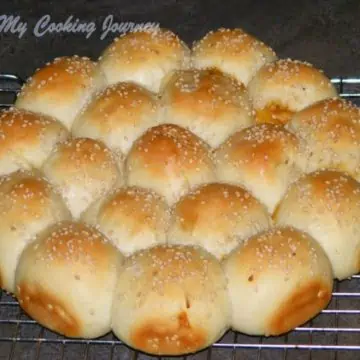
A delicious Paneer / Cheese stuffed Savory bread shaped as Honeycomb. These easy to eat pull apart rolls are perfect as appetizer or as a side with soup. This recipe for Khaliat Nahal makes about 18 small buns that can be easily peeled off and eaten. They were perfect for my kids because they really enjoyed peeling the buns off and eating. My 3 yr old who is generally a little picky about what he eats also loved eating this and in fact I was able to make this his dinner as well along with ours with a bowl of soup. I baked Honeycomb bun as a part of We knead of bake bread for the month of September, but was not able to post it on time. I am posting this recipe this month for my third day of blogging marathon under the category Kids delight – Nutritious food for sports enthusiasts. The reason I chose the Honeycomb Bun recipe for the theme is because my kids loved this. I made the savory version of the Honeycomb bun which was filled with paneer (cottage cheese). This paneer bun with a bowl of hot soup worked great as our dinner. Preparation time - 15 mins plus 2 ½ hrs rising timeCooking time - about 40 minsDifficulty level - Medium
Ingredients to make Honeycomb Buns
For the dough –
All purpose flour – 2 ½ cupsLuke warm milk – 1 cupInstant yeast – 1 ½ tspSugar – 1 tspSalt – 1 tspButter (melted) – 40 gmsMilk – 2 tablespoon (for brushing on top)Sesame seeds (white) – 2 tablespoon (for sprinkling on top)
For the filling –
Onion – 1 (medium) – Chopped finelyGarlic – 2 cloves (minced finely)Cumin seeds – 1 tspPaneer (grated) – 1 cupOil – 2 tspChili powder – ½ tspTurmeric powder – ½ tspDhania jeera powder – ½ tspSalt – to taste
Step by step process
To make the dough
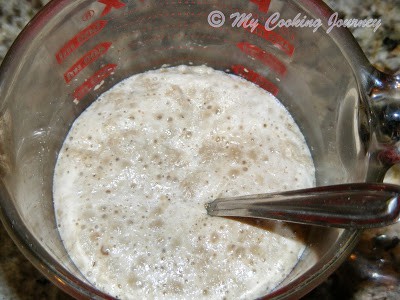
Combine the milk, sugar and yeast in a small bowl and keep it aside for 5 to 10 mins.
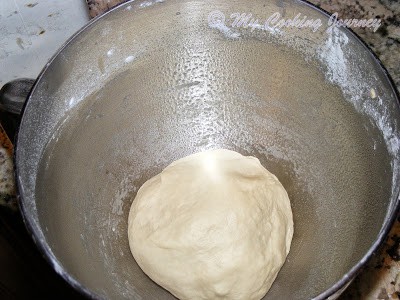
In the bowl of a food processor or stand mixer, add 2 cups of flour, salt and melted butter. Make sure that the butter has cooled down a bit before adding it to the rest of the ingredients. Mix it a couple of times to blend.Now add the proofed yeast to the flour mixture and knead it well adding more flour (the remaining half a cup) until you get smooth and elastic dough which is not sticky. I used all the 2 ½ cups of flour to get the right consistency for my dough.Shape the dough into a ball and place it in a well oiled bowl, turning it once to coat completely with oil.
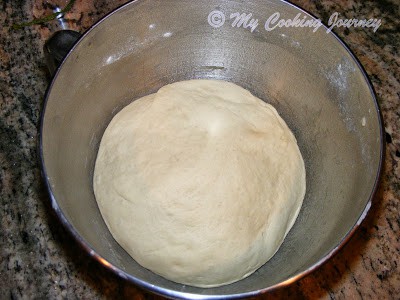
Cover and let it rise in a warm place until double in volume, for about an hour.
To make the filling
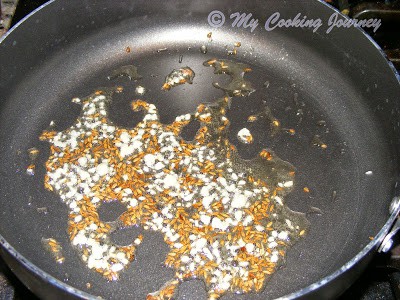
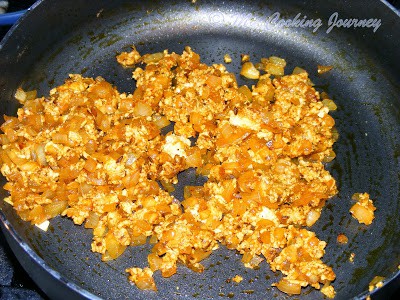
Heat oil in a wide pan and add the cumin seeds. Let it fry for few seconds and then add the minced garlic. Fry it for a minute.
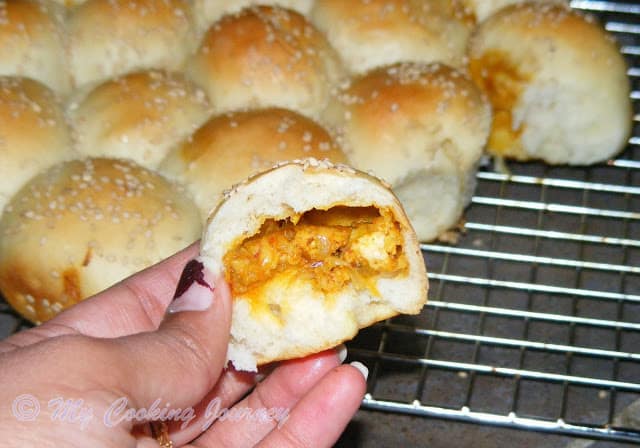
Now add the onions and sauté until golden brown. Add all the spices and the salt. Mix well. Now add the crumbled/grated paneer and mix well to combine.
Keep it aside to cool down.
To shape the buns
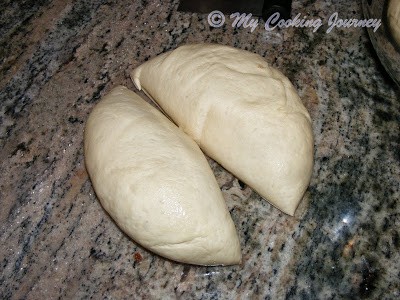
Once the dough has double in volume, drop it on to the work surface and divide the dough into two.
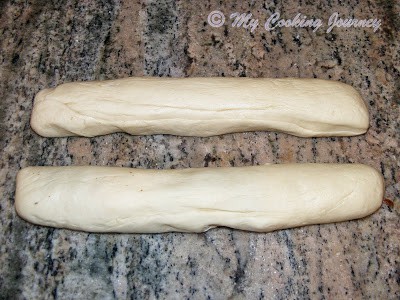
With your palm, roll out each of the halves into a rope about 9 inches long.
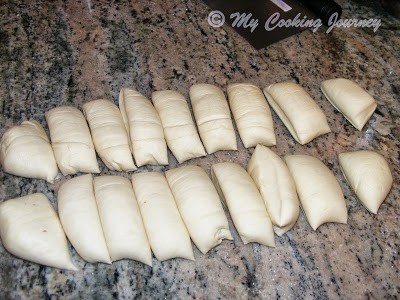
Now cut each rope into equal one inch pieces to get 18 pieces in all.
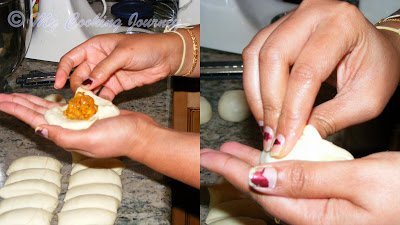
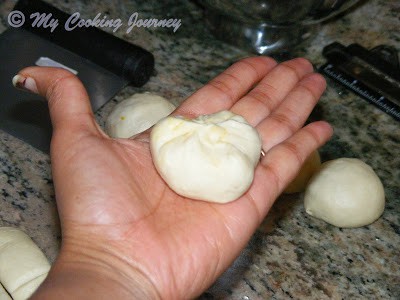
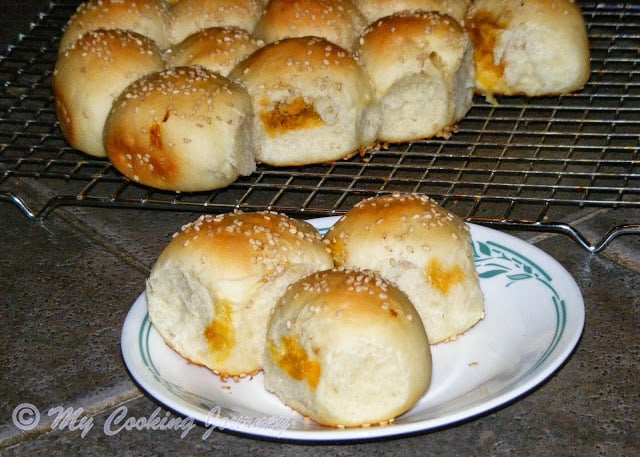
Take each piece and flatten it in your palm. Now add about 1 teaspoon of filling into it. Pull up the sides and cover the filling. Pinch the seams tightly. If you have made kozhukattai (modak), this is more like that.
Smoothen each of the filled piece into a round ball.
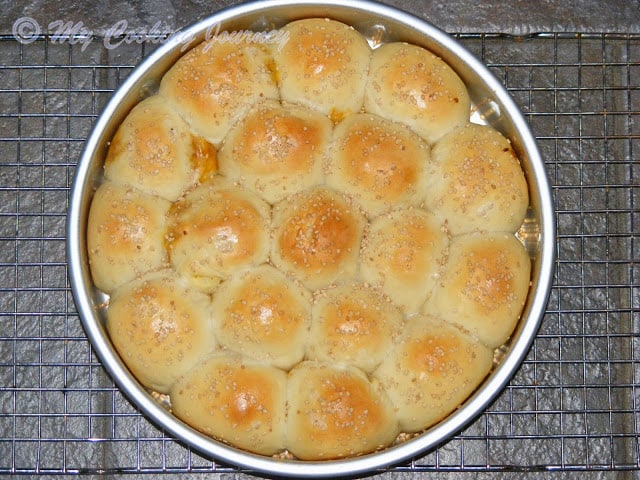
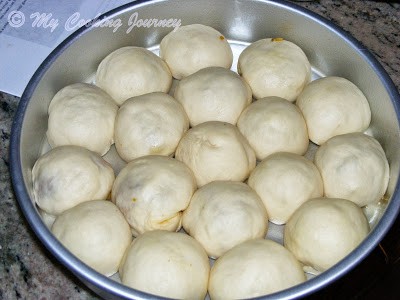
Place these in a well oiled 9 inch or 10 inch round cake tin. Repeat the same with the remaining 17 pieces. When arranging, place the balls in a concentric circle to get the honeycomb effect.
Cover with a towel and let it rise for about 30-40 mins.
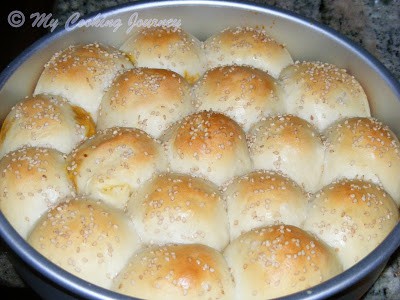
Brush the tops of the rolls with milk and sprinkle the sesame seeds over this.
Bake the buns at 350 F for about 25 mins.
Let it cool in the tin for about 5 mins and then cool it on a wire rack.
Serve Khaliat Nahal Buns as a snack with tea/coffee/milk.
Expert tips
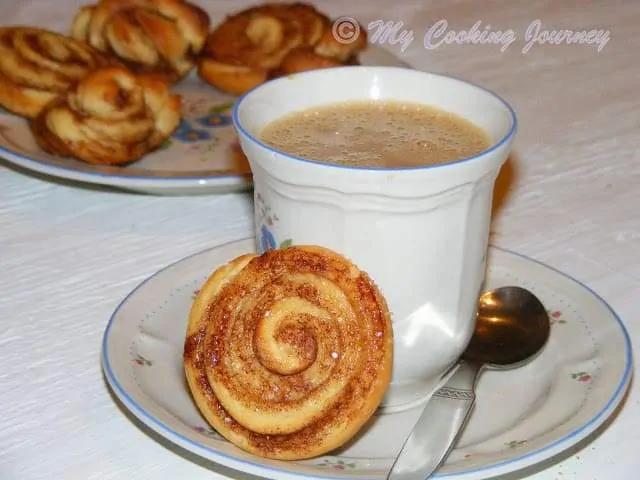
Use yeast that is fresh. If the yeast does not become bubbly when mixed with milk, discard and start with a new batch.We can use any kind of filling to make this Khaliat Nahal buns.If you love sweet breads, then absolutely give the sweet version of this bun a try.
Frequently asked questions
More rolls and buns
If you made this recipe and liked it, give a star rating on the recipe card or let me know in the comments below. You could also share it with me on Instagram using #MyCookingJourney and tagging me @sandhya.ramakrishnan. You could follow me and my recipes on Facebook |Instagram | Pinterest | Twitter/X
Recipe