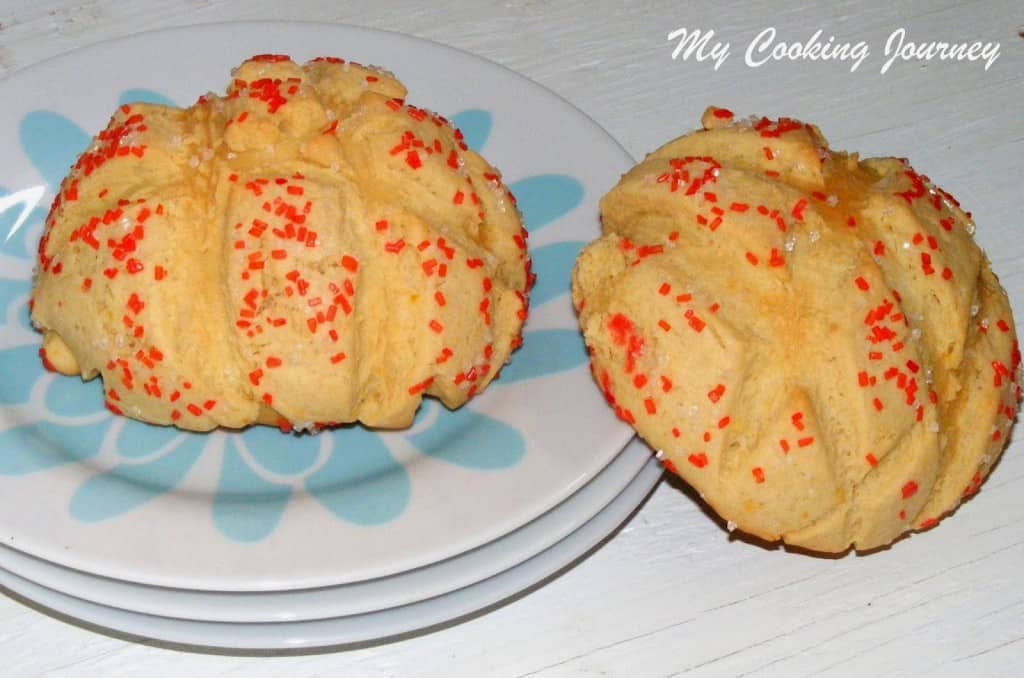
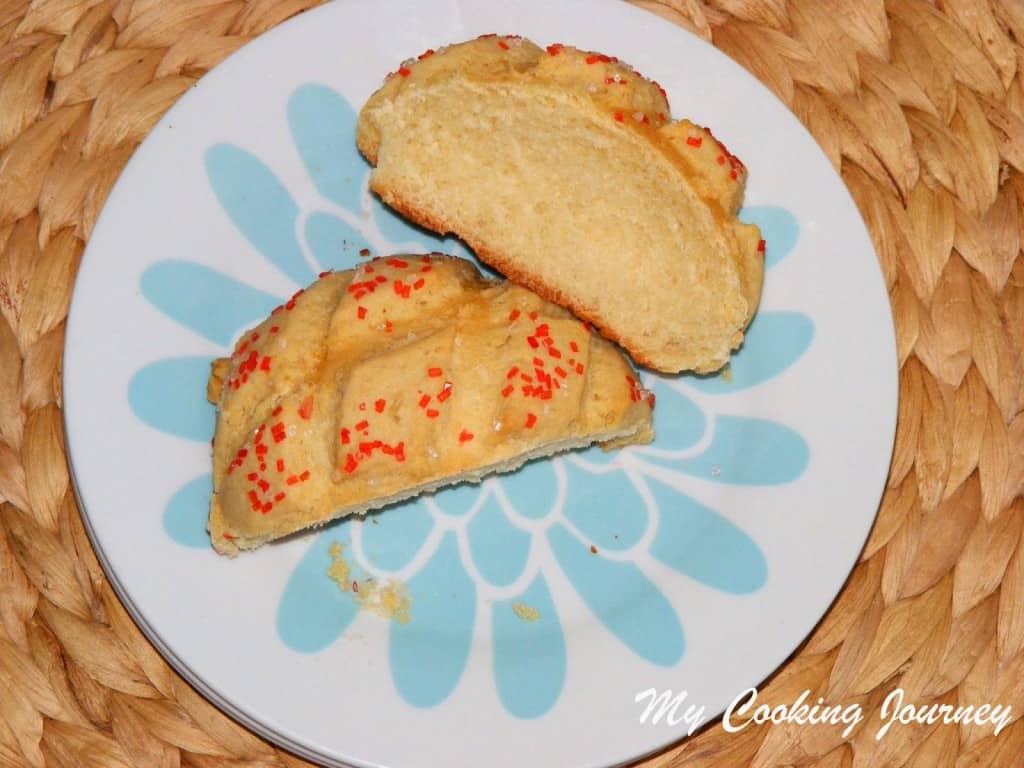
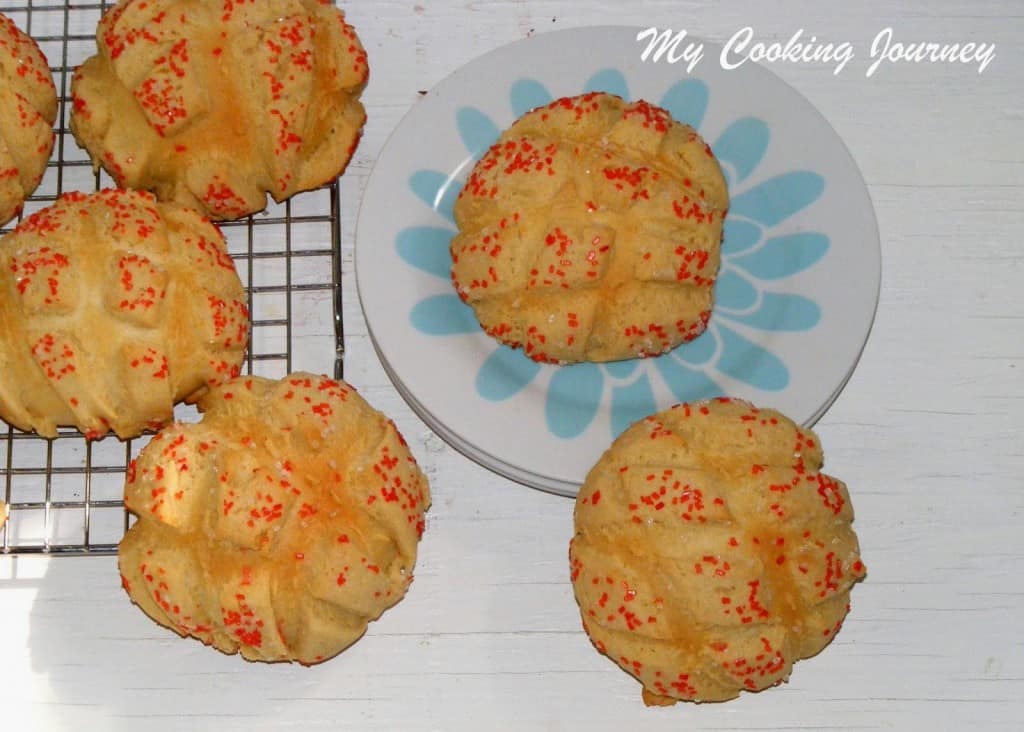
When Aparna sent the recipe over for this, I was not sure how it was going to turn out. I definitely wanted to make it because of my love to try recipes from different countries. Finally got to make it this week and ever since I made this, my son has been taking this to school as his snack (3 days in a row now). ‘Pans’ means bread in Japanese and this bread gets its name because of the distinct knife marks on the top layer which resembles a crisscross cut in a melon that is then split open. This is a very soft, rich bun that is mildly sweet and is covered with a sweet and crunchy cookie layer on top. The cookie dough is flavored with lemon zest and my son has renamed the bread Lemon pan and that is what he insists on calling it. These are best when eaten the day they are baked, but it is still going strong the third day in my house (the top layer has lost its crunchiness and now it feels a lot like a soft shortbread cookie). Preparation time - 2 hrs and 30 minutesCooking time - about 25 minutesDifficulty level - medium
Ingredients to make Japanese Melon Pans - Makes 8 large Melon pans
For the Bread dough
All Purpose flour - 1 ¾ cups (plus more for dusting) Milk powder - 2 tbsp Instant yeast - 1 tsp Salt - ½ tsp Water - ⅓ cup (room temperature) Egg - 1 large (beaten) Sugar - 1 tbsp Butter - 25 gm (room temperature)
For the Cookie dough
All Purpose flour - 1 ⅓ cups Baking powder - ¾ tsp Salt - ¼ tsp Butter - 60 gm (room temperature) Sugar - ⅓ cup (if you like it less sweet, use ¼ cup) Egg - 1 large Vanilla extract - ½ tsp lemon zest - 1 tsp Castor sugar or other large granulated sugar - to coat on top (I used the leftover colored sugar from Christmas baking)
Procedure to make Japanese Melon Pans
To make the Bread dough
I used my stand mixer to knead the dough.
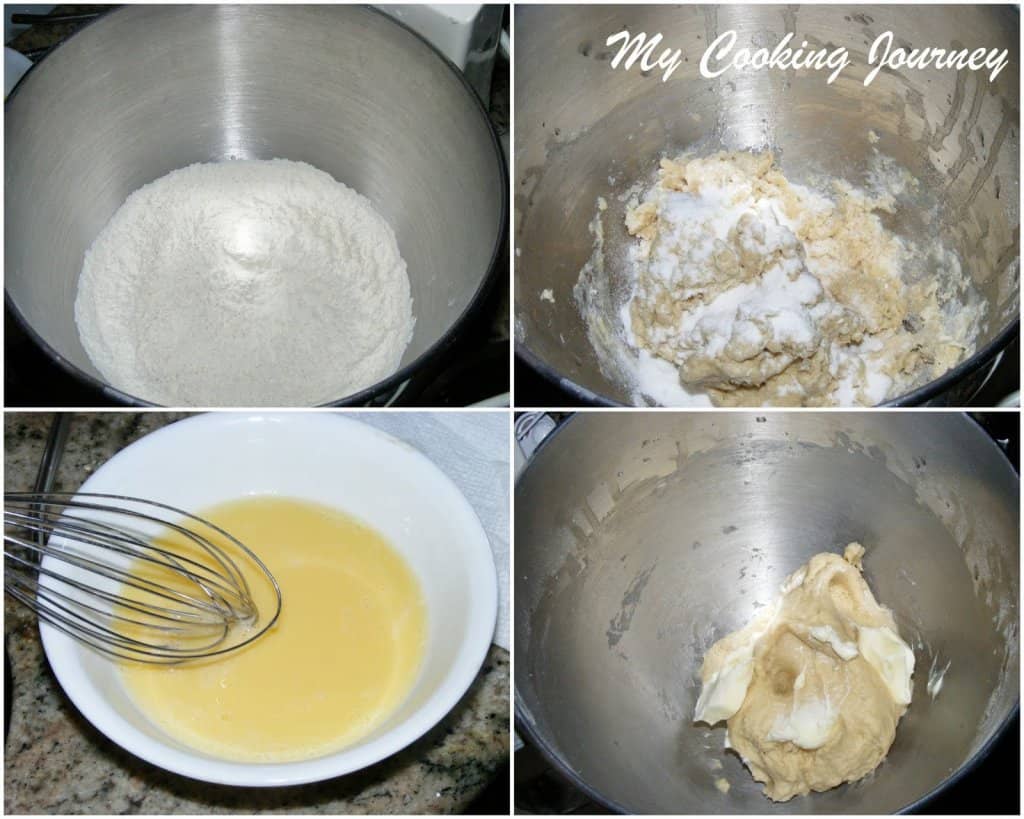
Whisk the flour, milk powder, yeast, and salt in the bowl of the mixer. In a separate bowl, beat the egg with the water until well blended. Add this mixture to the flour and start kneading. Knead initially at low speed and then increase the speed and knead until you have a stiff dough. Add the sugar and continue to knead.
Now incorporate the butter into the dough and start kneading again until the dough becomes soft and elastic. The dough will appear very sticky in the beginning, but as you knead it will become less sticky.
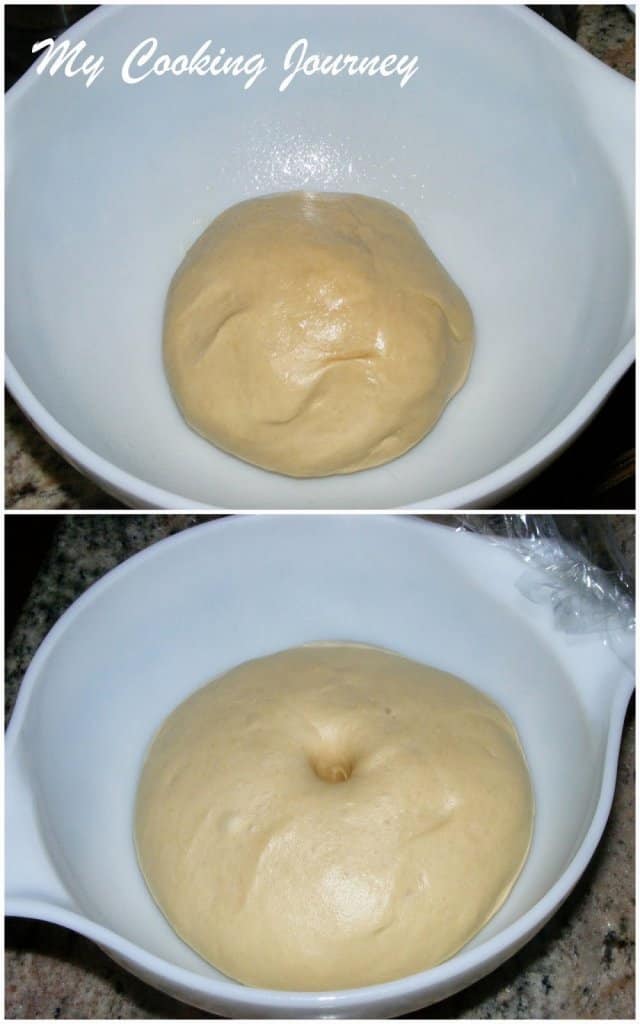
Shape the dough and place it in a greased bowl to rise until it doubles in volume (about an hour).
To make the cookie dough
In the same mixer bowl, cream the butter and sugar using the whisk attachment, until it turns white and fluffy. Now slowly add the egg and beat until it is incorporated well. Add the vanilla extract and beat again.
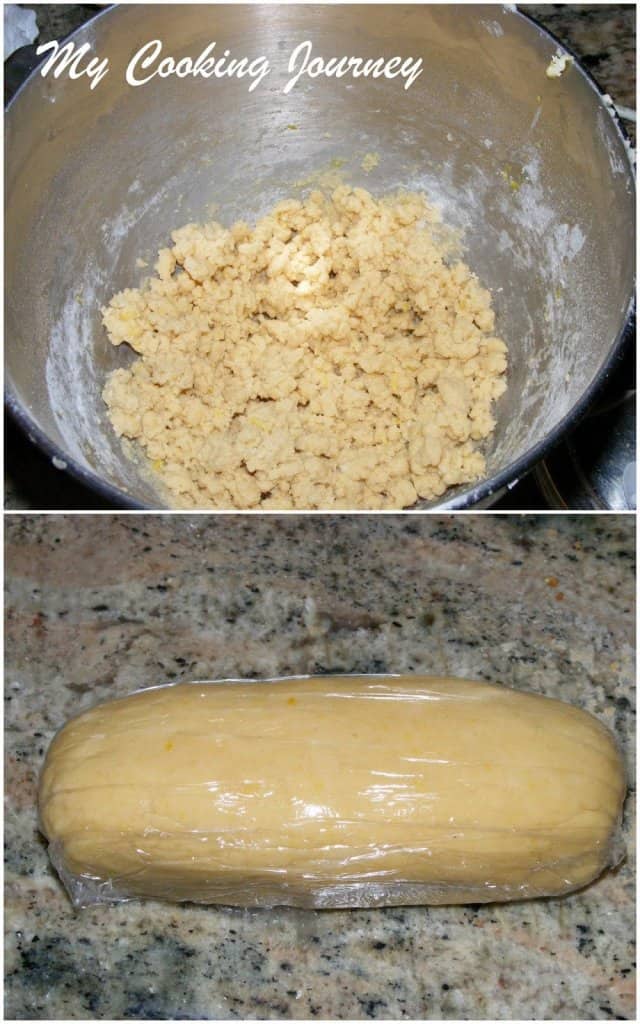
Whisk the flour, baking powder, and salt in a separate bowl and add it to the butter mixture. Also, add the lemon zest and beat until combined.
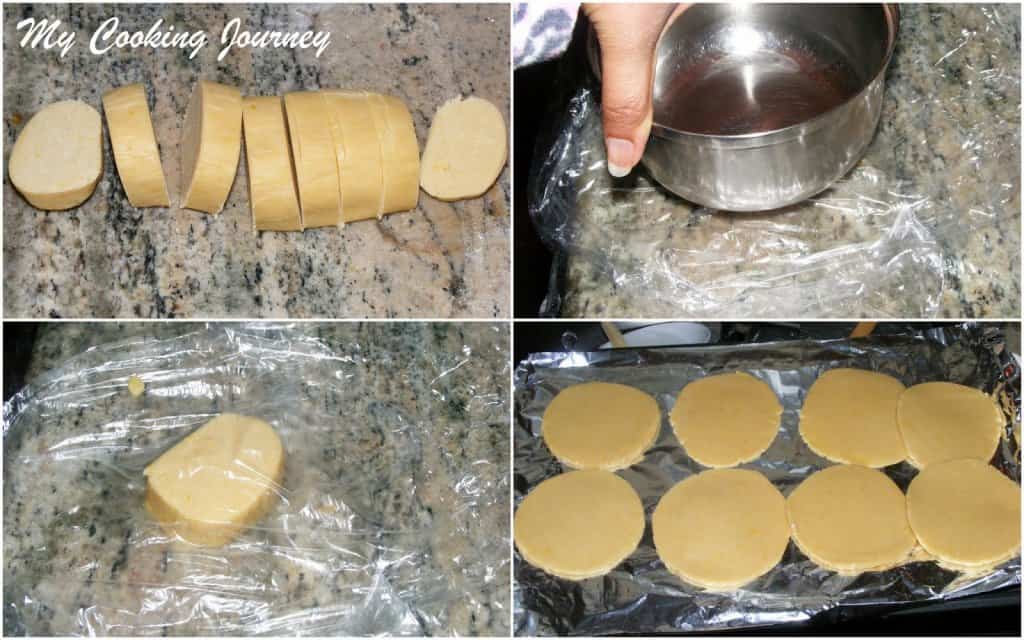
Shape the dough into a log and wrap it in plastic. Refrigerate this until the bread dough is ready.
Shaping the Melon buns
Once the dough has doubled, deflate the dough gently on a lightly floured surface. Weigh and divide the dough into 8 balls (about 60 gms each).
Work with one piece of dough at a time and keep the rest covered to prevent drying out.
Remove the cookie dough from the refrigerator and slice them into 8 equal parts. Take a piece of the cookie dough and place it between two pieces of plastic wrap. Using a flat bottom bowl, press on the cookie dough until it flattens. The dough should be large enough to cover the bread rolls. repeat the same with all the cookie dough and place it on a floured baking tray.
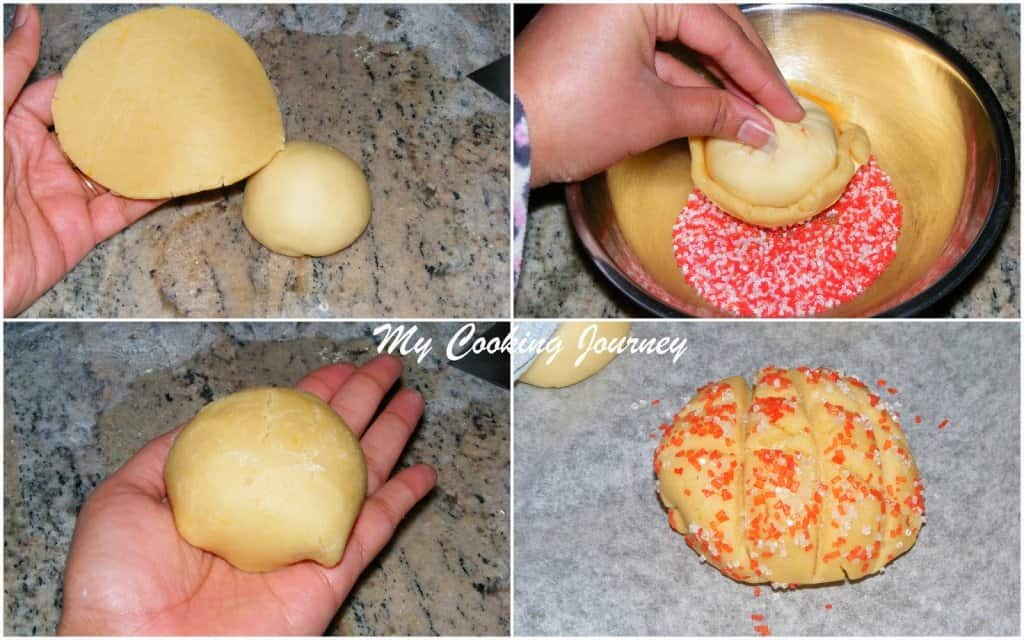
Now take one bread dough ball and place the cookie layer on top of it. Cover the entire top of the bread roll (the bottom should be open) and shape it into a smooth ball shape.
Hold the shaped dough in the bottom and roll it onto the castor sugar to coat the top.
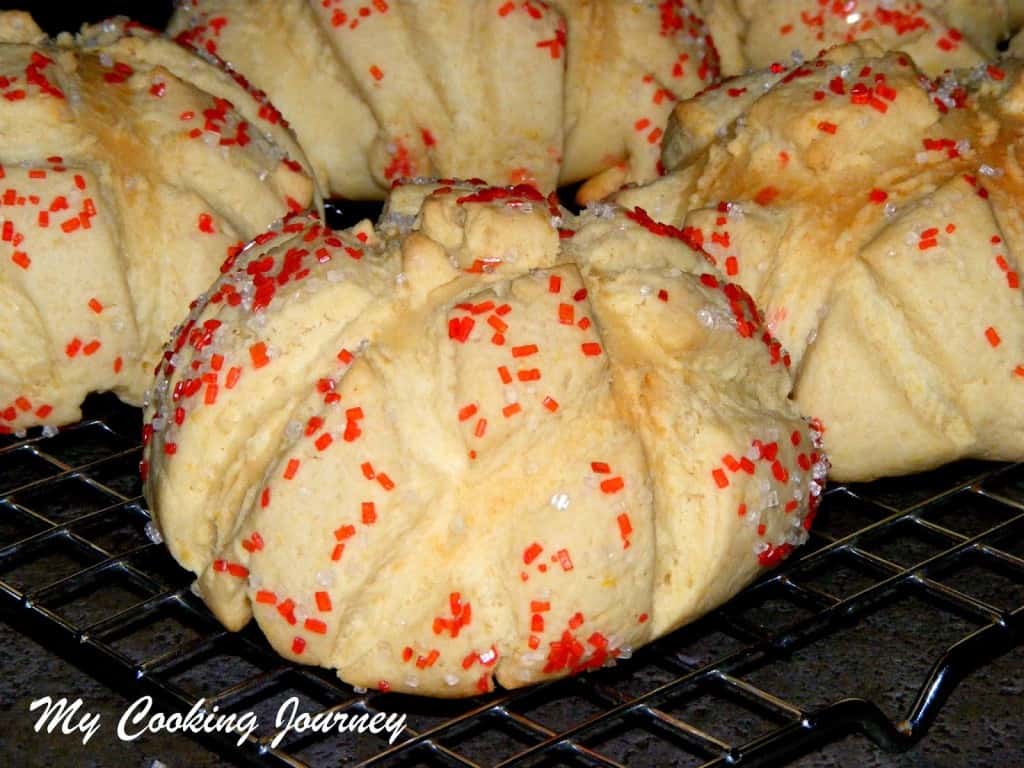
Now using a scraper or a blunt knife, draw a crisscross shape on the cookie layer. The pattern should be deep, otherwise, they will disappear when the rolls rise for the second time. Repeat the process with the rest of the dough.
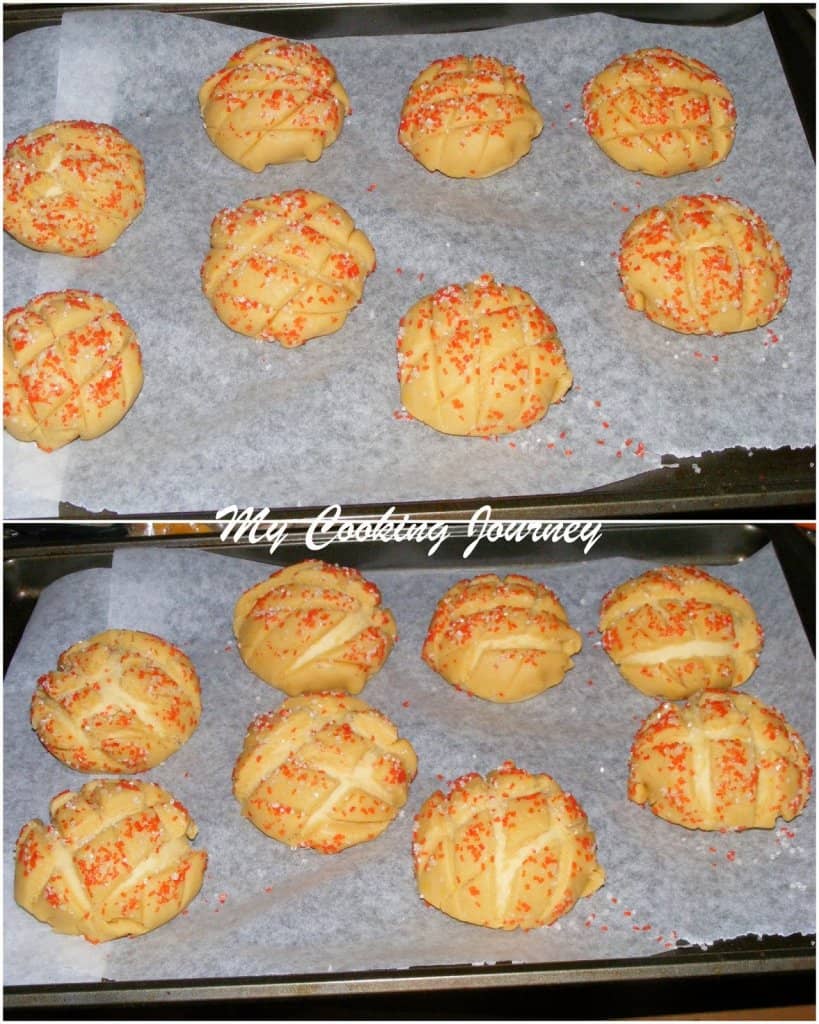
Place these on a parchment-layered baking sheet and let them rise for about an hour.
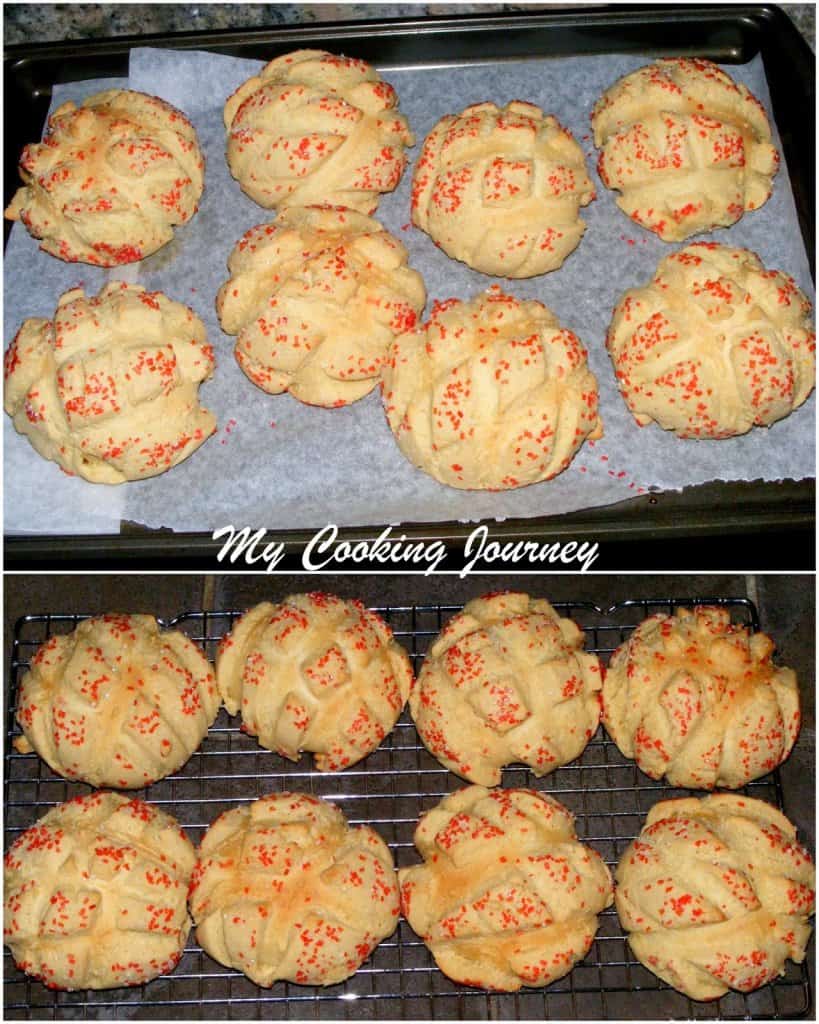
Bake the rolls in a preheated 350 F oven for about 22-25 minutes or just until the top of the Melon pan starts to turn brown. If left too long, the bottom layer will burn.
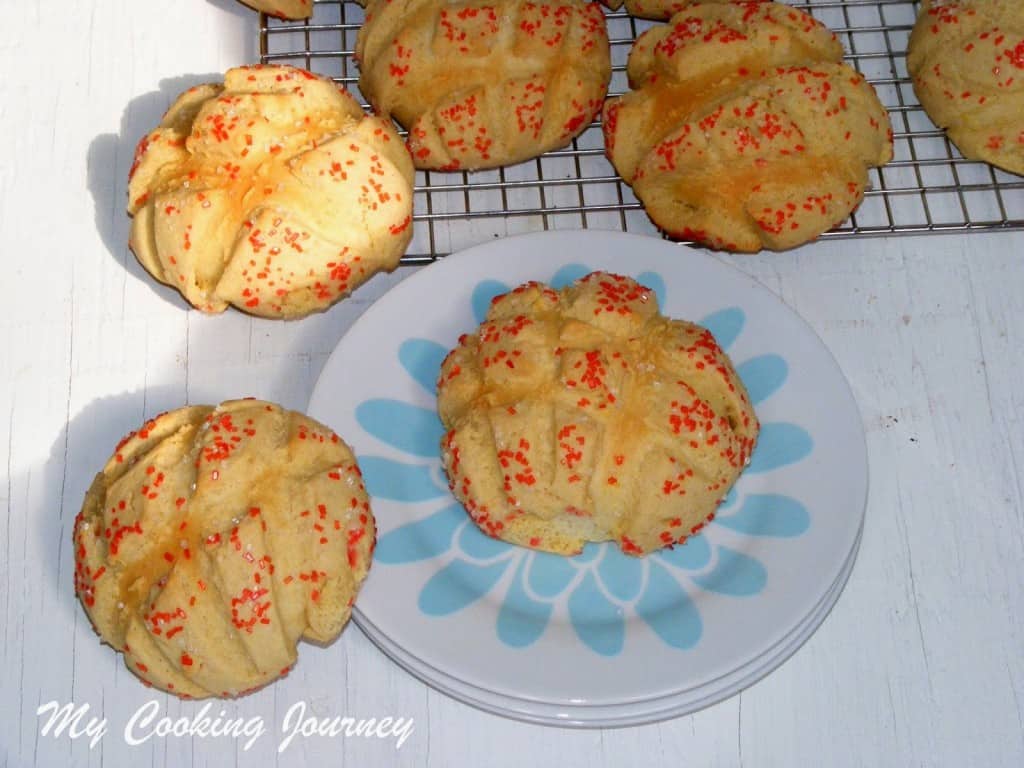
Transfer the Japanese Melon buns to a cooling rack to cool thoroughly.
If you made this recipe and liked it, give a star rating on the recipe card or let me know in the comments below. You could also share it with me on Instagram using #MyCookingJourney and tagging me @sandhya.ramakrishnan. You could follow me and my recipes on Facebook |Instagram | Pinterest | Twitter/X
More Kids-Friendly Ideas
Recipe