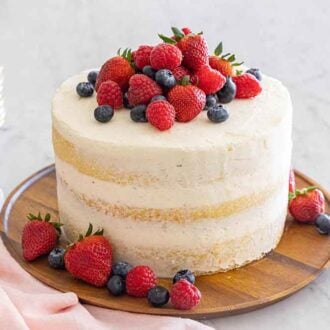
Popularized by Christina Tosi, founder of Milk Bar, naked cakes started popping up in 2014 and have become a popular choice for wedding, baby shower, bridal shower, Easter, Mother’s Day, and more! It’s always a crowd-pleaser, and you will love how easy it is to bake and assemble. Want another easy cake that is perfect for any occasion? Try my vanilla cake recipe, Chantilly cake recipe, or chiffon cake recipe.
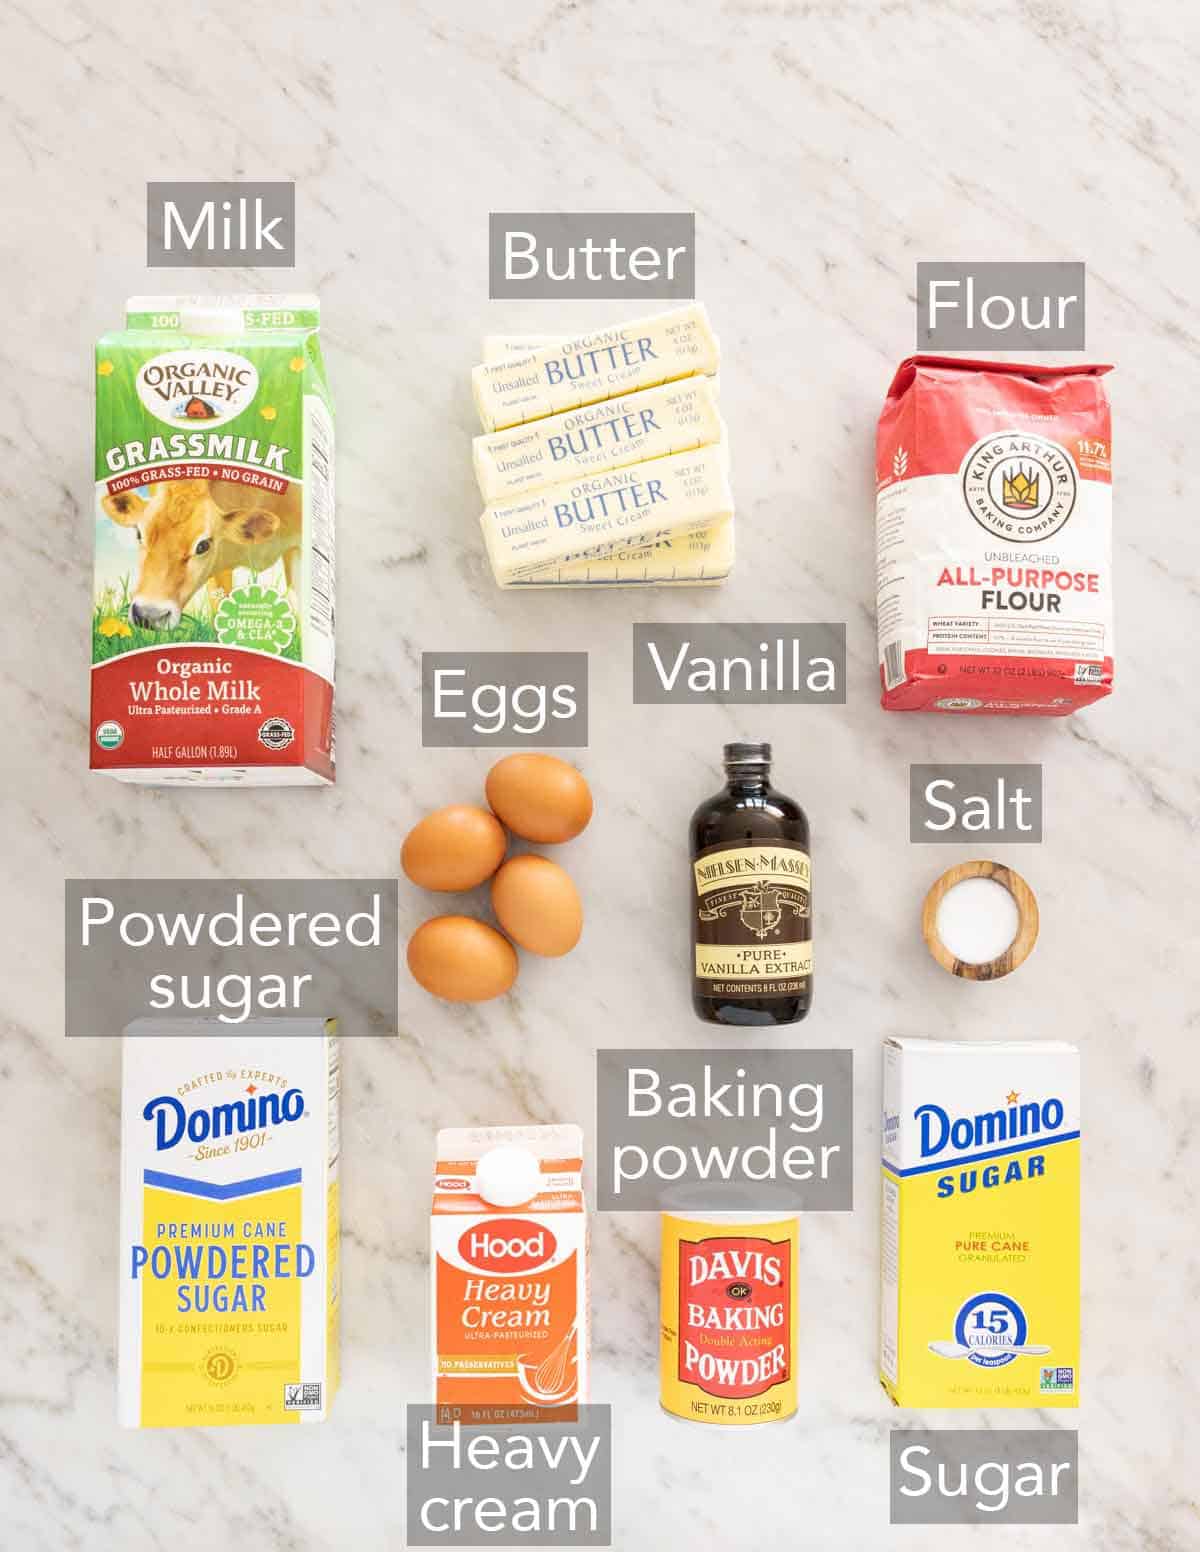
What You Need to Make This Recipe
Baking powder — always double-check that your baking powder has not expired. Butter — did you know that different brands of salted butter vary in salt content? So, it’s best to use unsalted butter and then add salt to the batter. Be sure to have your butter at room temperature so it can easily cream. Room temperature butter should make a slight indent when pressed with your finger. Eggs — this cake calls for four eggs. Make sure you take them out ahead of time as they will incorporate into the batter better when at room temperature. Vanilla — I highly recommend using a high-quality vanilla extract instead of artificial vanilla, as this is the backbone of the flavor of the cake. Milk — not only does milk add moisture, but it also adds richness and flavor to the naked cake. Powdered sugar — avoid swapping powdered sugar for another sugar. The fine powder will yield a smooth vanilla buttercream frosting. You might also find this sugar labeled as icing sugar or confectioners’ sugar. Give it a sift before using it if it is lumpy. See my post on how to make powdered sugar if you’ve run out.
How to Make Naked Cake
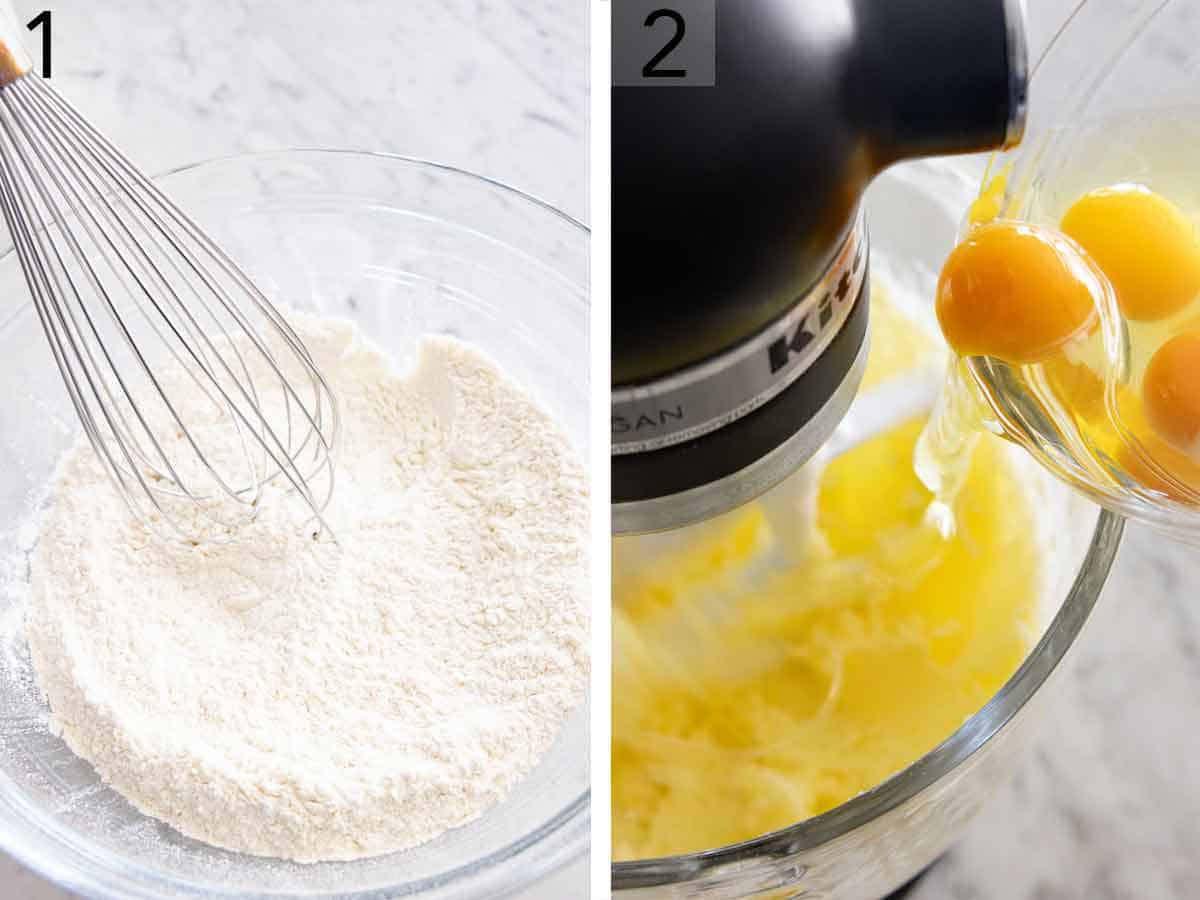
In a medium bowl, whisk together the flour, baking powder, and salt.
In the bowl of a stand mixer fitted with the paddle attachment, beat the butter on medium speed until creamy. Add the sugar and beat until light and fluffy. With the mixer running, add the eggs, one at a time, before adding the vanilla.
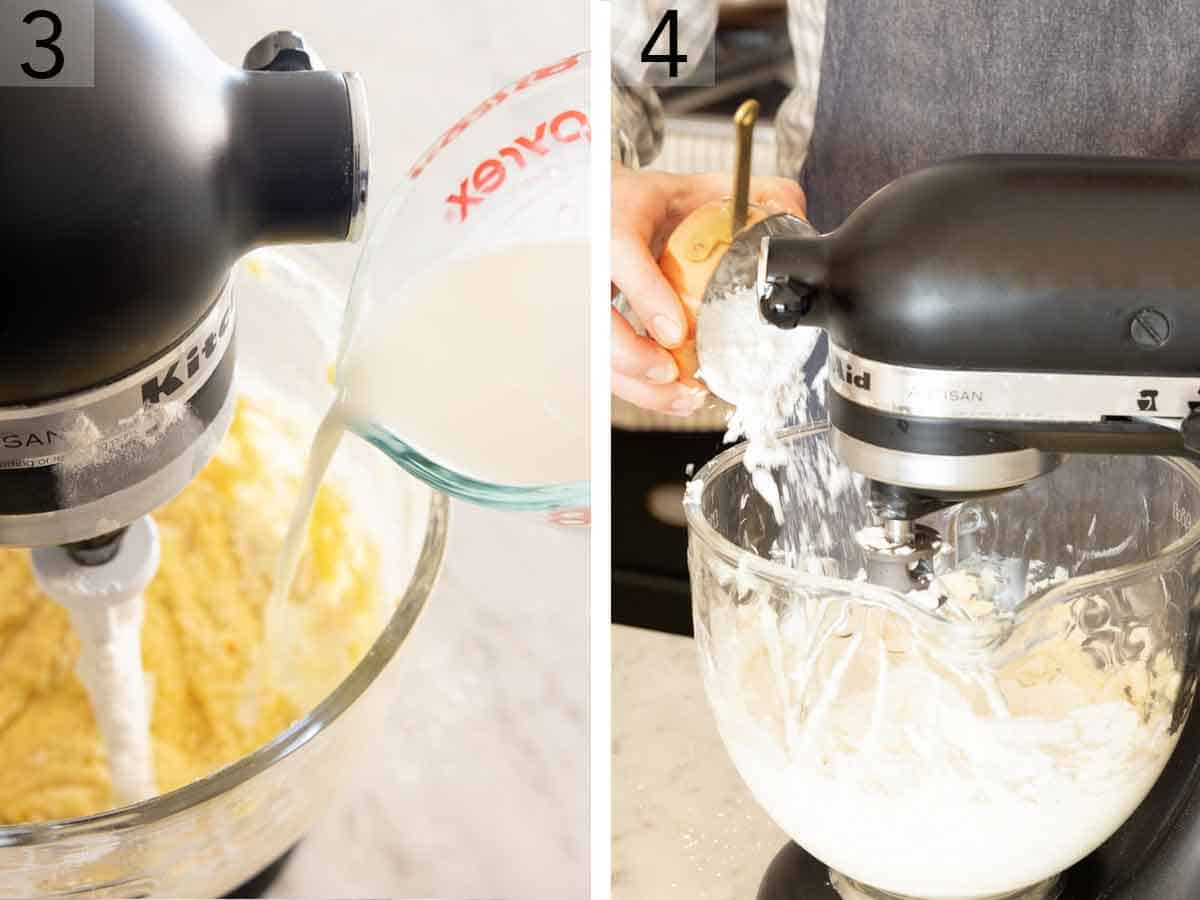
With the mixer on low speed, add a third of the flour mixture, followed by half of the milk. Repeat, alternating between flour and milk until both are fully combined. Divide the batter among the prepared cake pans. Bake for 30 minutes, or until a wooden pick inserted into the center comes out with just a few crumbs. Let the cakes cool for 20 minutes in the pans before transferring them to a cooling rack.
In the bowl of a stand mixer fitted with the whisk attachment, beat the butter, vanilla, and salt together on medium-high speed until the butter is light and easily spreadable. With the mixer on low speed, gradually mix in the sugar, about ½ a cup at a time, alternating with a tablespoon of cream on occasion.
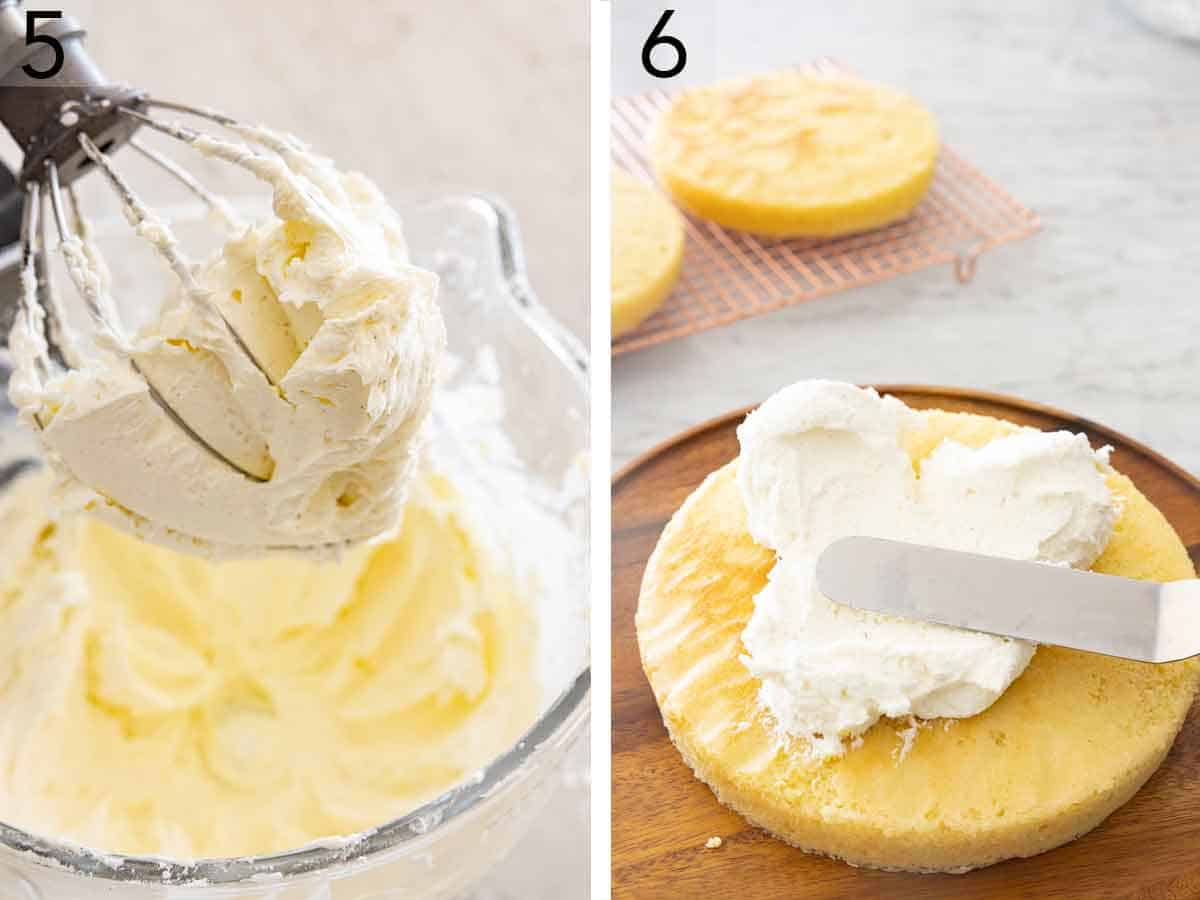
Once the sugar and cream are incorporated, increase the speed to medium and beat until light and fluffy.
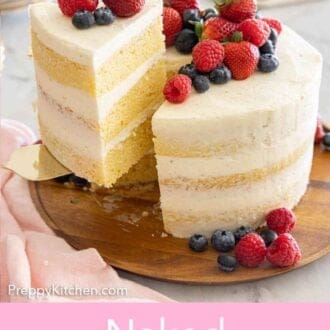
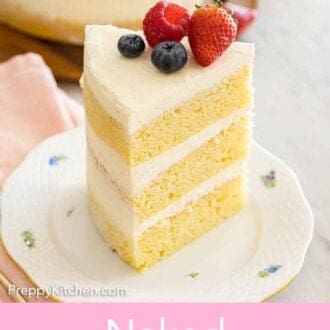
Place one cooled cake layer on a cake stand. Spread 1 cup of frosting over the top, all the way to the edge. Place another cake layer on top and spread another 1 cup of frosting over the cake. Top with the remaining layer.
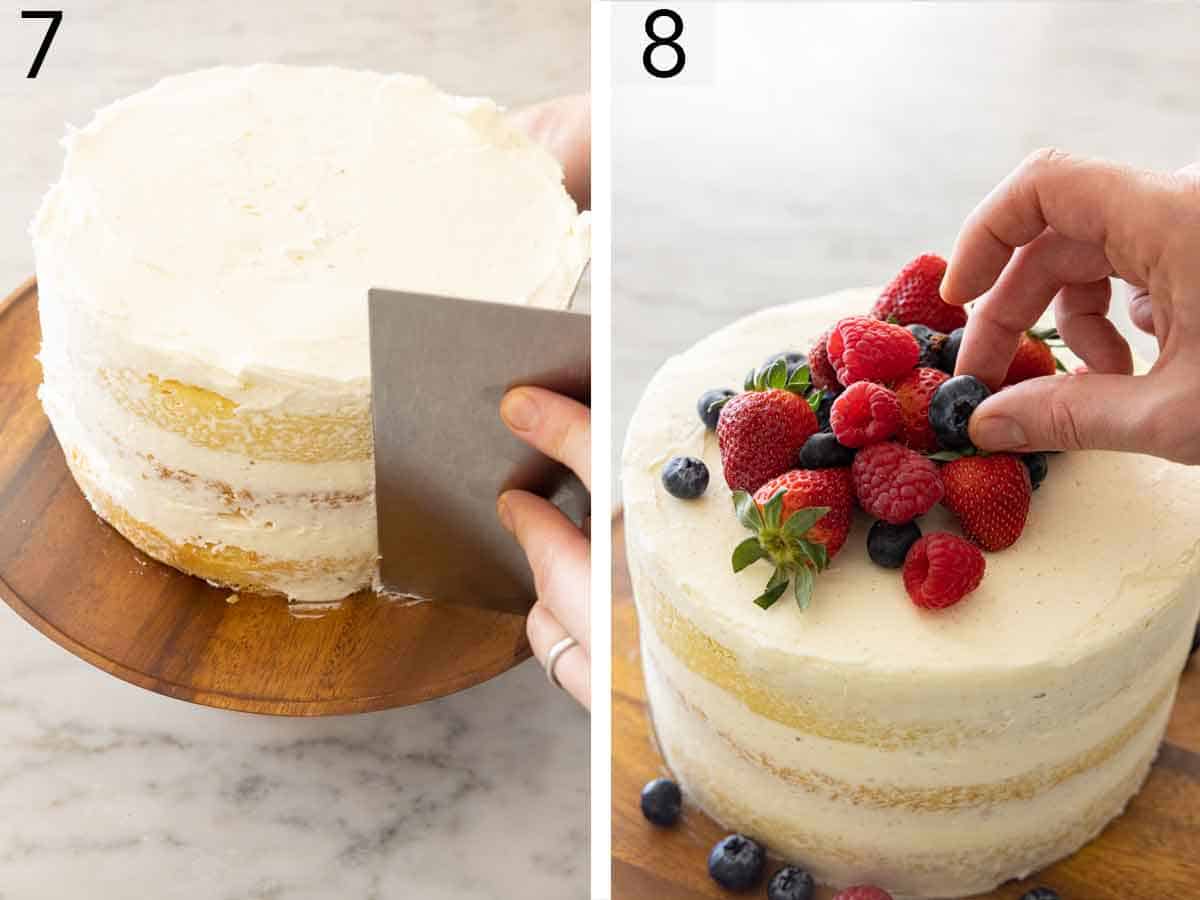
Spread a thin layer of frosting on the sides of the cake and a thicker layer on top with the remaining frosting. Run the side of a large offset spatula or a bench scraper around the side of the cake to remove excess frosting.
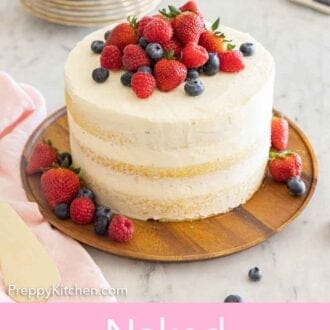
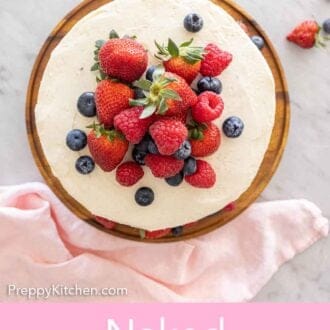
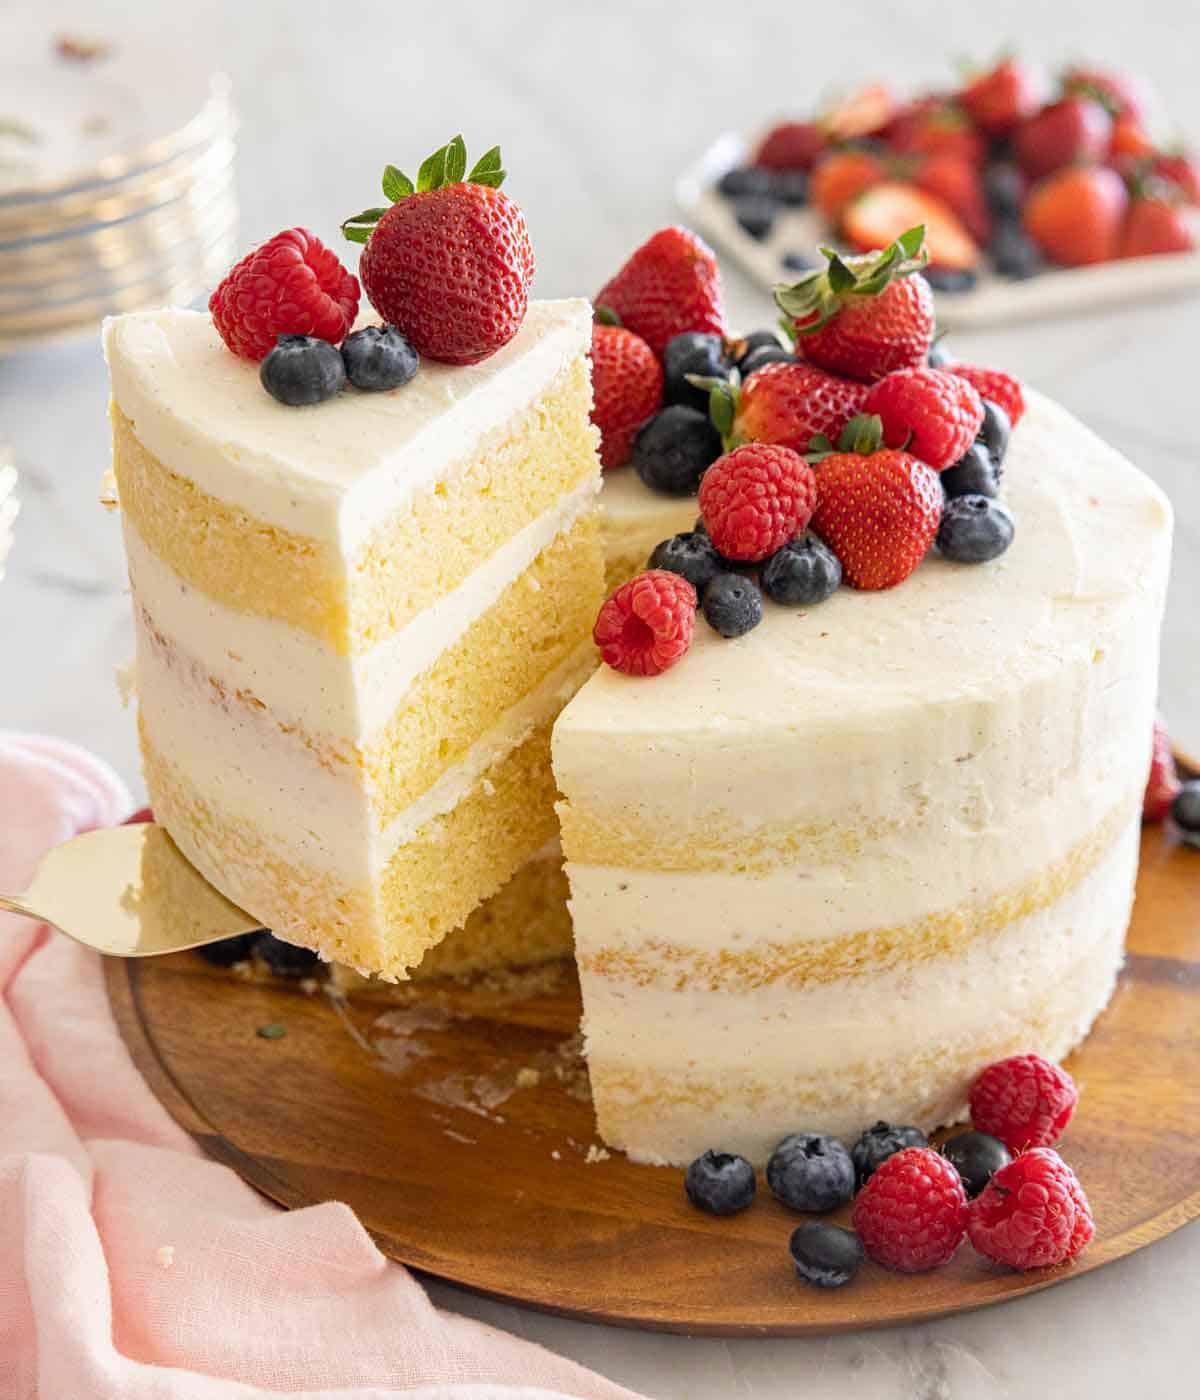
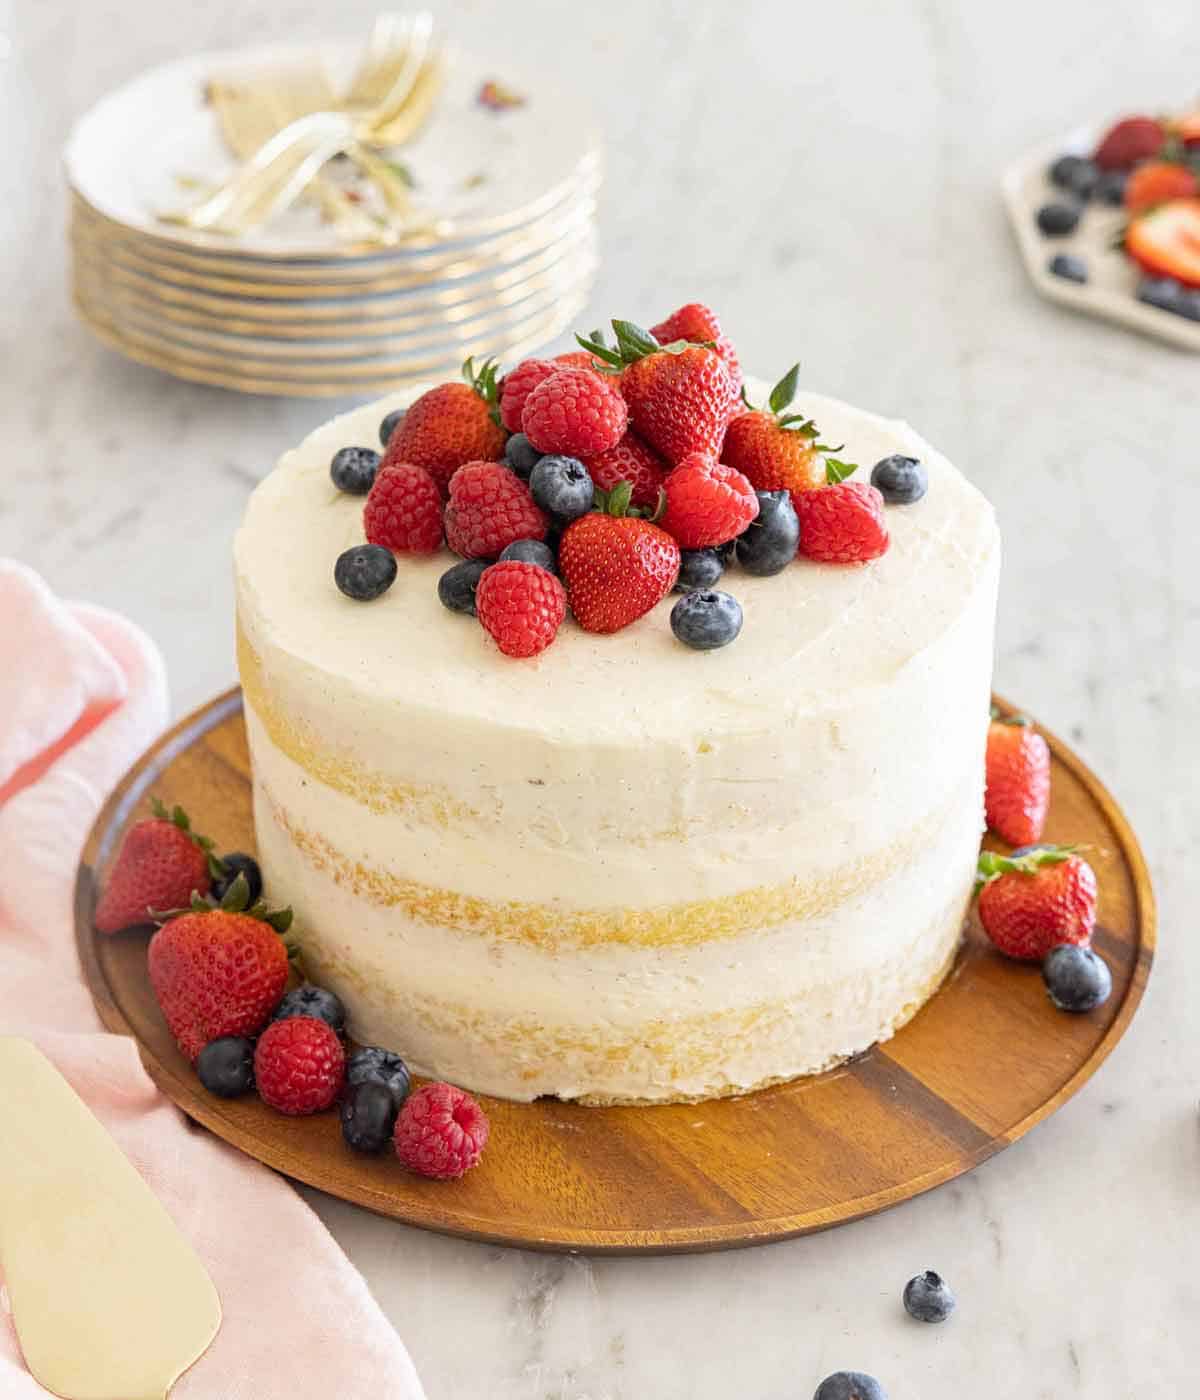
Top with fresh berries, if desired. I recommend chilling the naked cake for 30 minutes before slicing.
Pro Tips for Making This Recipe
I use cake strips to help this naked cake bake without a dome. If you don’t want to buy cake strips, I have a post on how to DIY cake strips. Cake strips work by keeping the outside edge of the pan cooler to ensure that the entire cake rises at the same rate, preventing a dome from forming in the middle. Avoid over-mixing the batter as you risk over-developing the gluten leading to a tough, dry, and dense cake. I highly recommend using a scale to measure your flour as it’s the most accurate method. If you add too much flour to the cake batter, you’ll have a dense cake. If you don’t have a scale, then fluff your flour with a spoon and then spoon it into your cups before leveling it off with a knife. This method is the best way to measure flour without overpacking the measuring cup. The longer you can refrigerate the naked cake, the better. It helps stabilize the cake, and the buttercream will stick to the cake layers better. If you are making the cake in advance, hold off on adding the berries or other decorations on top of the cake. Placing the berries on top just before serving helps keep them from leaking any juices and staining the cake as it sits.
Can I make this cake in advance?
You can make the cake layers and buttercream frosting the day before to quickly assemble it before serving. Once the cake layers have been baked and cooled, wrap them tightly and leave them at room temperature overnight. You can prepare the vanilla buttercream and refrigerate it overnight.
How do I store leftovers?
Leftover cake can be covered and stored at room temperature for up to 4 days. You can also refrigerate it if you prefer.
Can I freeze this cake?
After assembling the cake, you can freeze it entirely or just freeze leftovers. Lightly wrap the cake in plastic wrap and freeze for up to 3 months. When ready to enjoy, thaw overnight in the refrigerator and bring to room temperature.
What are some ways to decorate this cake?
I like to top my naked cake with fresh berries. However, you can also decorate it with edible flowers, sprinkles, fresh herbs, candies, cookies, nuts, or whatever your heart desires. The possibilities are endless, and the cake can easily match any party theme.
Will this cake dry out?
No, the cake will stay moist! Make sure you are generous when adding the buttercream layer between the cakes, as it adds not only flavor but also moisture. If you’ve tried this Naked Cake recipe, then don’t forget to rate the recipe and let me know how you got on in the comments below, I love hearing from you!