For another stylish cake, try this Earl Grey Meringue Cake! It is a known fact that the best tasting cake is a beautiful cake. And to me, it’s hard to top just how beautiful a naked cake can be! These cakes have a gorgeous rustic charm that still manages to stun. Although they have famously become fashionable at weddings, there’s no reason why they can’t be enjoyed at any time of the year! A naked cake is intentionally left without fancy decorating. This gives it the look of understated elegance, and also means that it is easier to make your own gorgeous naked cake!
Naked cake
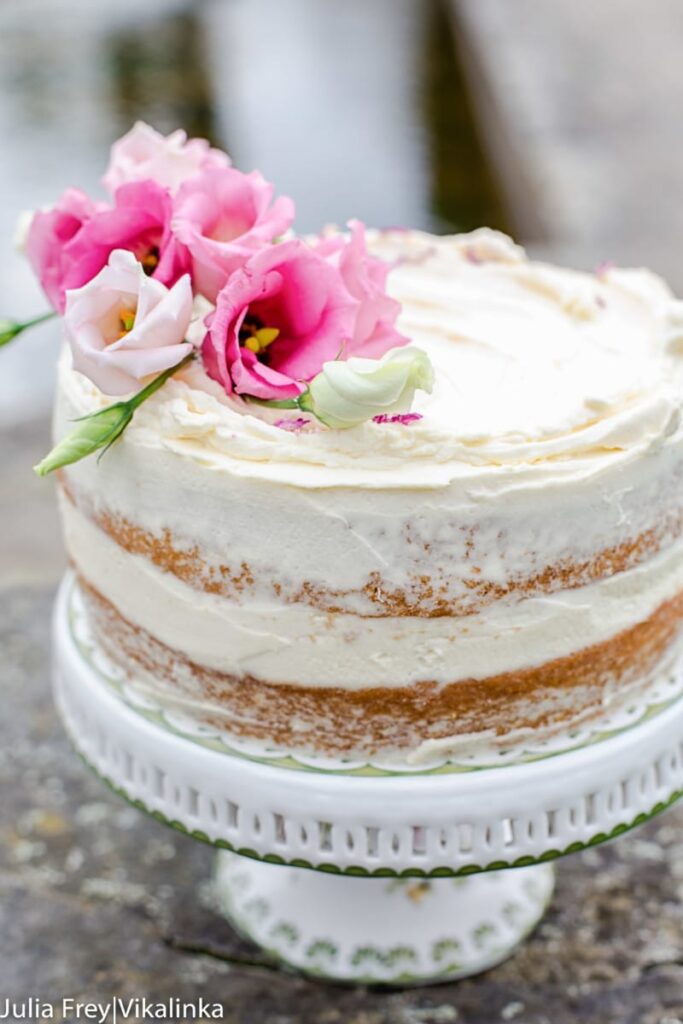
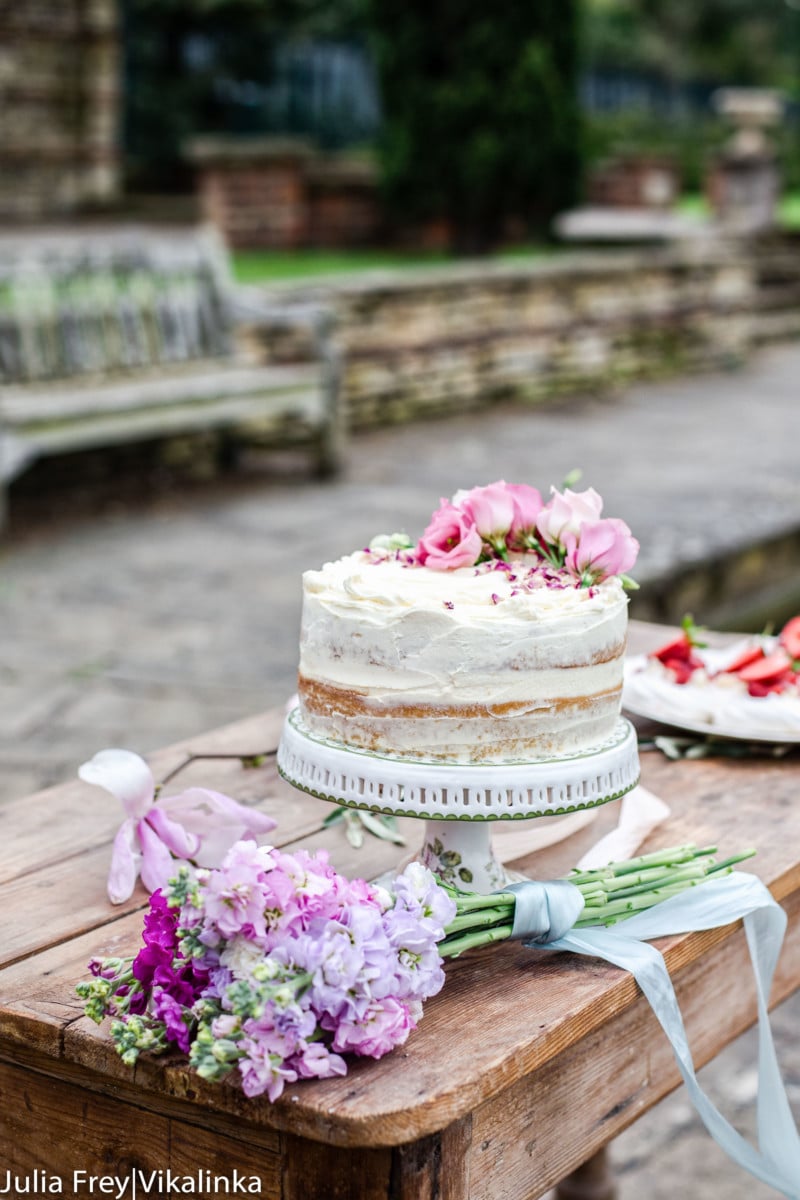
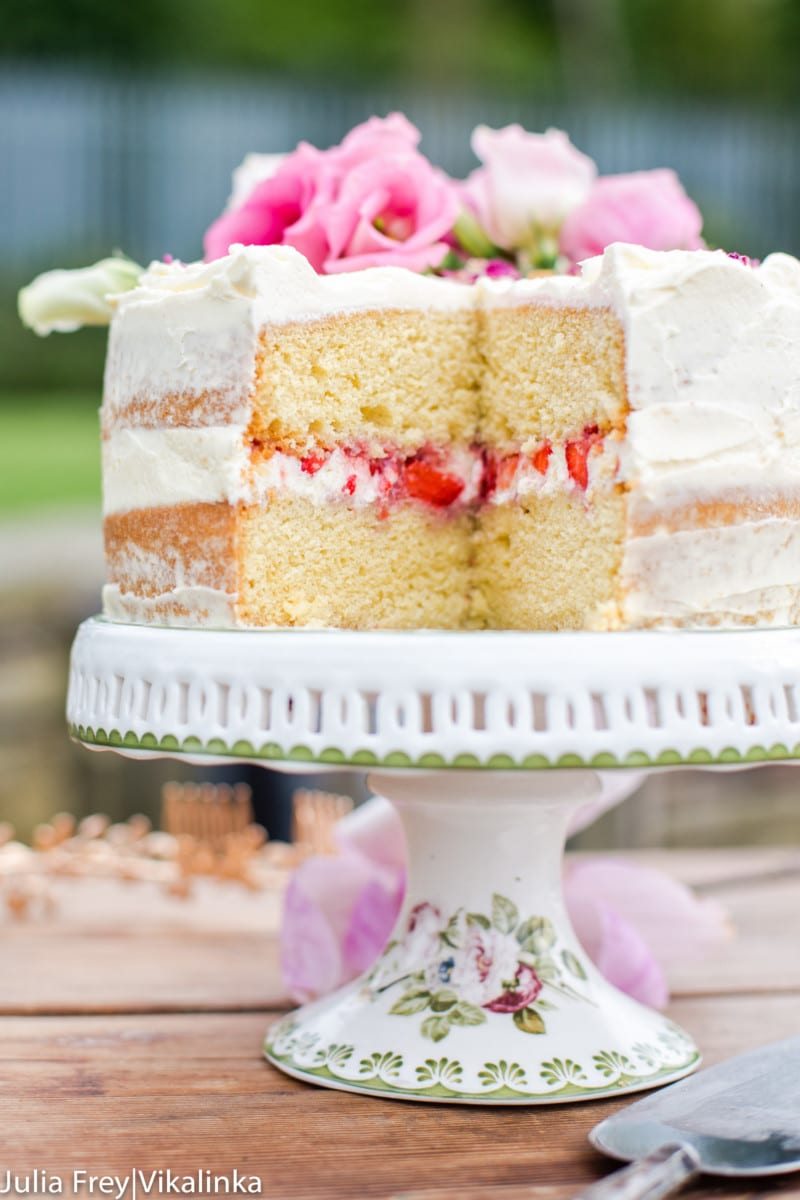
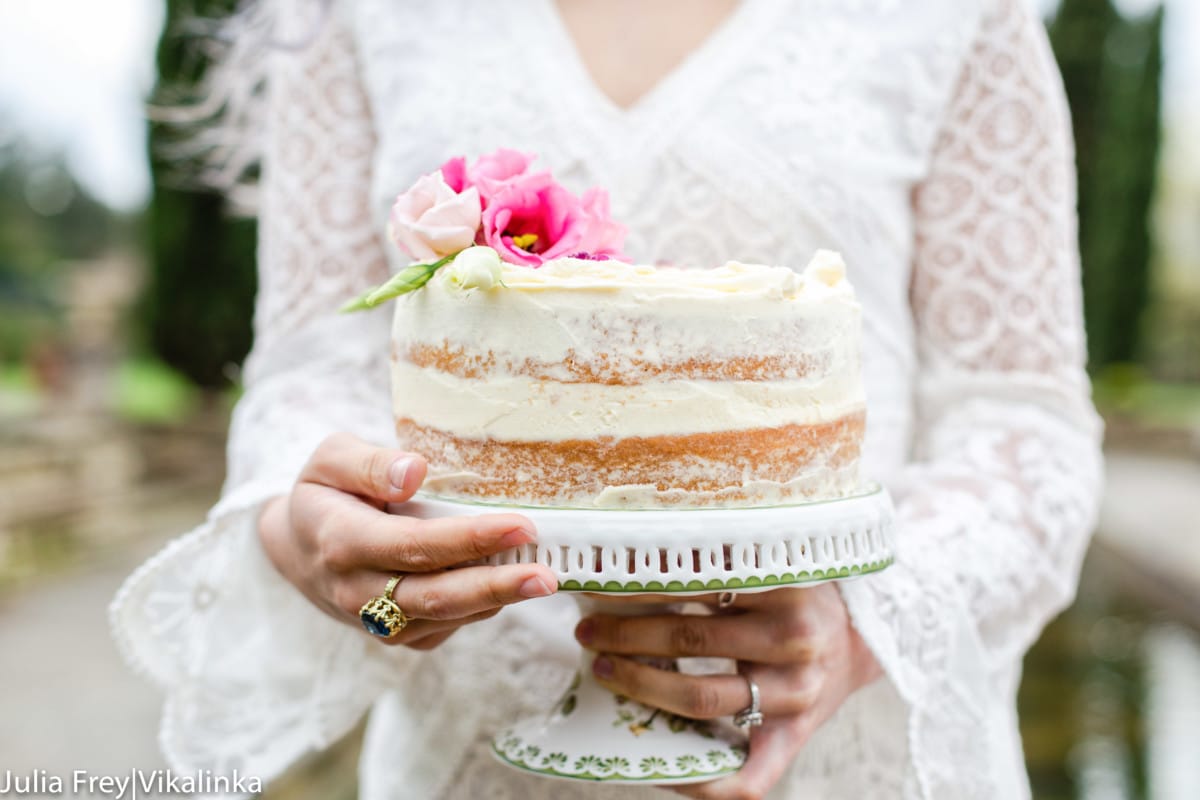
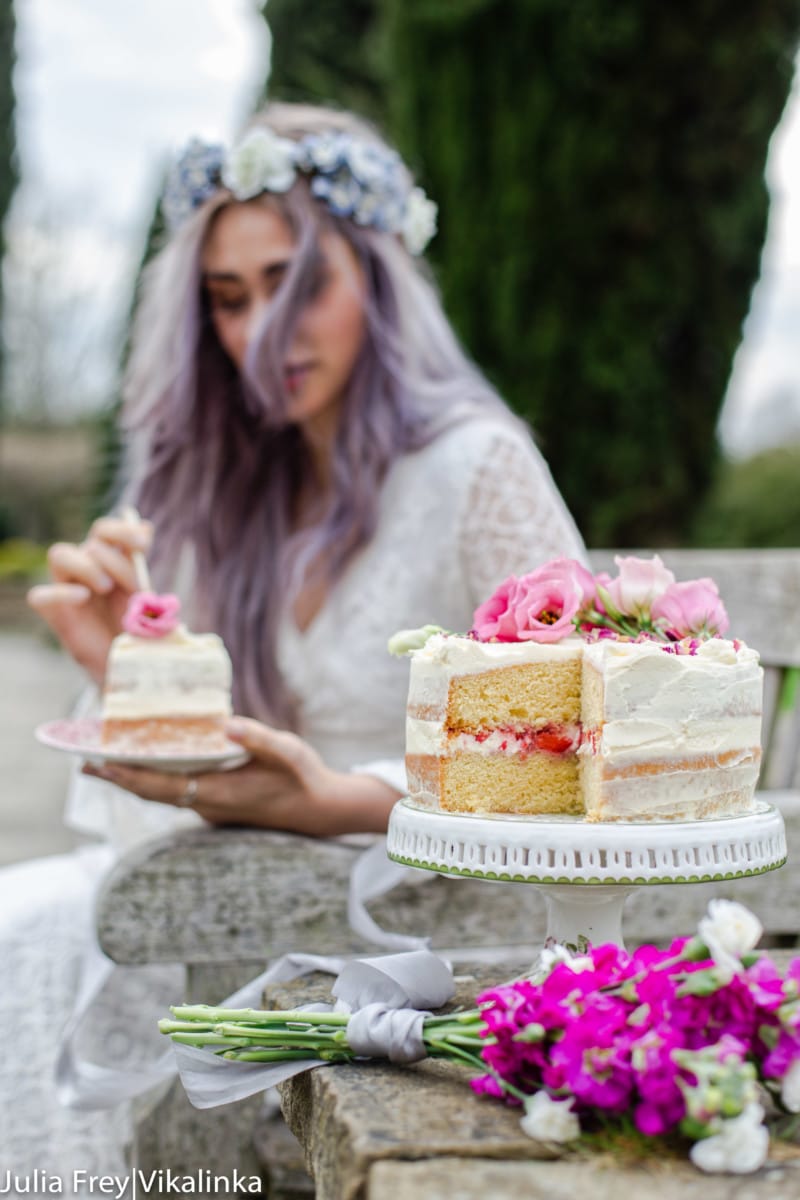
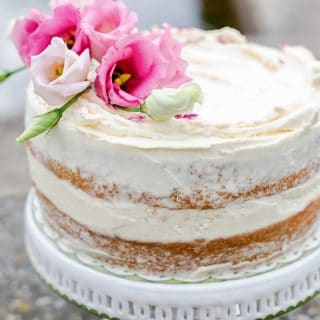
In many ways a naked cake is like any other layer cake. The significant difference is that there is little to no frosting on the sides of the cake. This gives the cake a lovely rustic look, like it has been left artfully unfinished. It also shows off the layers of the cake rather than hiding them behind the frosting. Naked cakes became a huge trend a few years back as a reaction to the over-styled cakes seen at weddings. The trend inevitably spilled beyond weddings, making naked cakes a common sight in all sorts of settings. I’m a big fan of naked cakes, and not only for the unique and beautiful way they look when done well. Too much sweet frosting is more than I can take, so a cake with less is just my speed! The sponge I made is something I come to over and over again when I need a no-fail cake. The sponge is light and fluffy with an intense vanilla flavour and the frosting is made of a mix of mascarpone and heavy cream, the fruit inclusion is variable. I used strawberries for this one but you can use whatever is in season like Victoria Sponge Cake with Blackberry Compote.
How do you keep a naked cake moist?
For most cakes, frosting serves to keep moisture in the sponges. Because naked cakes have less or no frosting on the sides, moisture can escape easier and can dry out the cake if left too long.
To prevent this from happening, avoid making the cake days before you intend to serve it, or add a thin layer of frosting to the sides as I have done. This thin layer is called a crumb coat.
If you do need to make the sponge days in advance, it is best to freeze it to keep it fresh. Freezing the sponge will lock the moisture inside so it is ready to go when you need it.
I also added a good thick layer of icing between the sponges. I find this adds moisture and compensates for the reduced icing on the outside.
Assembling the cake
Start by preparing the layers of sponge. Make the sponge layers level by trimming off the domes so they are easier to lay flat. A sharp bread knife will do the trick.
Now stack the layers, adding a generous layer of mascarpone icing in between. If you decide to have more than two layers, it may be helpful to very slightly offset the middle layer. This makes it easier to achieve the semi-naked look.
Use an offset spatula to smooth out the top layer of icing. It may be easier to achieve when using a turntable.
Now add icing to the sides of the cake, starting at the bottom and working towards the top. This is a naked cake, so don’t add a huge amount of icing to the sides.
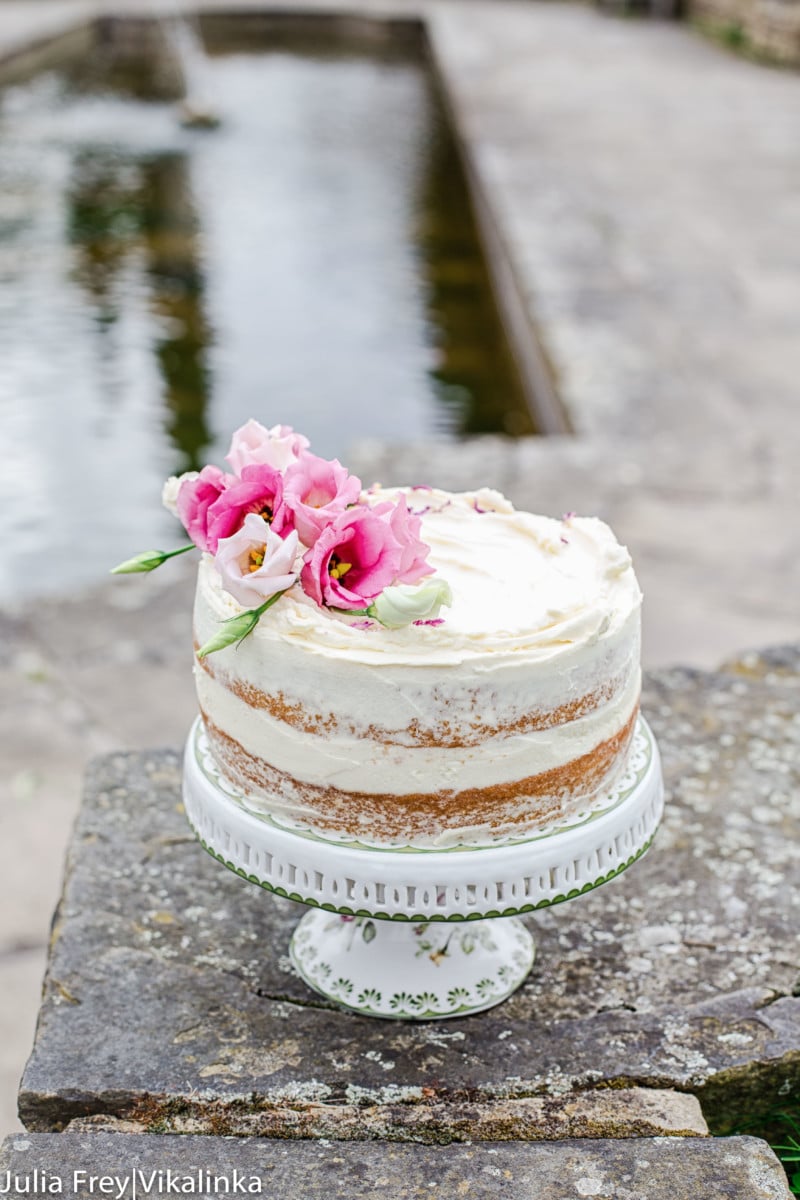
Using a bench scraper, smooth out the icing on the sides, leaving a very thin, fine layer behind. You may need to add very small dollops of icing as you go if any area is scraped too thin.
Once you have a smooth, rustic look on the side areas of the cake, give the top layer one more smooth down. Use a spatula to pull any excess icing coming up from the sides into the centre of the cake.
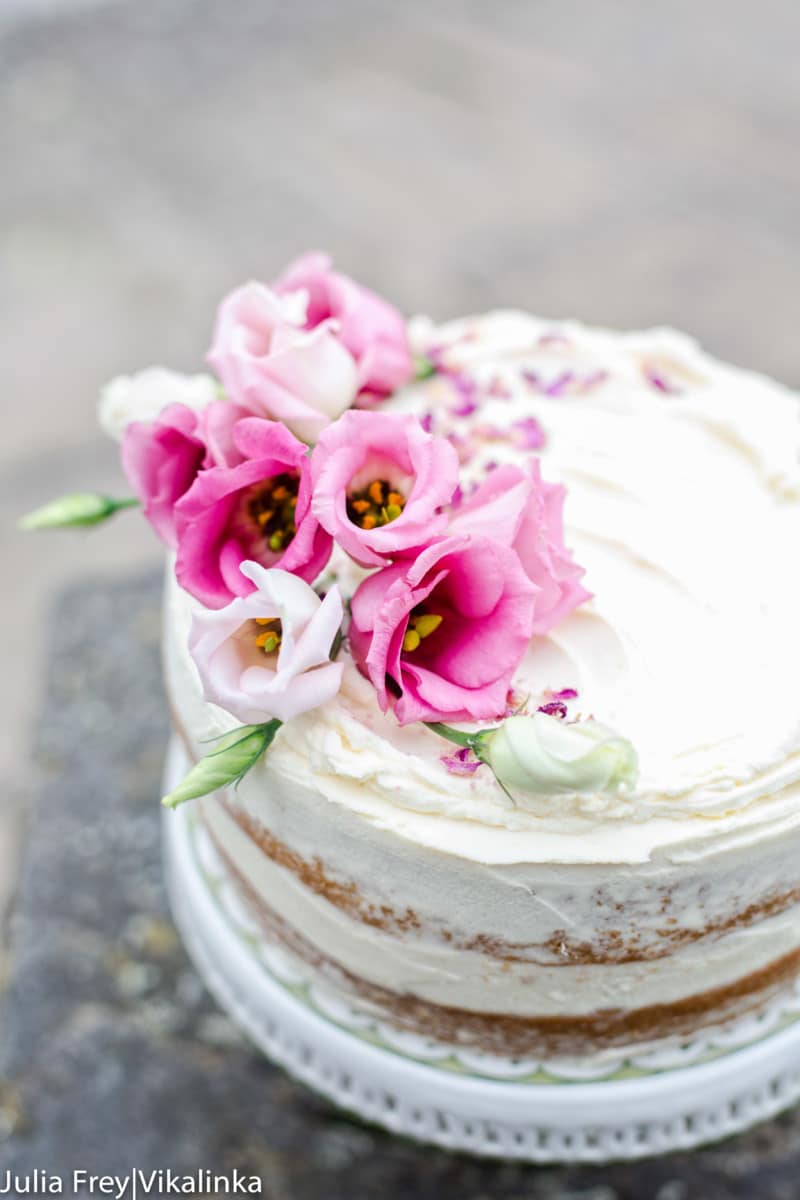
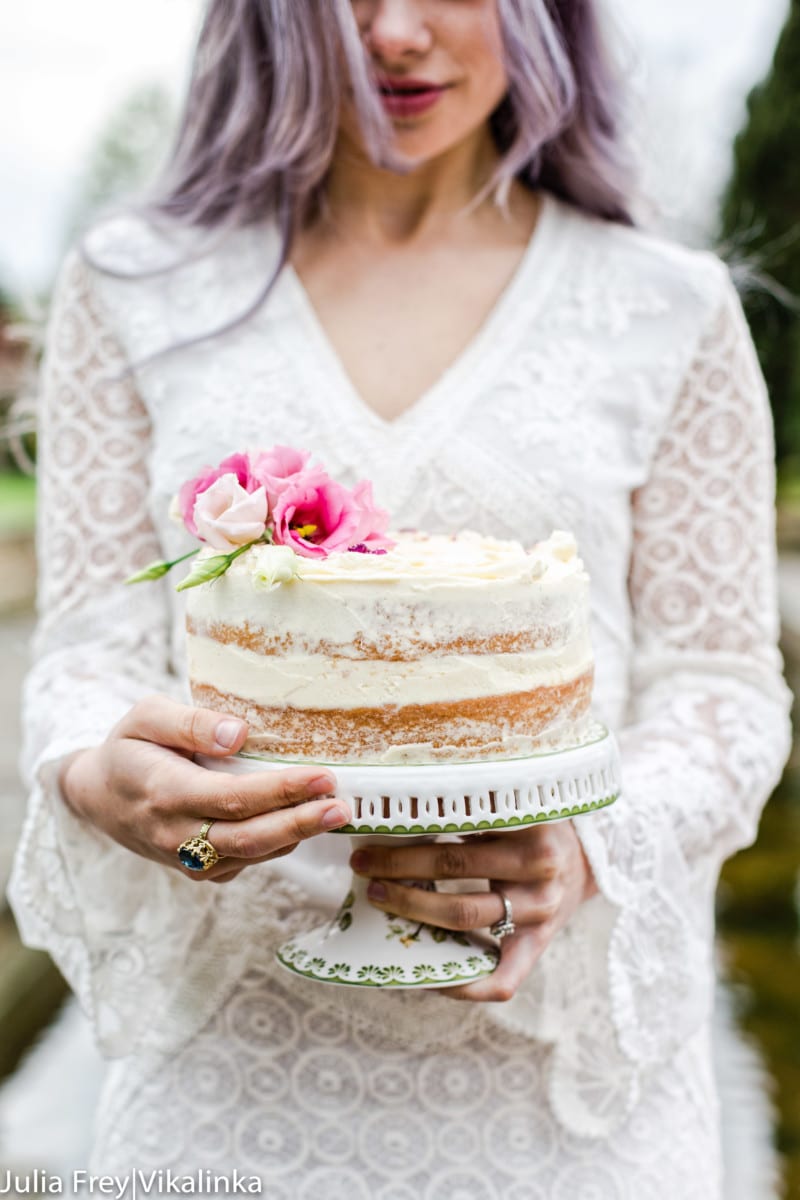
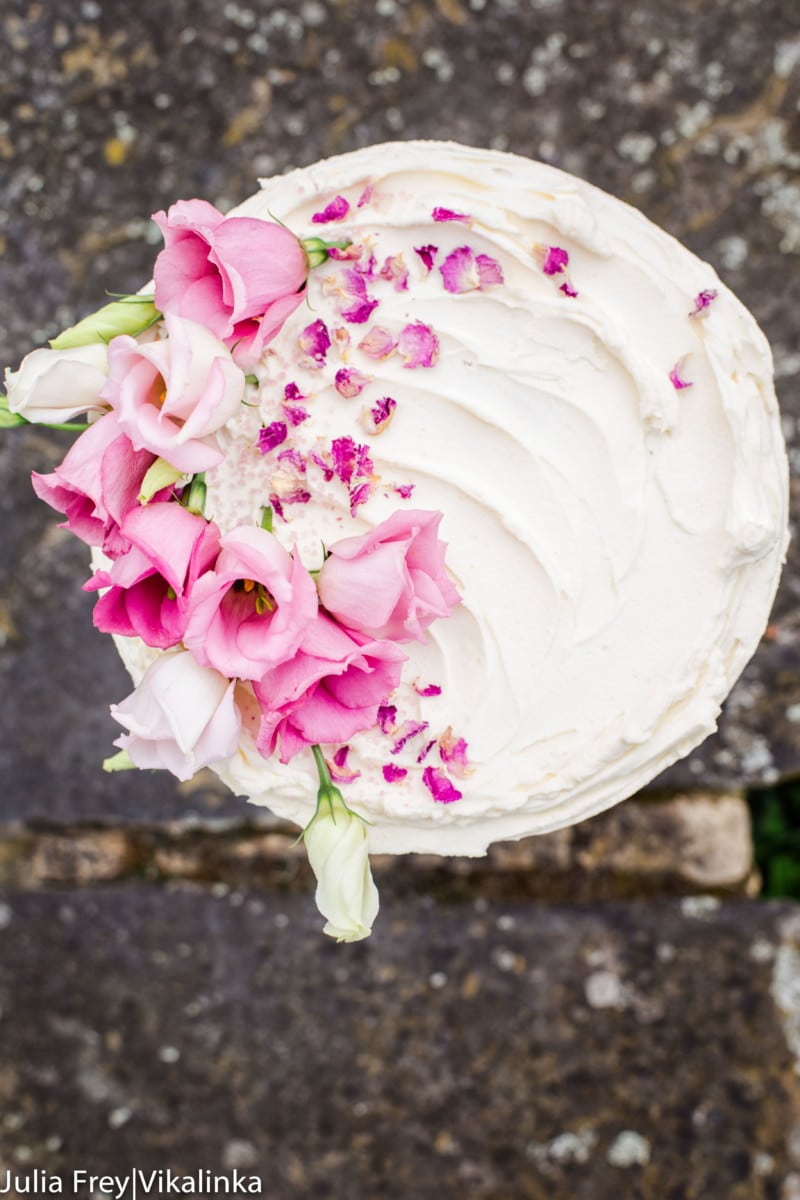
Time to add the decoration of your choice. I think that flowers are absolutely perfect for a naked cake! (Make sure you find organic flowers so you aren’t transferring chemicals to the cake!)
A lot of you have made this naked cake already and I am so happy about that! However I WANT to see your photos of this gorgeous cake! So if you make this cake, share the photos and tag @vikalinka in your instagram shots!!
More cake recipes
Black Forest CakeRose Rhubarb Layer CakeElderflower and Lemon CakeBlack and White Chocolate Cake with Blackberry Compote