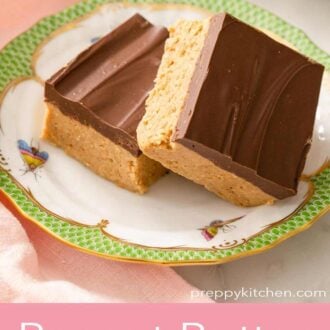
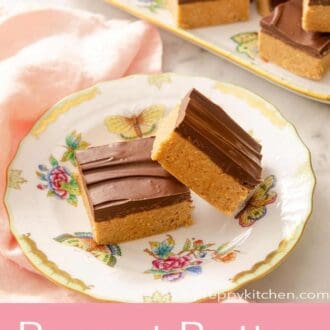
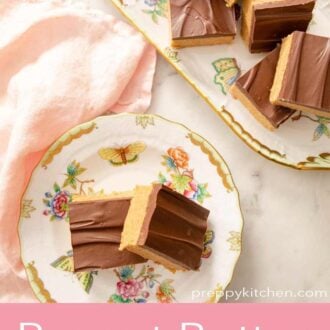
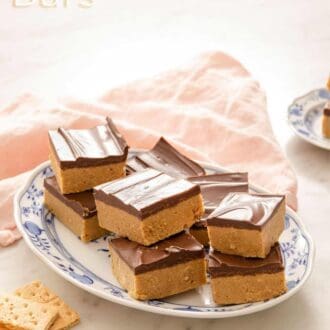
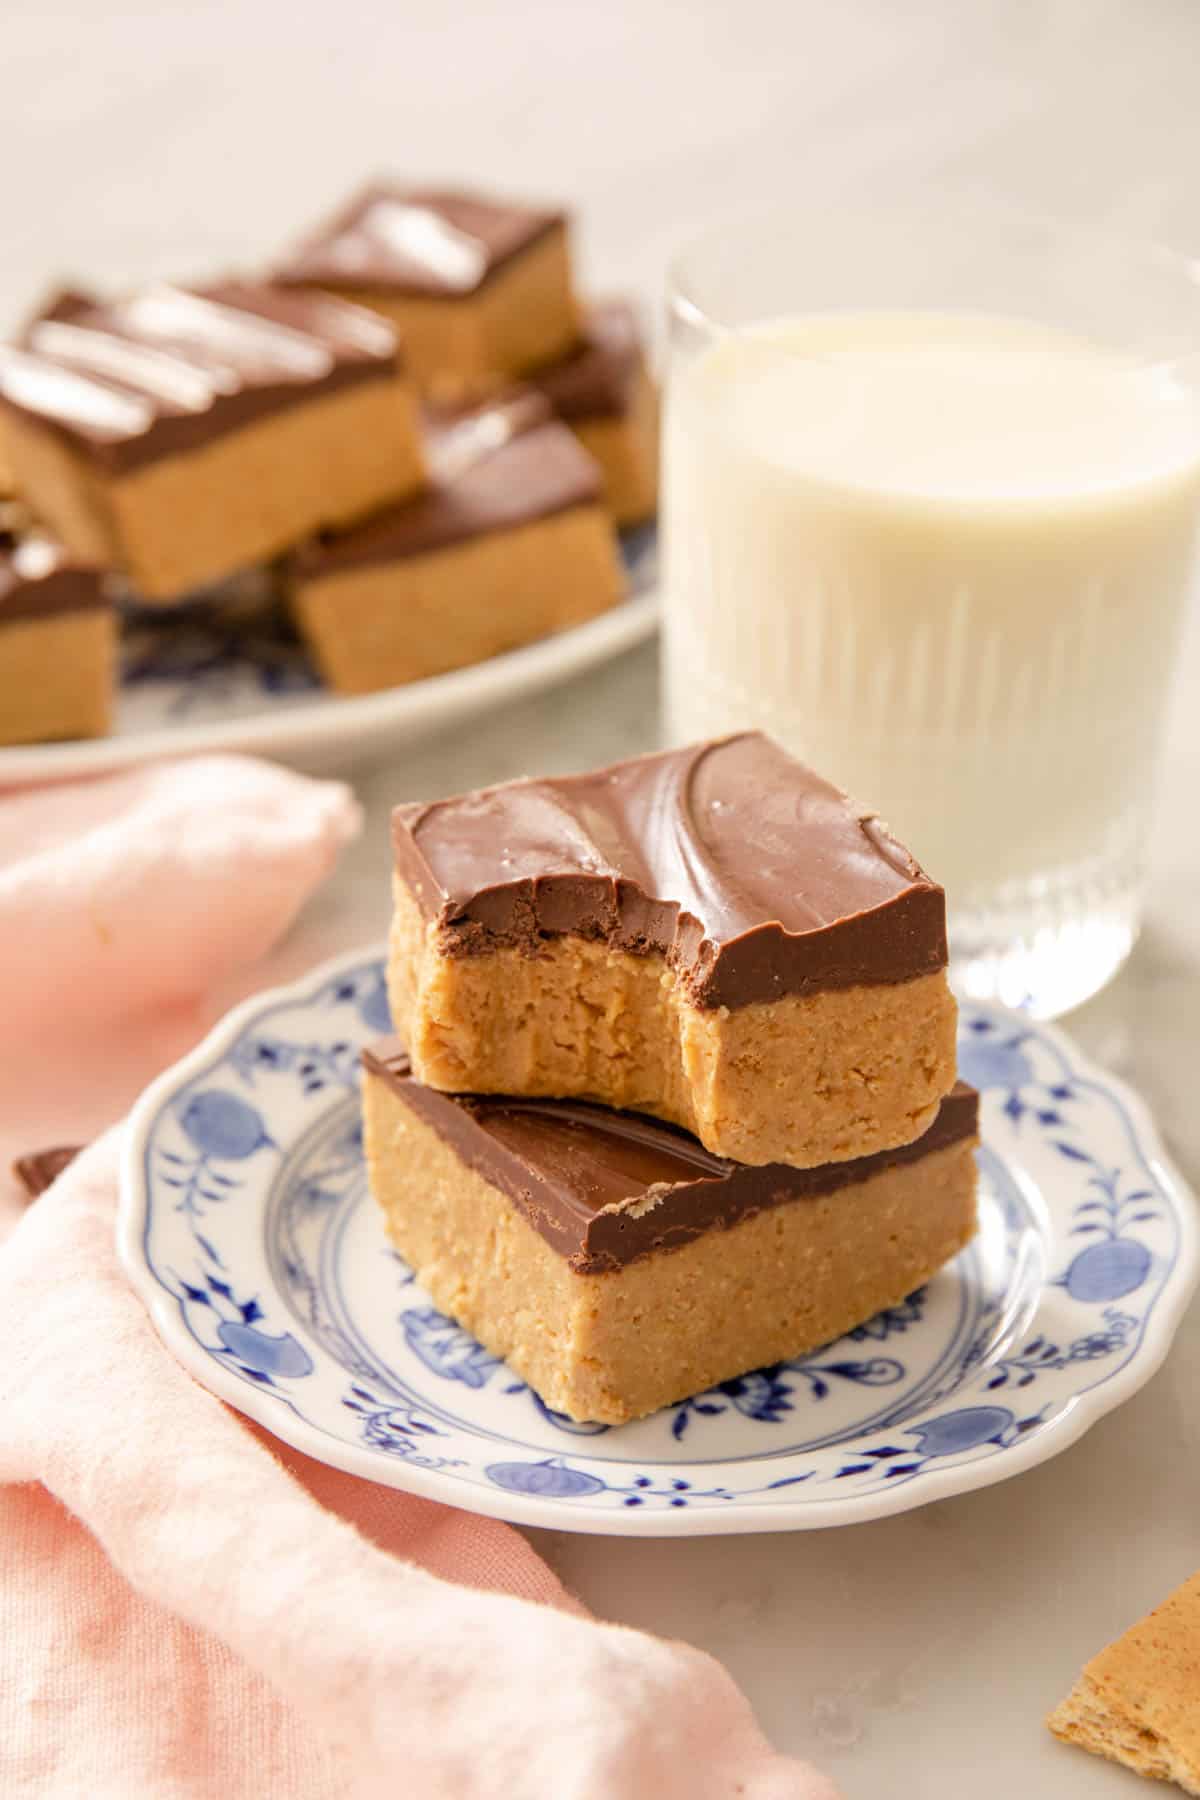
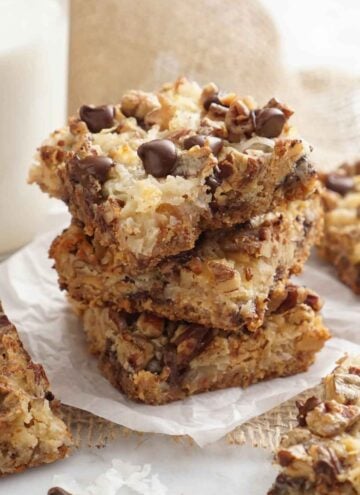
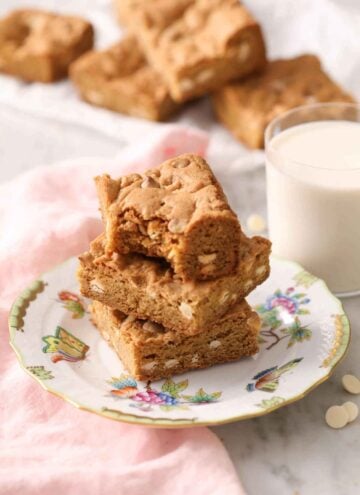
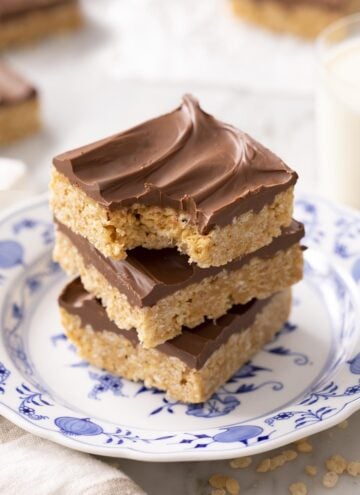
They’re thick, fudgy, creamy, and make the perfect sweet treat or snack served with a cold glass of milk or a cup of hot chocolate. Love no-bake desserts? Check out my No Bake Strawberry Cheesecake or my No Bake Cookies. They’re all super-easy and totally delicious. If you are a peanut butter lover, then try my Homemade Peanut Butter Chocolate Chip Cookies or peanut butter buckeyes!
What you need to make this recipe
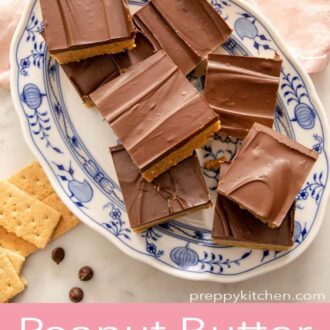
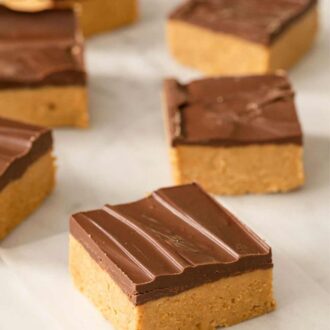
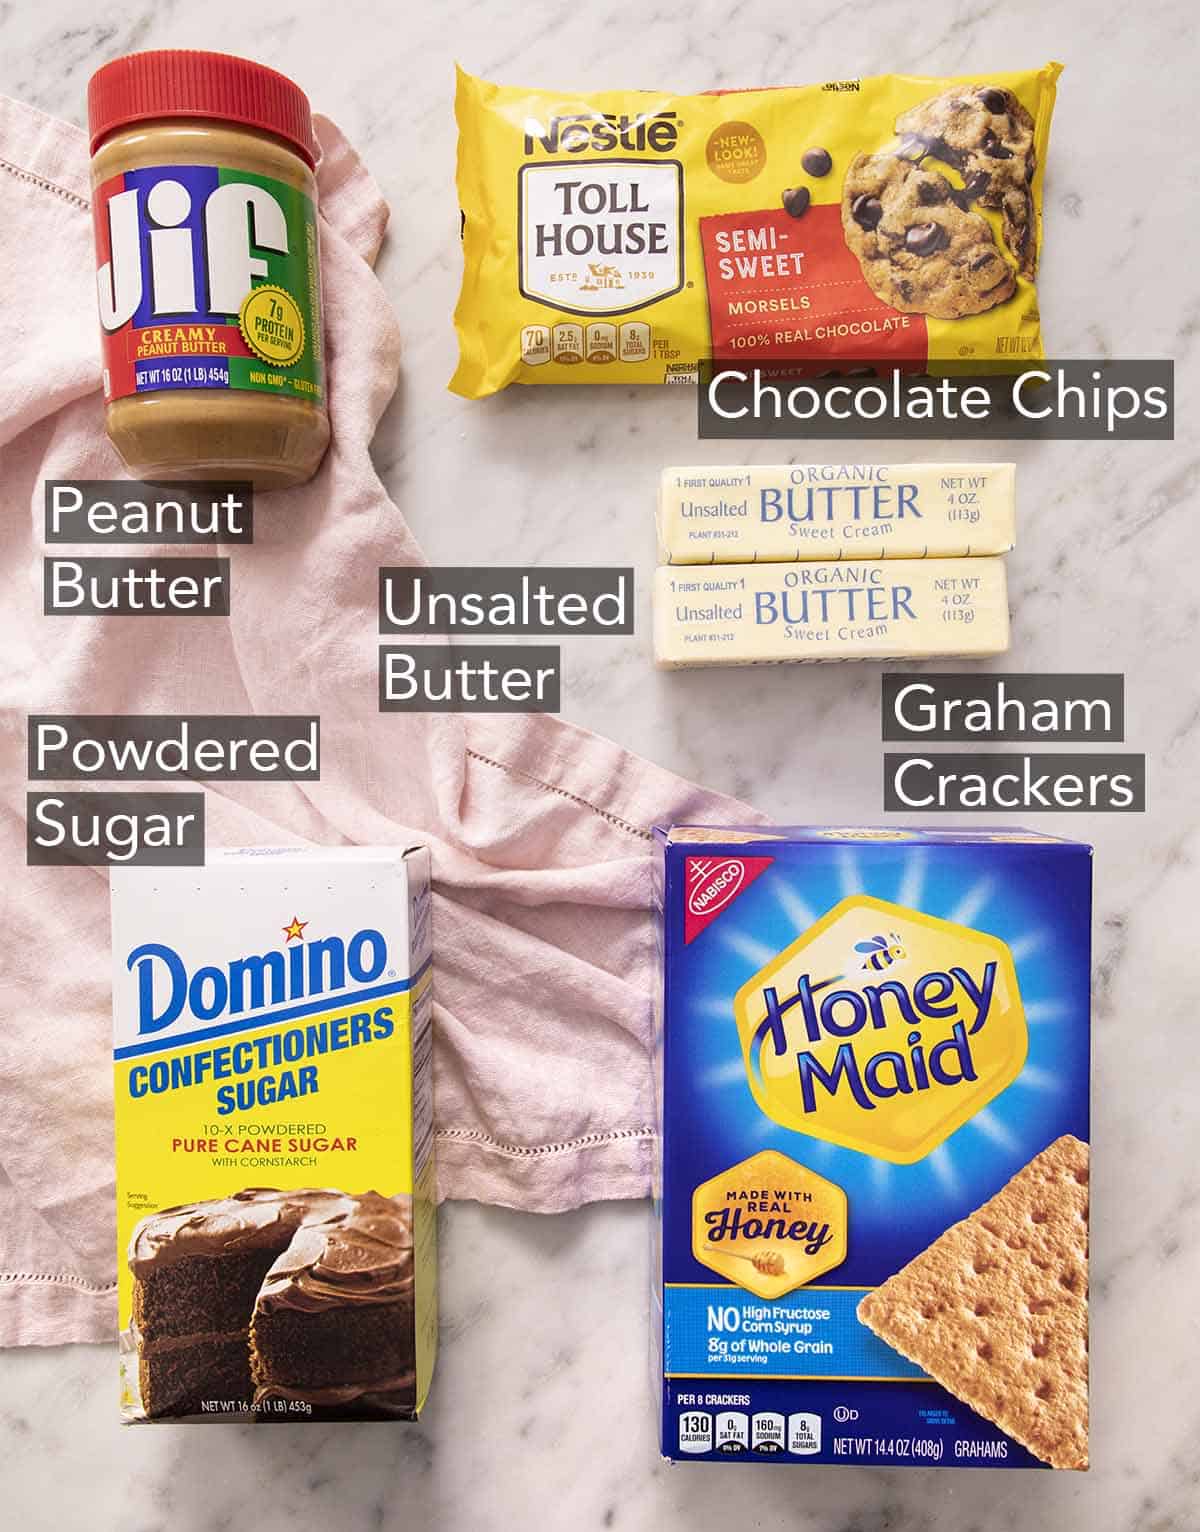
Peanut butter – You’ll want to use creamy peanut butter for this such as Jif or Skippy (see photo above). I don’t recommend using oily peanut butter or crunchy peanut butter because it’ll change the texture of the base. Powdered sugar – This helps bind everything together and helps to set the bars, regular white sugar won’t work. Chocolate chips – I used semi-sweet chocolate chips for this but you could also chop up a semi-sweet chocolate bar to be melted. Milk chocolate will taste much sweeter but will also work great. Graham crackers – The graham crackers are crushed down into fine crumbs, I find using a plastic ziploc bag and a rolling pin works great but you could also pulse them in a food processor.
How to make Peanut Butter Bars
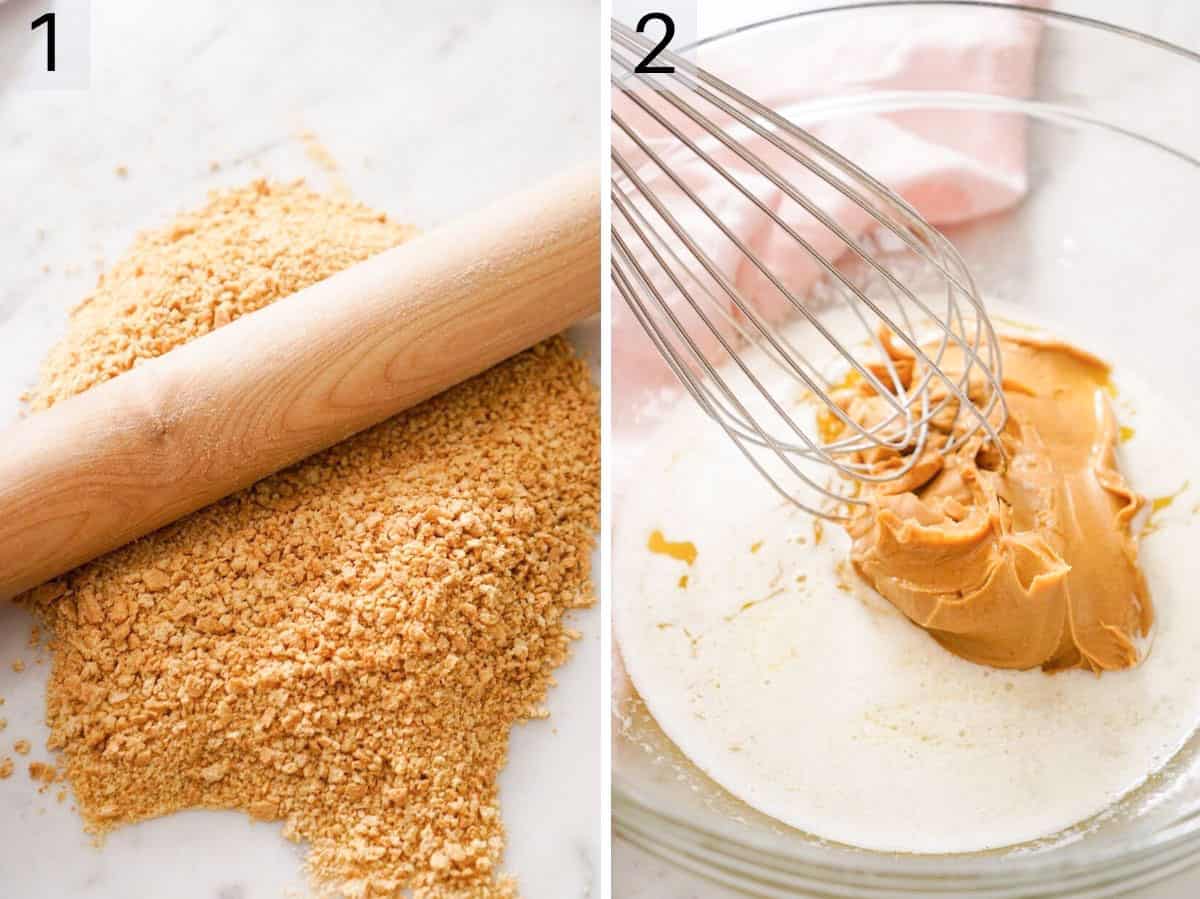
1.Crush the graham crackers. 2. Add the melted butter and peanut butter to a mixing bowl and mix until smooth.
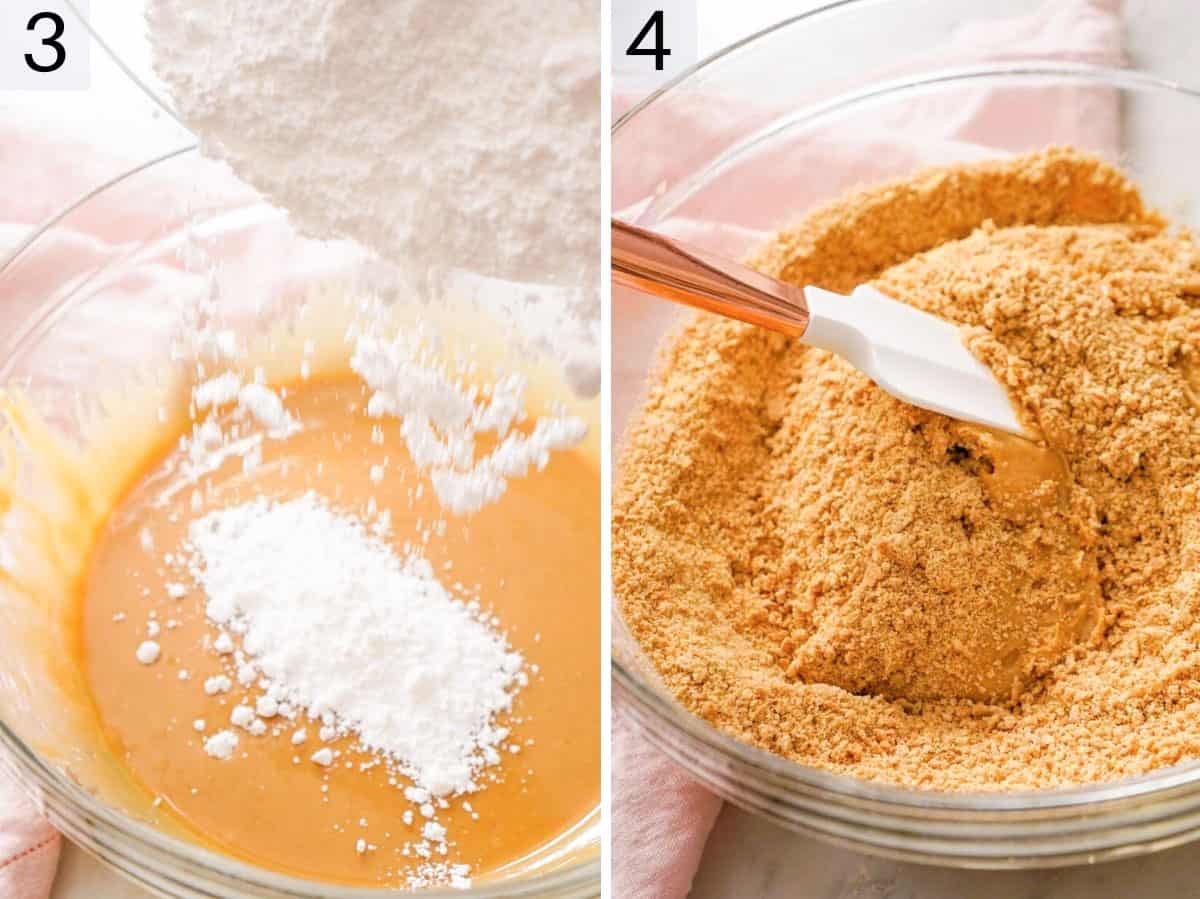
Add the powdered sugar and mix until combined.
Add the graham cracker crumbs and fold in.
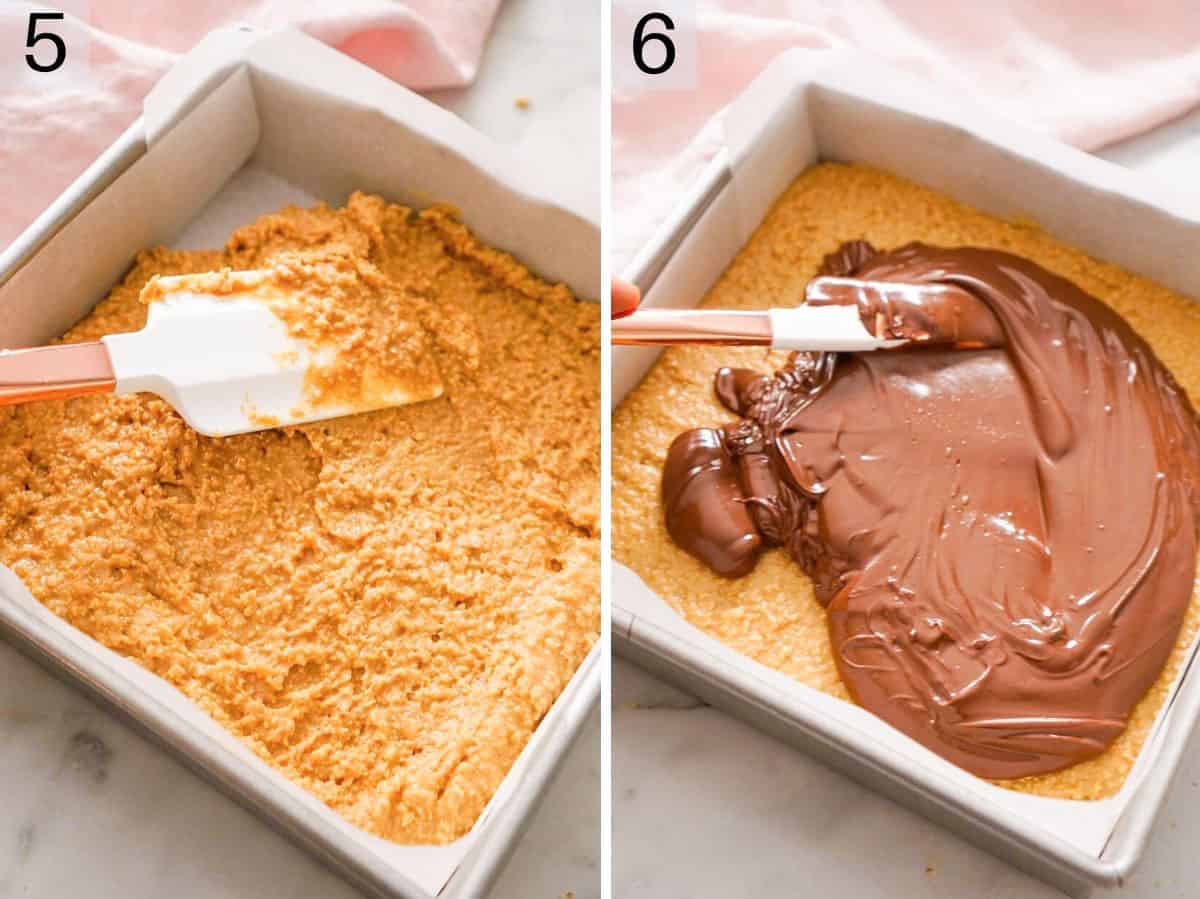
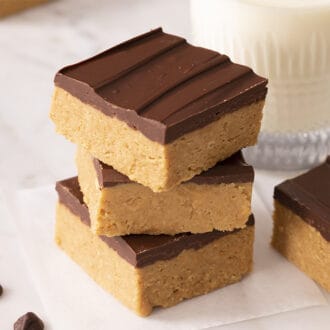
Spread the peanut butter base into a lined baking pan.
Top with melted chocolate and peanut butter mixture then chill to set before serving.
Pro tips for making this recipe
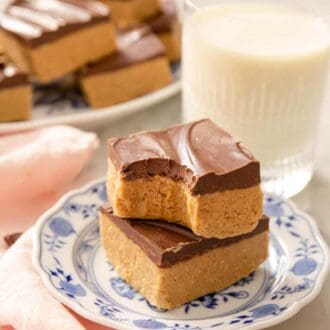
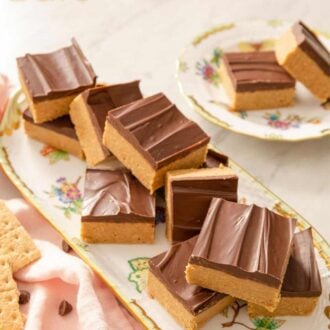
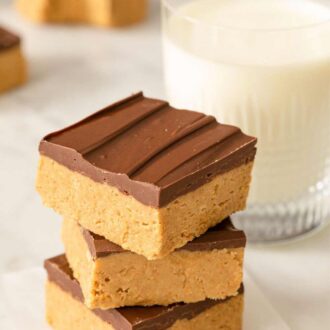
You’ll need to use an 8×8 or 9×9 square dish for nice thick bars. Make sure to line your baking pan or square dish with parchment paper so you can easily remove the bars after chilling. Make sure to use creamy peanut butter such as Jif or Skippy. Oily peanut butter may stop the base from setting and will change the texture. Use a hand whisk to incorporate the butter and peanut butter if you have some persistent lumps. You can use the stovetop or microwave to melt the chocolate. If using a stovetop do this in a bowl over a pot of simmering water. The peanut butter gives the chocolate a creamier texture once set. This really helps when cutting the bars so the chocolate doesn’t crack. Make sure to let the bars chill in the fridge for at least 90 minutes before serving. Alternatively, you can make them the night before and let them chill overnight. To cut the bars use a sharp or serrated knife.
What can I use instead of Graham Crackers?
If you don’t have Graham Crackers then you could use plain, dry cookies. Make sure they are crisp and dry and not soft for best results. Biscoff cookies and shortbread work well.
Can I prepare these in advance?
Absolutely, these peanut butter bars are the perfect dessert to make in advance. Prepare everything as instructed and leave them to chill in the fridge overnight or 1 day in advance. You may need to leave the bars at room temperature for around 10 minutes to make them easier to cut.
How long do they last?
These bars will keep well for around 5-7 days stored in the fridge or can be frozen, see instructions below.
Can I freeze these?
Yes, they freeze really well. Make sure to wrap them in plastic wrap or aluminium foil and store them in a suitable container or plastic bag. Thaw completely before serving. If you’ve tried these Peanut Butter Bars then don’t forget to leave a rating and let me know how you got on in the comments below, I love hearing from you!