For more sweet French treats that you can serve alongside these petit fours, you should try my Madeleines Recipe and Macaron Recipe.
WHAT YOU NEED TO MAKE THIS RECIPE
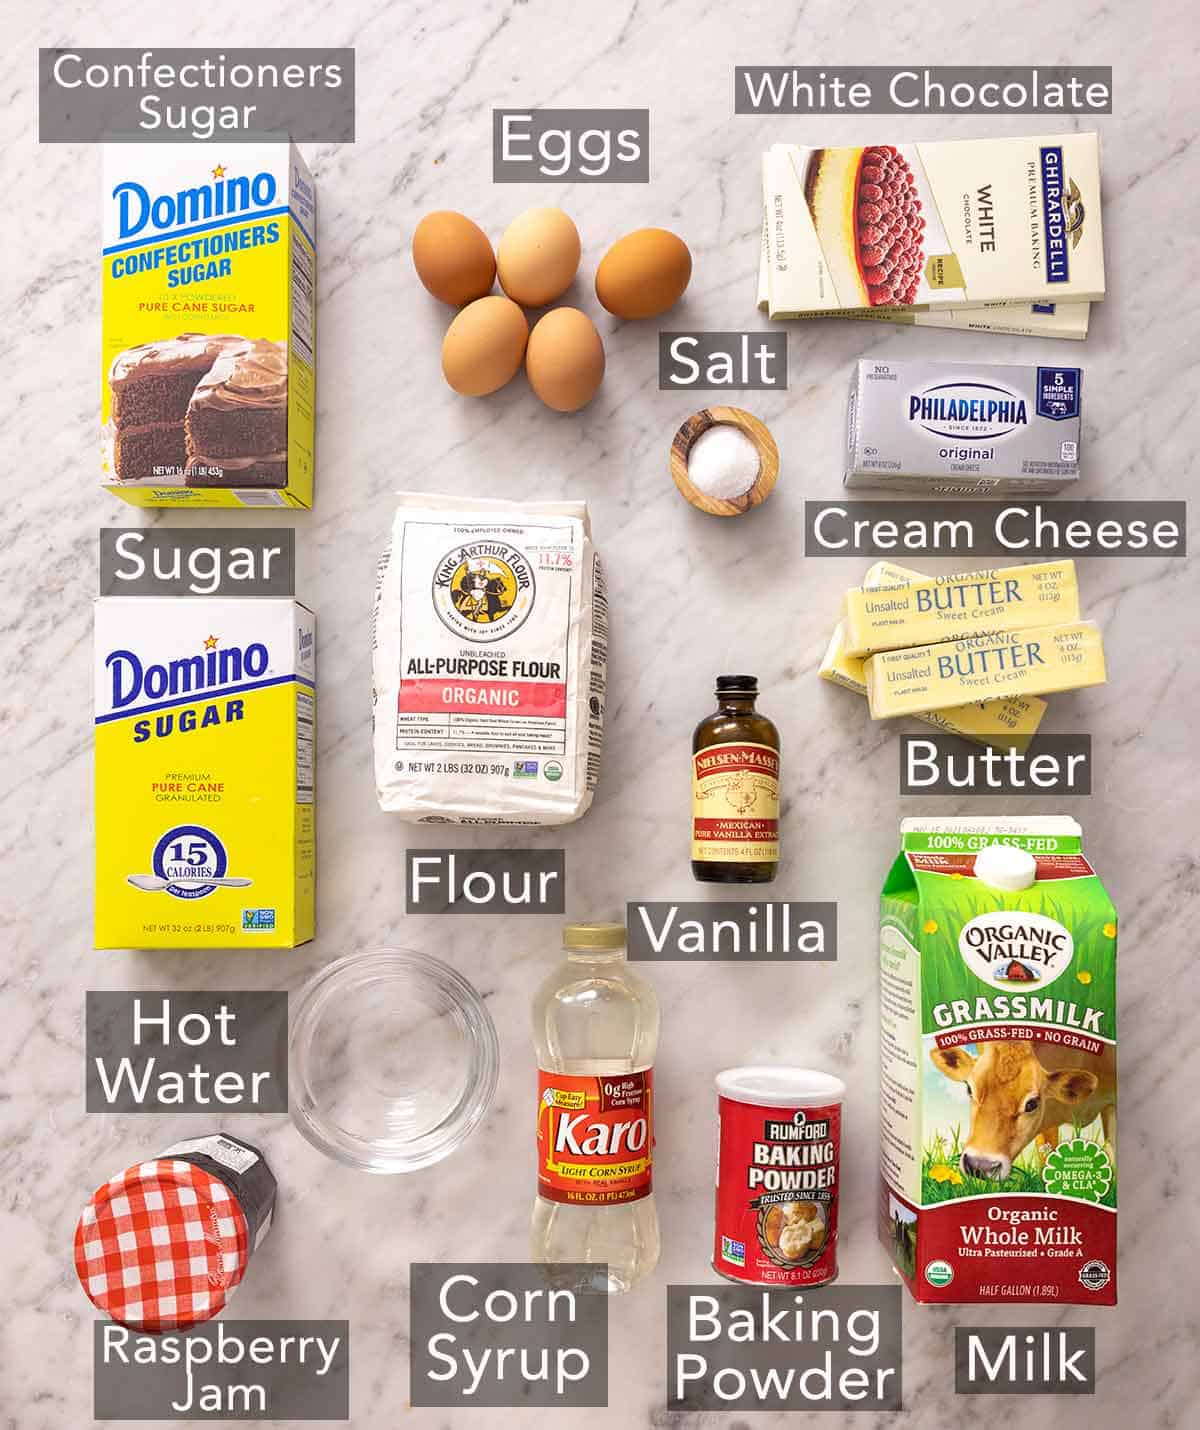
Butter – I use unsalted butter, so if you use salted butter, make sure to reduce the amount of added salt in the recipe. Also, make sure your butter is at room temperature to avoid any lumps in the batter and over-mixing it. To tell if your butter is at room temperature, you can press your finger into the butter, and it should leave an impression. Cream cheese – be sure to have your cream cheese at room temperature as well. The cream cheese helps keep the cake moist and soft while giving the cake a bit of tang. The cream cheese also helps give the cake a bit of heft to them as they’re quite small. Make sure you are buying full-fat bricks of cream cheese and not spreadable cream cheese from a tub; spreadable cream cheese will not give you the same results. Vanilla – try to use real vanilla extract for the best flavor and avoid artificial vanilla. Light corn syrup – light corn syrup is colorless, sweet, and has a hint of vanilla flavor, and it gives the white chocolate coating a pretty gloss. Double-check you are not using dark corn syrup, which has a toasty molasses flavor to it. You can substitute it for glucose syrup or omit it if desired.
HOW TO MAKE PETIT FOURS
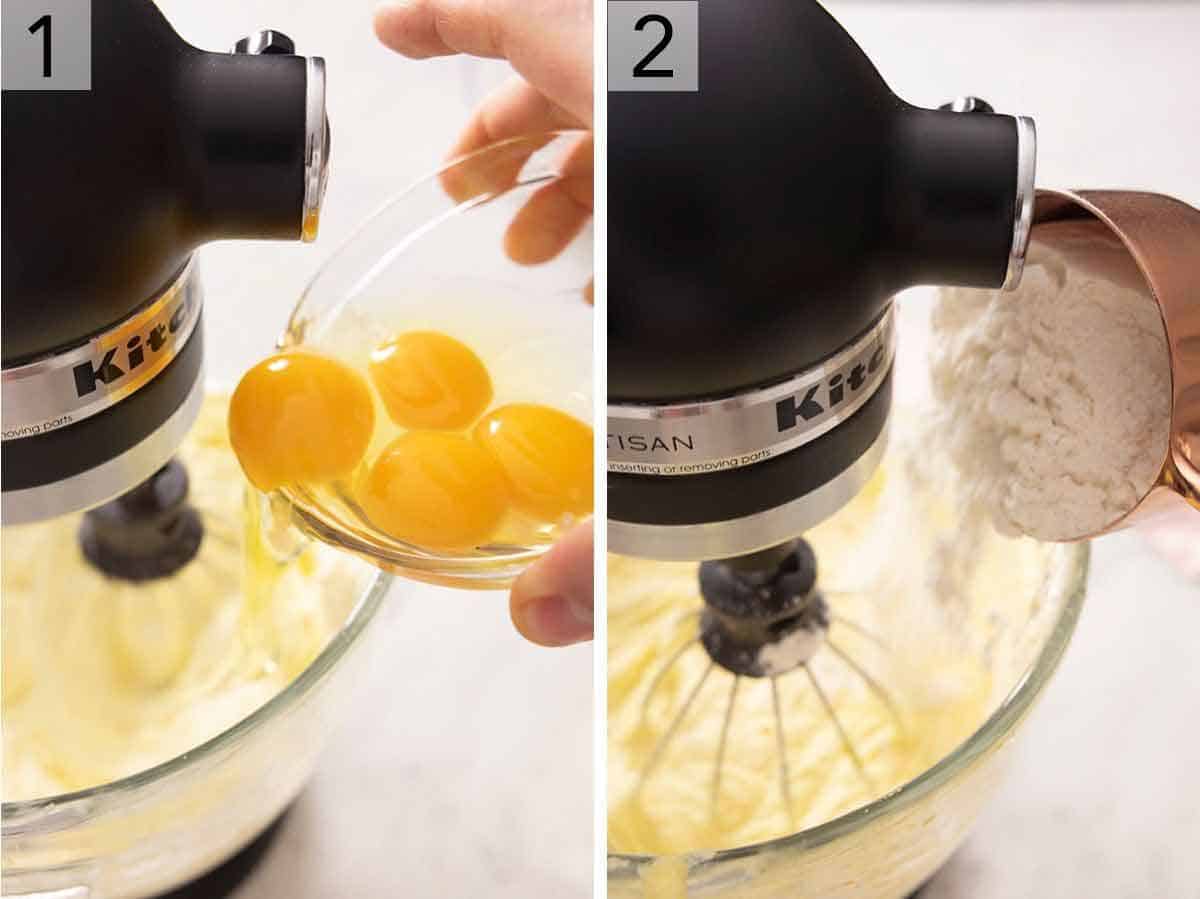
Cream the butter and sugar in your stand mixer until light and fluffy. Then, add the cream cheese and add in one egg at a time before adding in the vanilla.
Slowly add the mixed dry ingredients (flour, baking powder, and salt) in three batches alternating with the milk, mixing until almost combined.
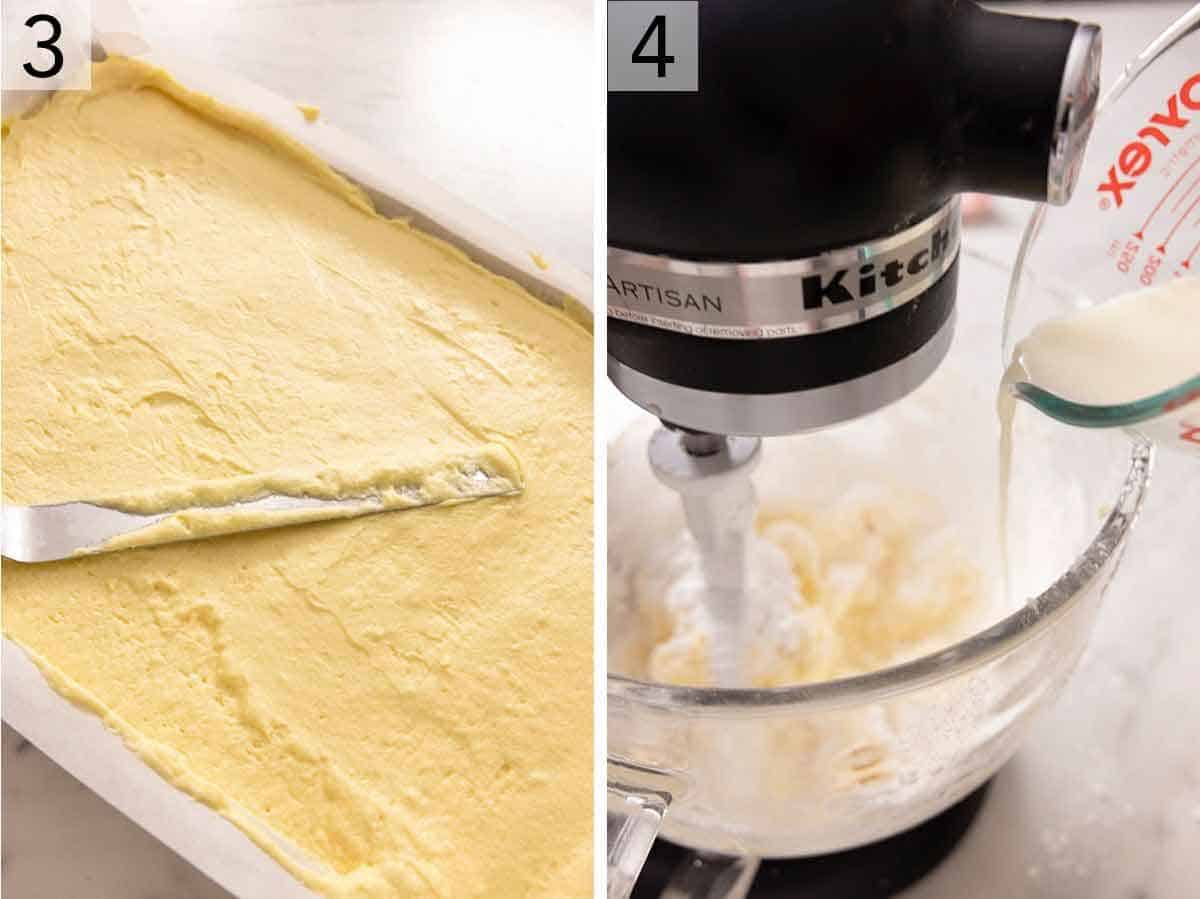
Pour into a lined 12”x17” baking sheet and smooth into an even layer with an offset spatula. Make sure to tap the pan on the counter a few times to pop any large air bubbles before baking for 25 to 30 minutes.
Make the buttercream filling while the cake cools by creaming the butter before adding salt, confectioners’ sugar, vanilla, and milk. Adjust the amount of milk added based on how thick or thin you’d like your buttercream.
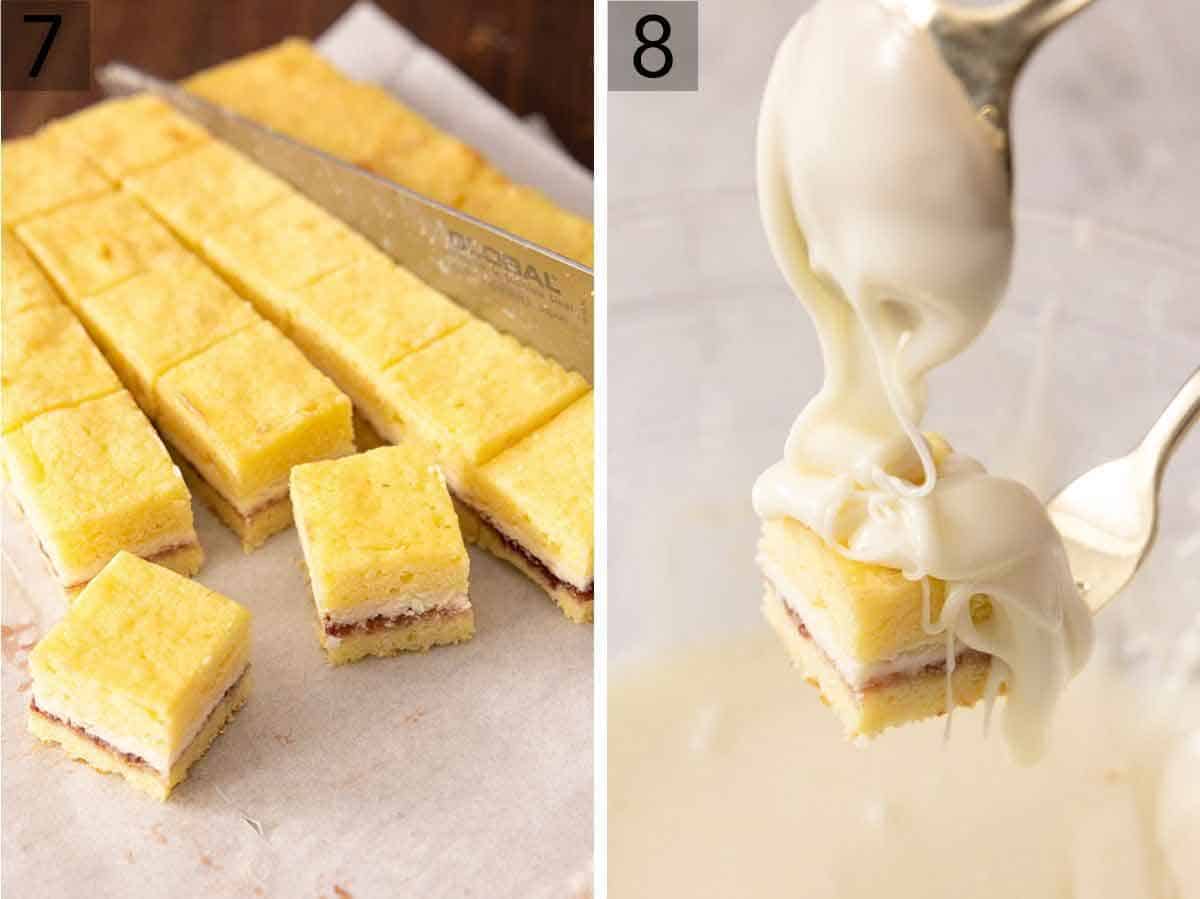
Once the cake has cooled, cut the cake into two rectangles and then cut each down the middle with a serrated knife.
Open the cake and spread a thin layer of buttercream on one half and a thin layer of raspberry jam on the other half.
Sandwich the cake layers together and freeze for about 30 minutes or until firm before cutting the cake into 1.25-1.5 inch cubes.
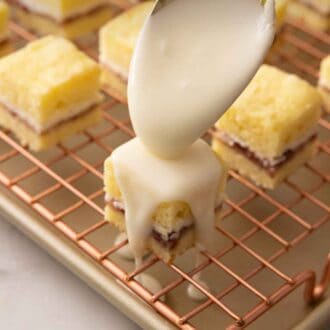
Prepare the white chocolate fondant coating and coat each of the individual cakes with it. You can use a fork to dip the cake in the fondant and then spoon some more overtop to coat the cakes thoroughly.
PRO TIPS FOR MAKING THIS RECIPE
I make a cutting guide for the cake by marking a piece of paper at 1.25-inch intervals. Use the guide to make little cuts to help you slice perfect, uniform squares. You can fill the petit fours with jam, lemon curd, marzipan, or even caramel. Just make sure you use any filling sparingly, as the layers will slide around and weep if overfilled. If you don’t want to make a large quantity of petit fours, then wrap and freeze the extra cake. You can make more, or enjoy the cake as is later. Freezing the cake really helps get clean cuts; if you are not confident cutting the cake down the middle to make the layers, then freeze the cake first. Do not skip transferring the petit fours that you are not currently coating into the freezer. Since the cake can slip and slide around when at room temperature, it’s much easier to coat a petit four when it has just come out of the freezer. If you are not using a scale to measure your flour, be sure to fluff your flour with a spoon before spooning it into your cups and leveling it off with a knife. This method is the best way to measure flour without overpacking the cup. Make sure your butter, eggs, milk, and cream cheese are at room temperature to ensure everything is mixed and bakes evenly. Do not add all of the wet and dry ingredients together at once for the cake batter. When you alternate adding the wet and dry ingredients into the creamed butter, it ensures that the batter can be mixed evenly without accidentally over-mixing. When melting the white chocolate in a bowl over a pot of simmering water, you must not allow any water to go inside the bowl. The chocolate will seize and not melt smoothly. I used white chocolate bars for melting. White chocolate chips do not melt as smoothly. White chocolate also burns in the microwave so take the extra step and use the double boiler method of melting your chocolate.
FREQUENTLY ASKED QUESTIONS
What are petit fours?
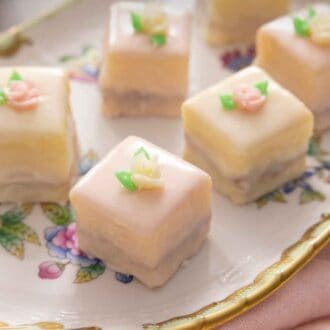
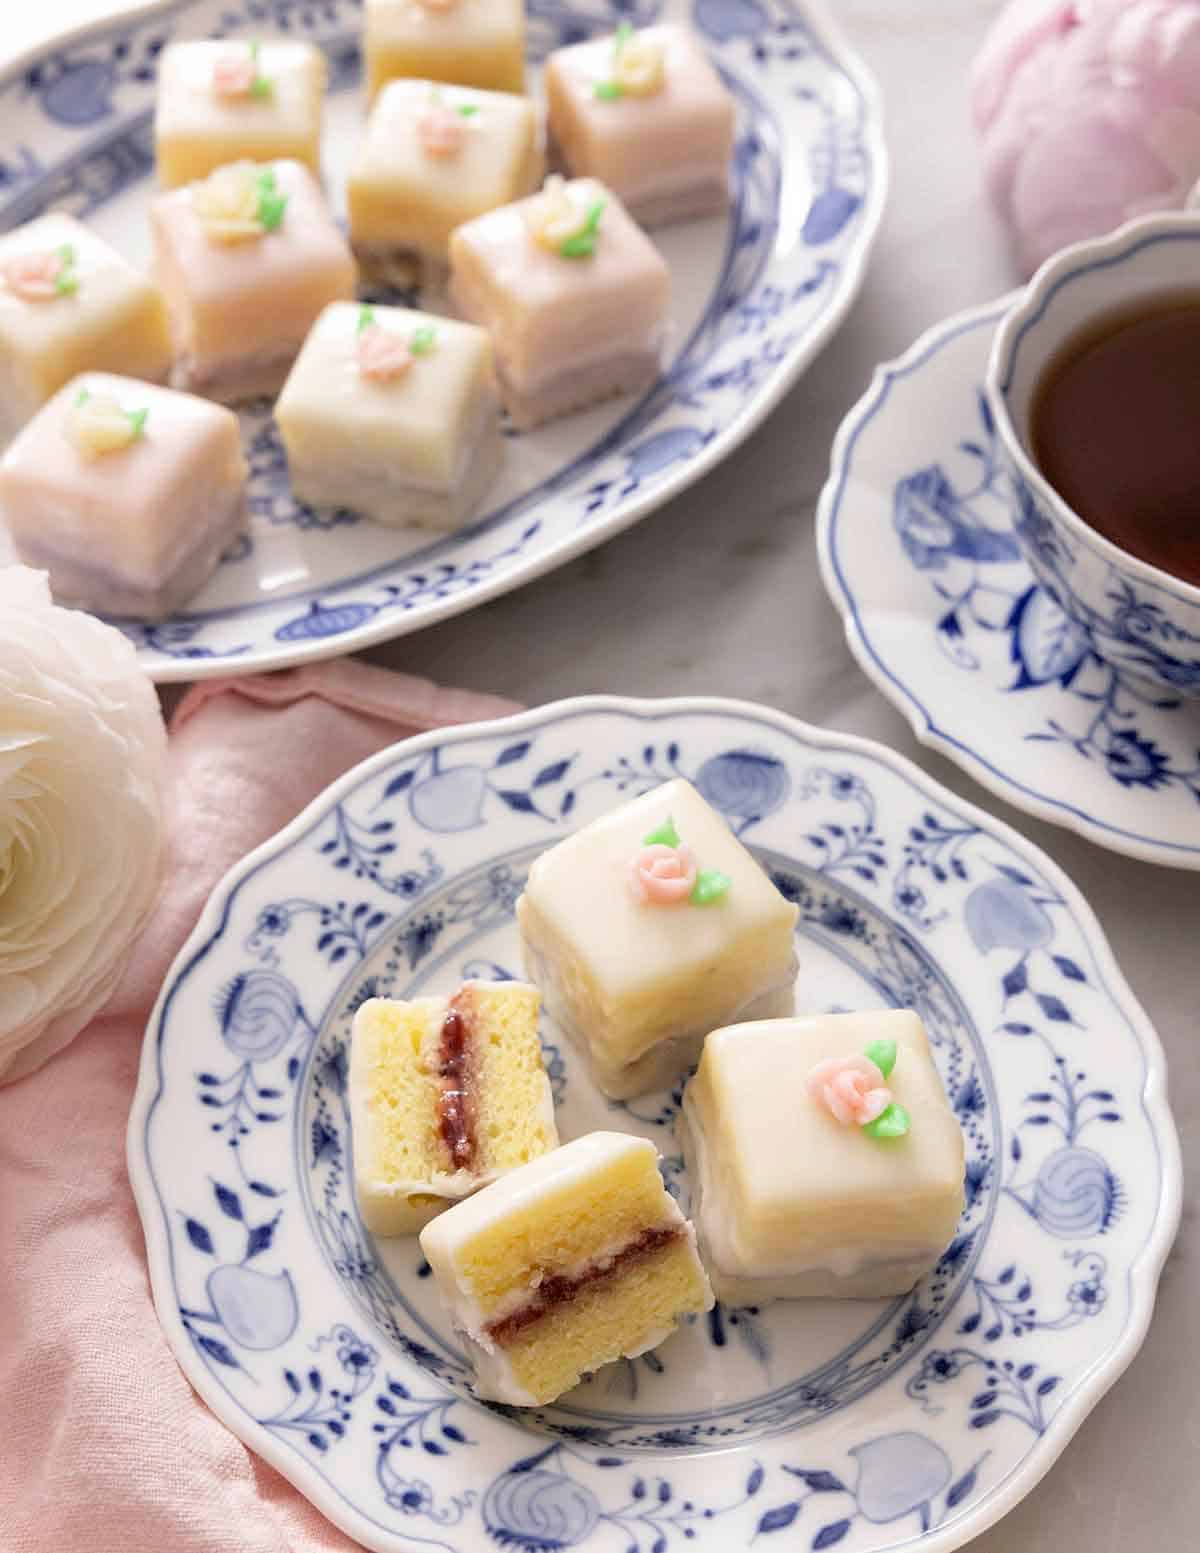
Petit fours are delicate little cakes that originated in France. Their name translates to “small oven” in English as petit fours were baked with the residual heat of brick ovens used for breadmaking in the past. The bakers would use the lower heat to make pastries, and thus their name was coined.
Can I make this ahead of time?
You can prepare the petit fours ahead of time by wrapping up the cake before or after you layer it and then freezing it until you’re ready to use it. You can freeze this for up to 3 months. Allow the frozen cake to thaw slightly at room temperature before topping it with the white chocolate fondant.
What else can I top them with?
You can change up the white chocolate fondant on your petit fours with some gel food coloring. I would advise against liquid food coloring as the gel doesn’t change any liquid ratios. If you don’t want to top with a buttercream flower, you can always top with some decorative sprinkles. If you love this recipe try these out!Macaron RecipeEclairsMille FeuilleMeringue CookiesFruit Tart If you’ve tried this Petit Fours recipe then don’t forget to rate the recipe and let me know how you got on in the comments below, I love hearing from you!