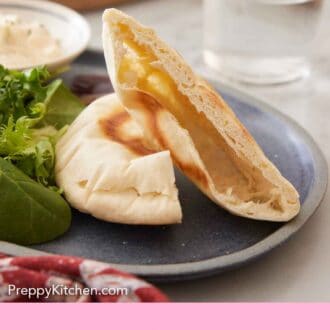
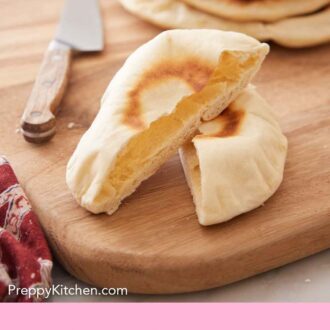
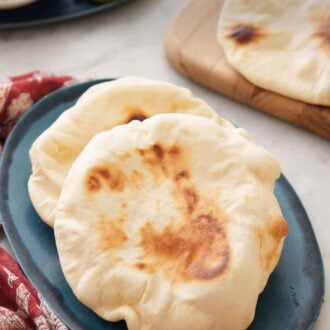
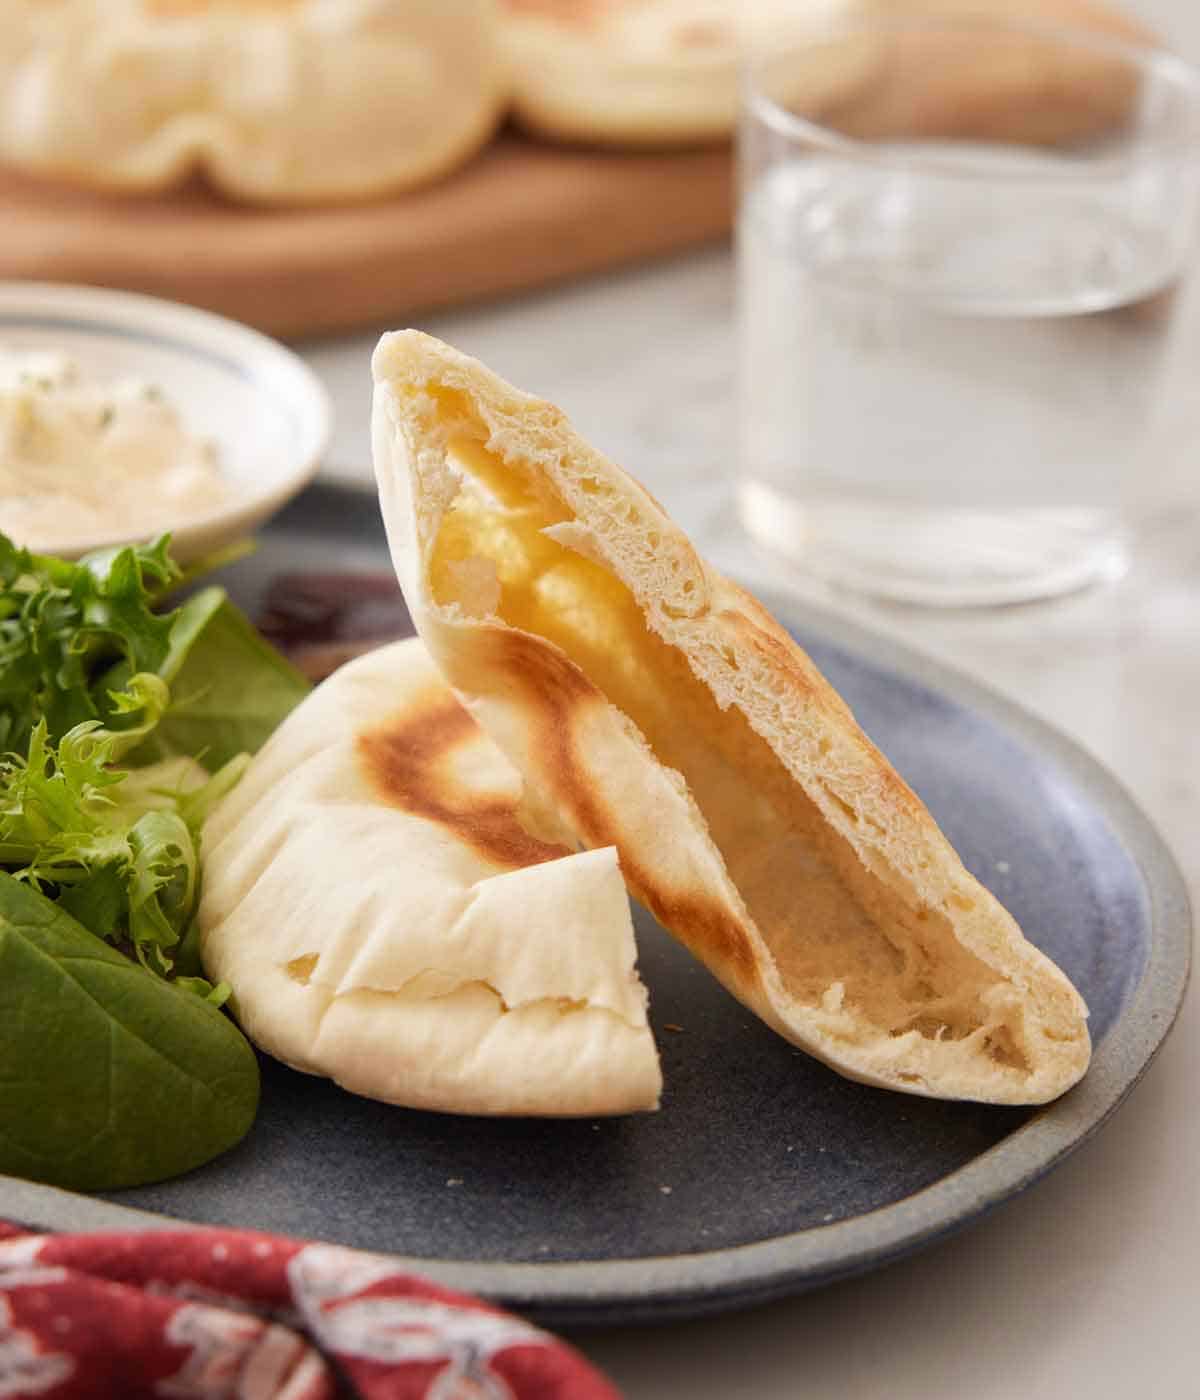
It’s such a versatile recipe, as there are many ways to enjoy pita. You can stuff these pitas with anything from falafels or chicken shawarma, dip them in my beet hummus recipe, or turn them into pita chips! This pita bread is freezer-friendly since you can make extra and place them in the freezer to enjoy later. You won’t regret trying your hand at making this recipe!
What You Need to Make This Recipe
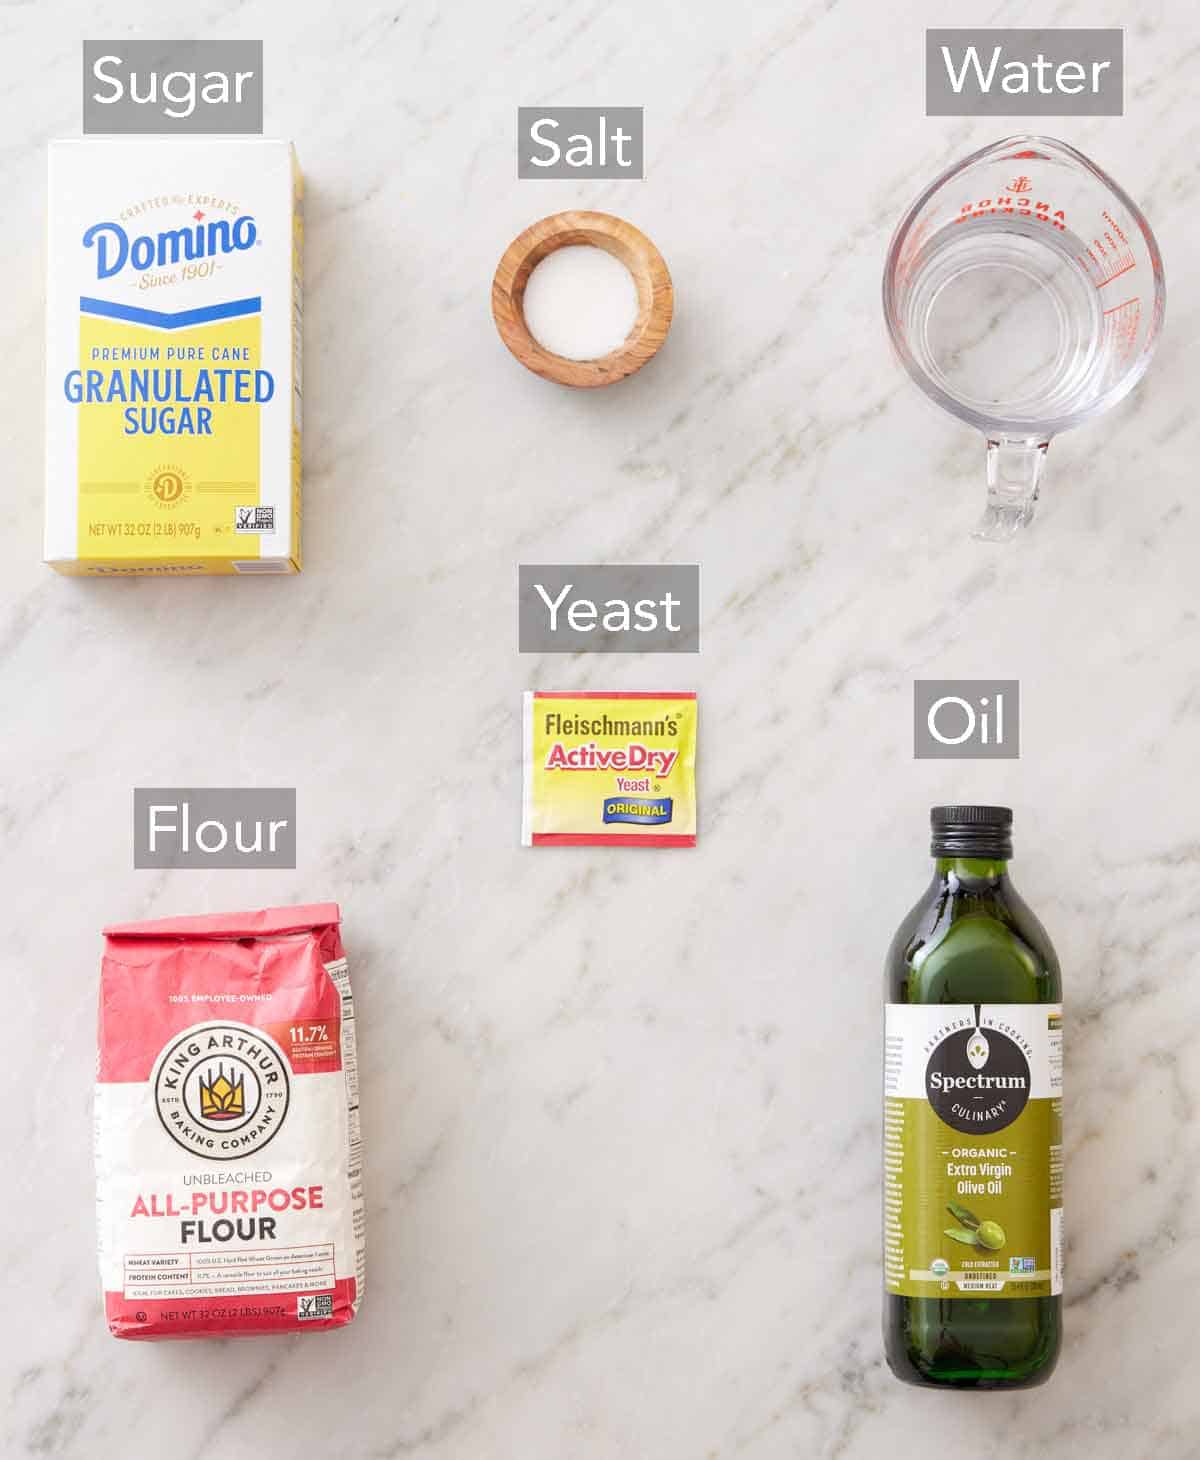
Yeast — make sure your yeast is fresh! It’s good practice always to double-check the expiration date of your yeast. Pick up a new packet of yeast at the store if you’re unsure or if the yeast has expired. Sugar — adding granulated sugar to the yeast will help activate the yeast. Flour — I stick with all-purpose flour as it keeps the pita soft. Olive oil — a bit of olive oil added to the dough will help the crumb and crust become softer. It also adds a little flavor.
How to Make Pita Bread
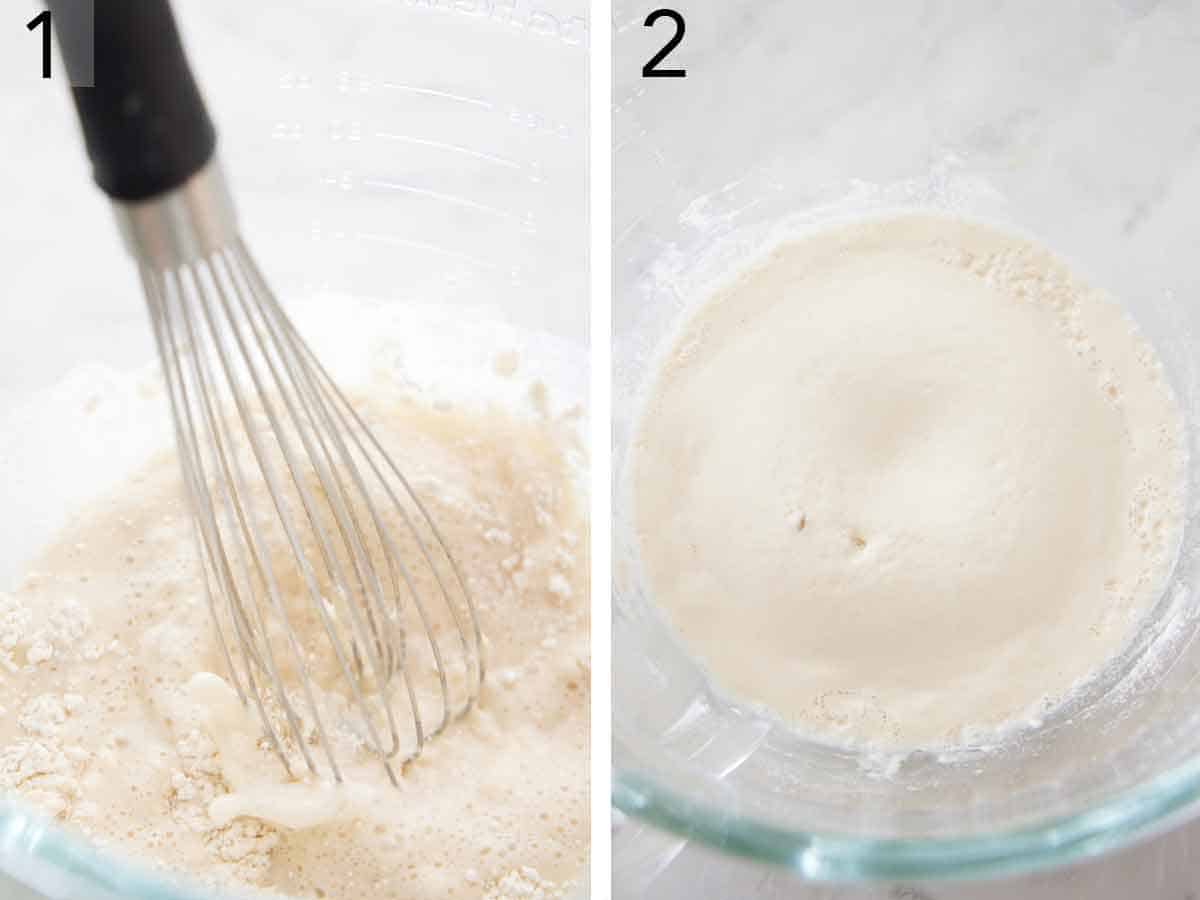
- In the mixing bowl of a stand mixer fitted with the dough hook, stir together the warm water, yeast, and sugar until well combined.
- Whisk in ½ cup flour until smooth. Let stand, uncovered, in a warm, draft-free place until bubbly.
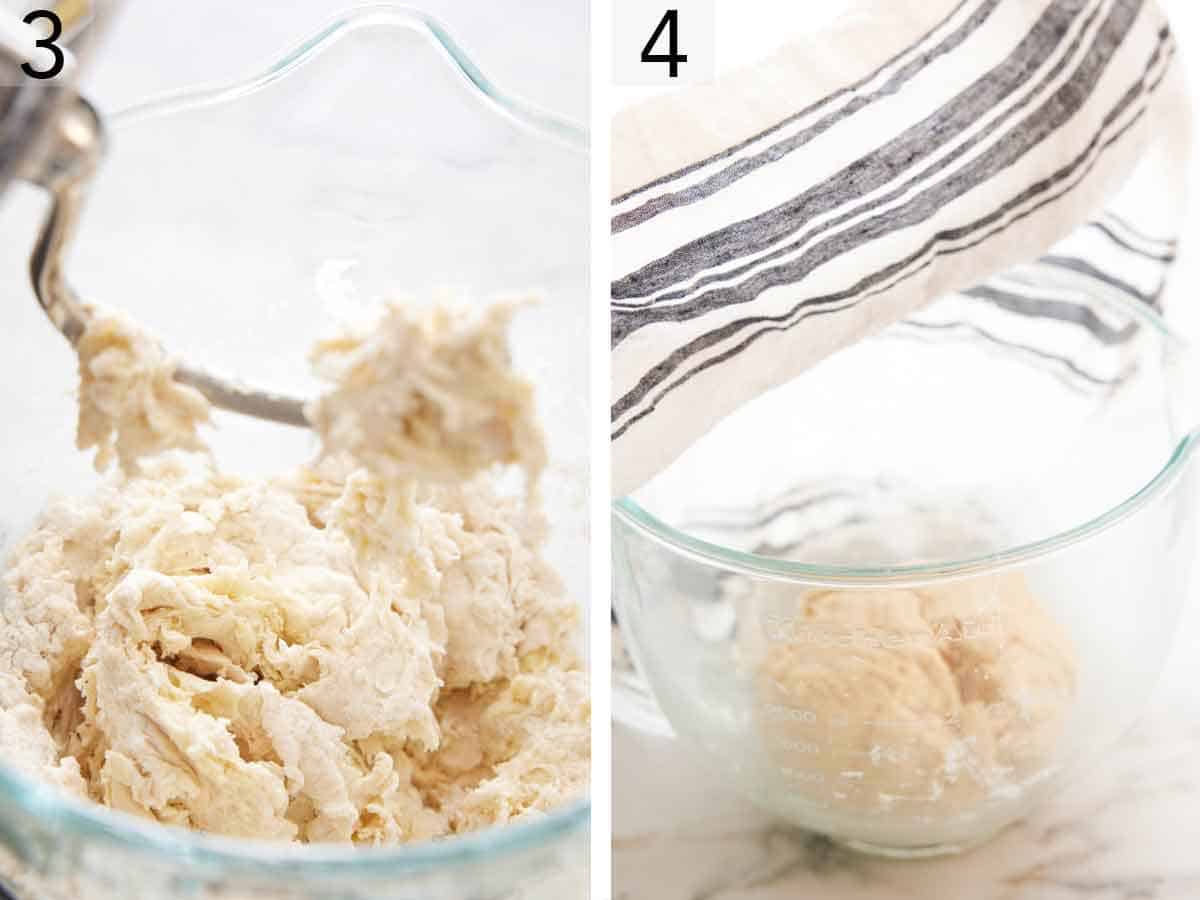
- Stir in the olive oil, salt, and remaining 2½ cups flour until a shaggy dough forms. With the mixer on low, knead the dough.
- Cover with a towel and let rest. You can also mix this with a wooden spoon and knead it by hand.
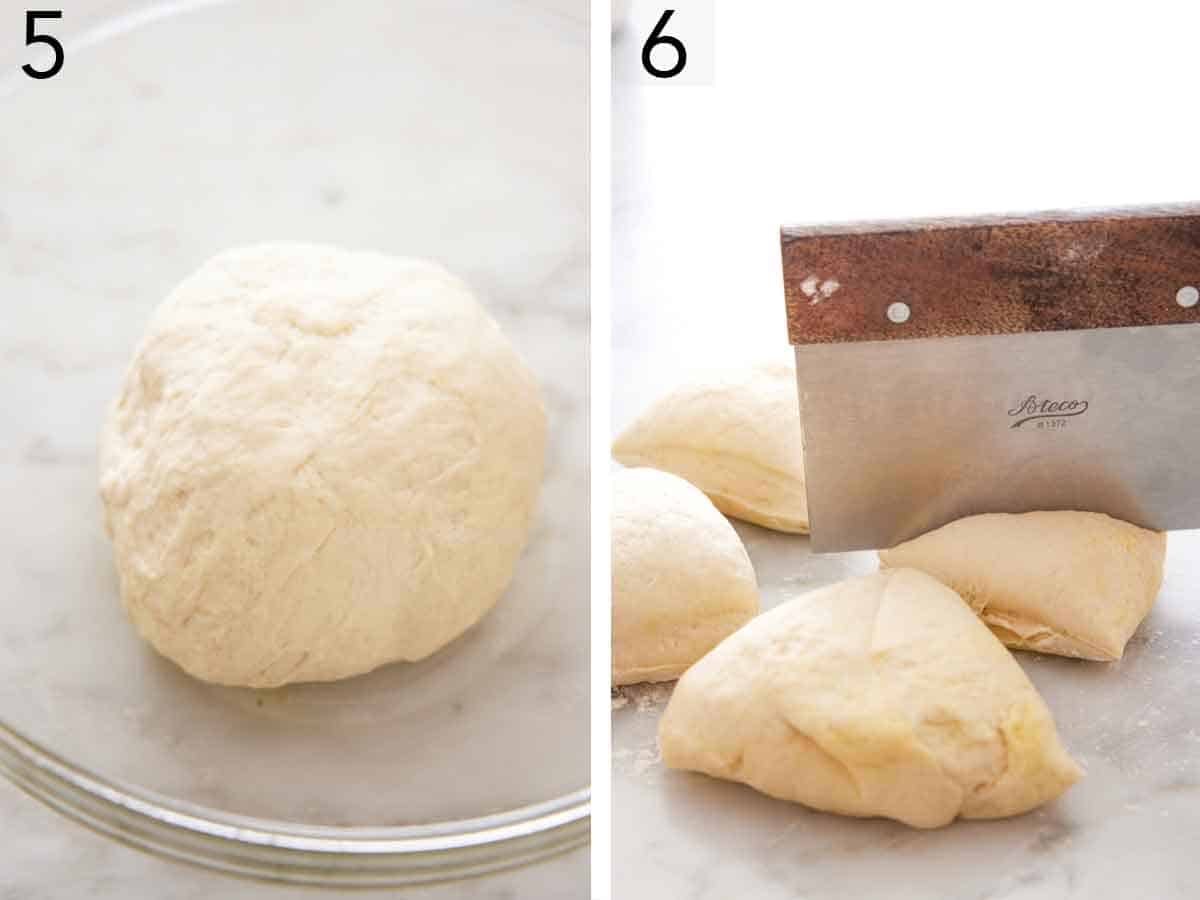
- Knead the pita bread dough again until smooth and elastic. Place the dough in a lightly greased large bowl. Cover with a damp tea towel or plastic wrap and let rise in a warm, draft-free place until doubled in size.
- Meanwhile, set an oven rack in the lowest position of the oven, place a pizza stone, heavy baking sheet, or large cast-iron skillet and preheat the oven. Punch down the risen dough and turn it out onto a lightly floured surface. Divide the dough into 8 equal pieces.
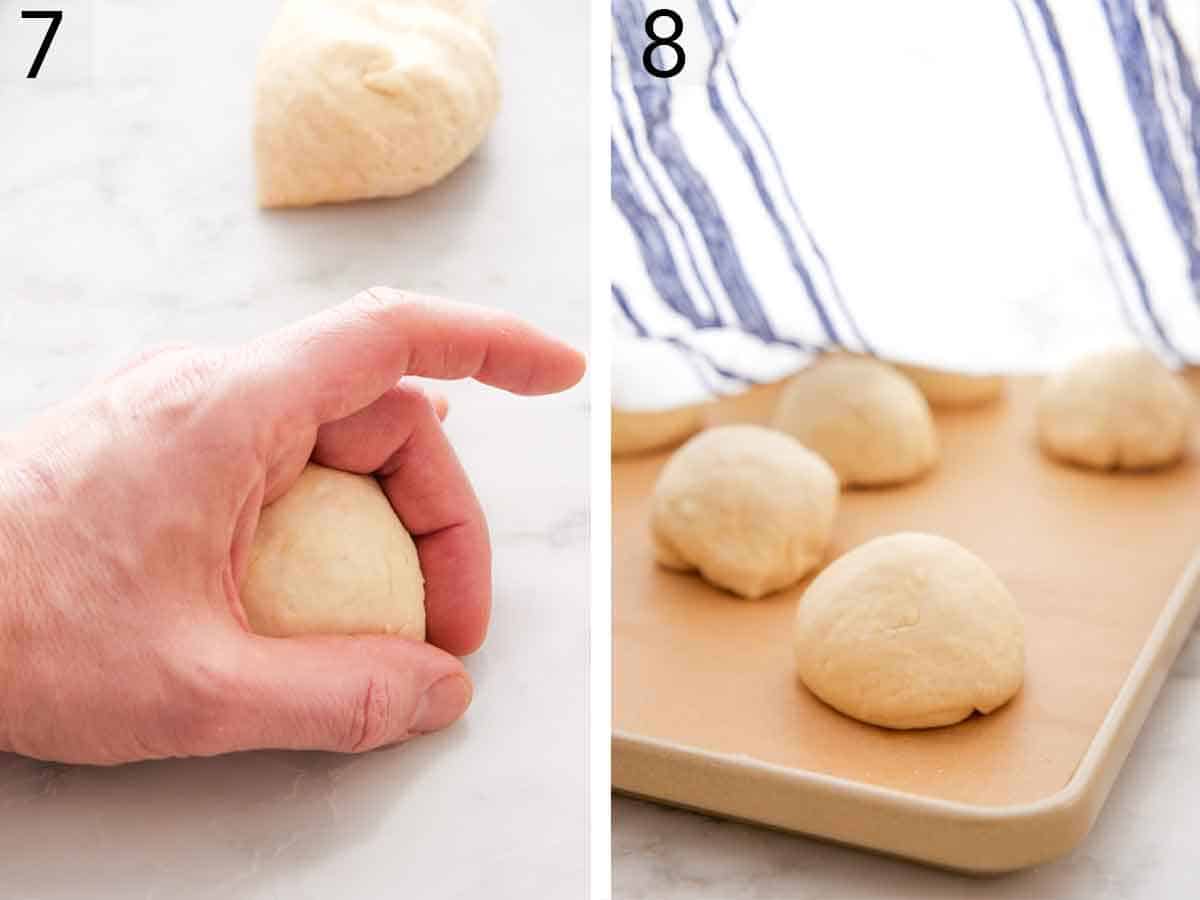
- Shape the cut dough into balls.
- Cover with a towel and let the dough balls rest.
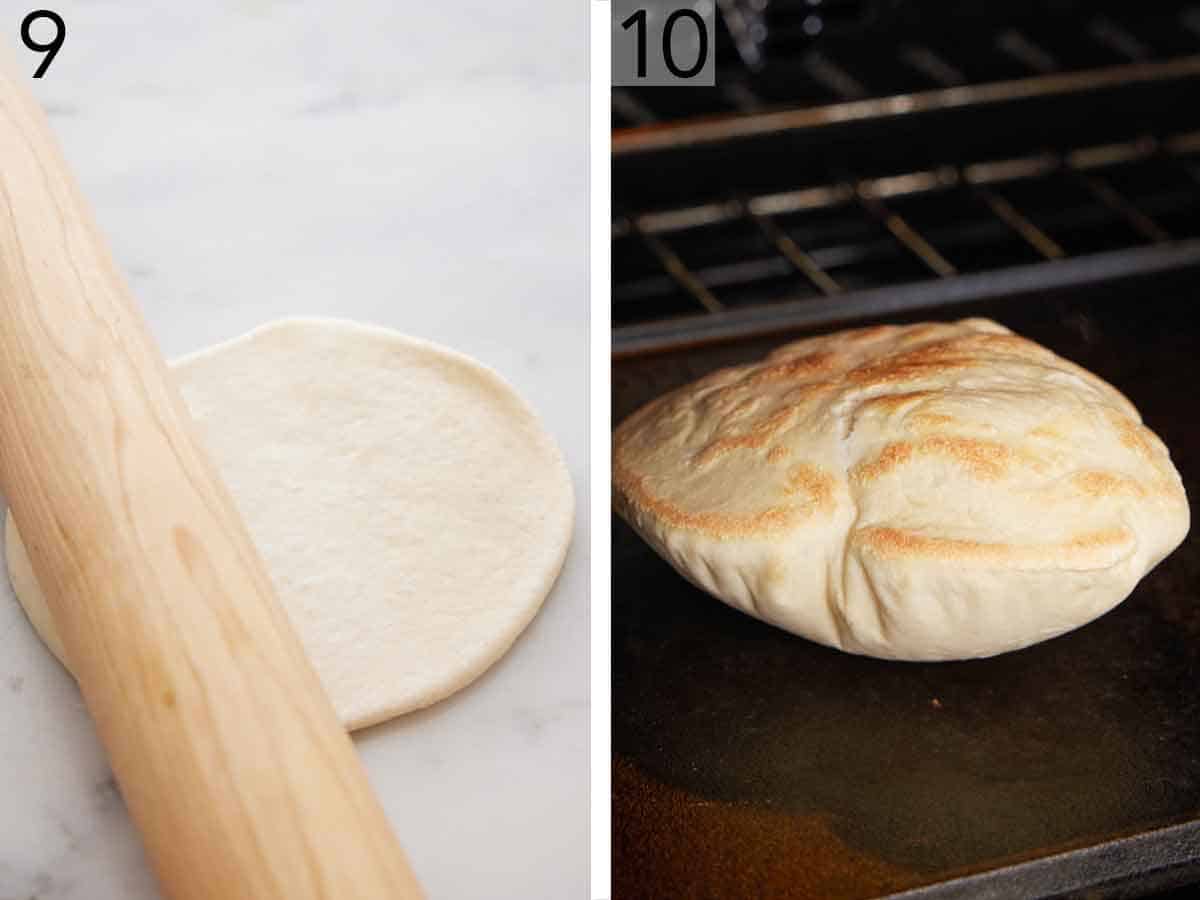
- On a lightly floured surface, roll each into a 6-inch circle.
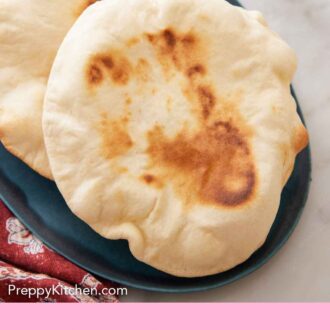
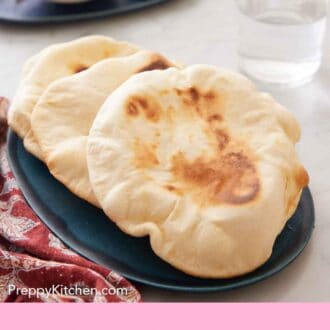
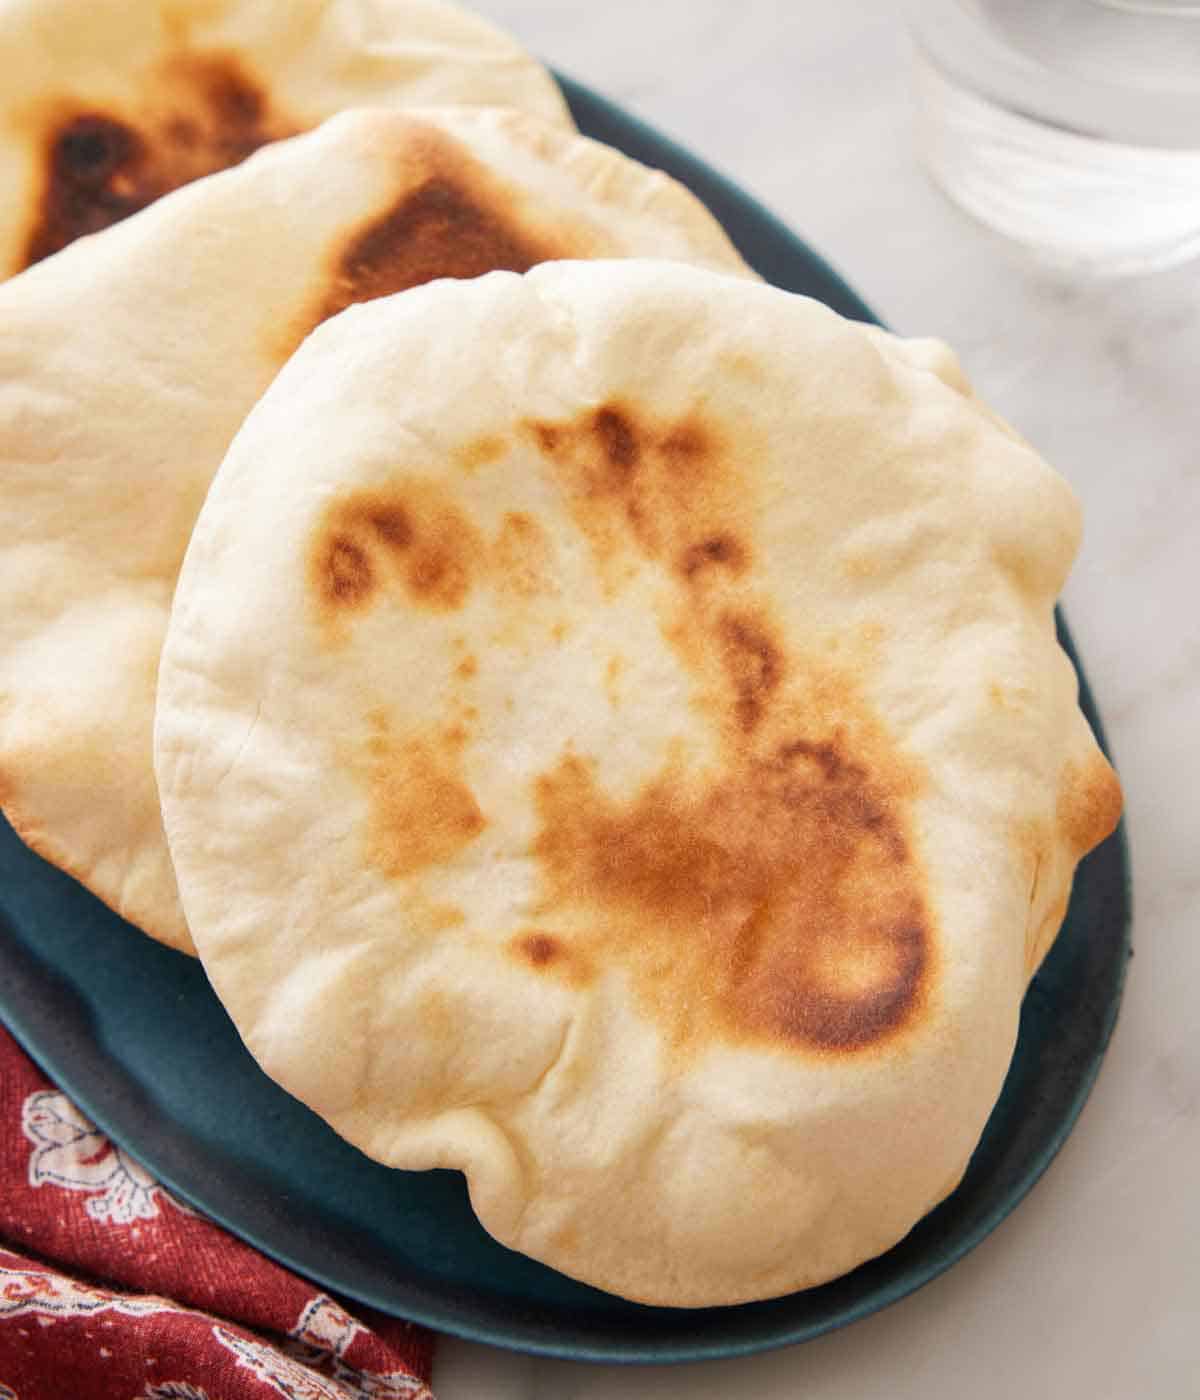
- Working one or two at a time, place dough circles on the hot stone; bake until puffed, about 2 minutes, flip and continue baking until pale and puffed, about 2 minutes more. Repeat with the remaining dough. Serve warm or at room temperature.
Pro Tips for Making This Recipe
You want to make sure you have lots of access to the bottom rack. I recommend removing the second oven rack or placing it on the top position of the oven, so you have plenty of room to work on the stone.You must make sure your water is not too hot or too cold. If your water is too hot, it will kill the yeast, and if it’s too cold, the yeast won’t activate. I highly recommend using a scale to measure your flour for the most accurate results. However, if you don’t have a scale, be sure to fluff your flour with a spoon and then spoon it into your cups before leveling it off with a knife. This method is the best way to measure flour without overpacking the measuring cup and resulting in too much flour in the dough. If the dough is dry from too much flour, the pita bread won’t puff up.Bake on one rack only. Due to how the temperature varies inside an oven, if you use both oven racks, one rack of pita bread will cook faster than the other. Constantly opening the oven to account for the two different cooking times will release the heat built up in the oven and cause the bread to cook unevenly. Make sure you flour the surface you roll the dough on. If the dough sticks while rolling, it may tear, causing steam to escape as it bakes and therefore it won’t puff up properly. Roll the dough out as evenly as possible. This is very important because it helps ensure that the pita separates in the oven equally.
If you’ve tried this Pita Bread recipe, then don’t forget to rate the recipe and let me know how you got on in the comments below, I love hearing from you!