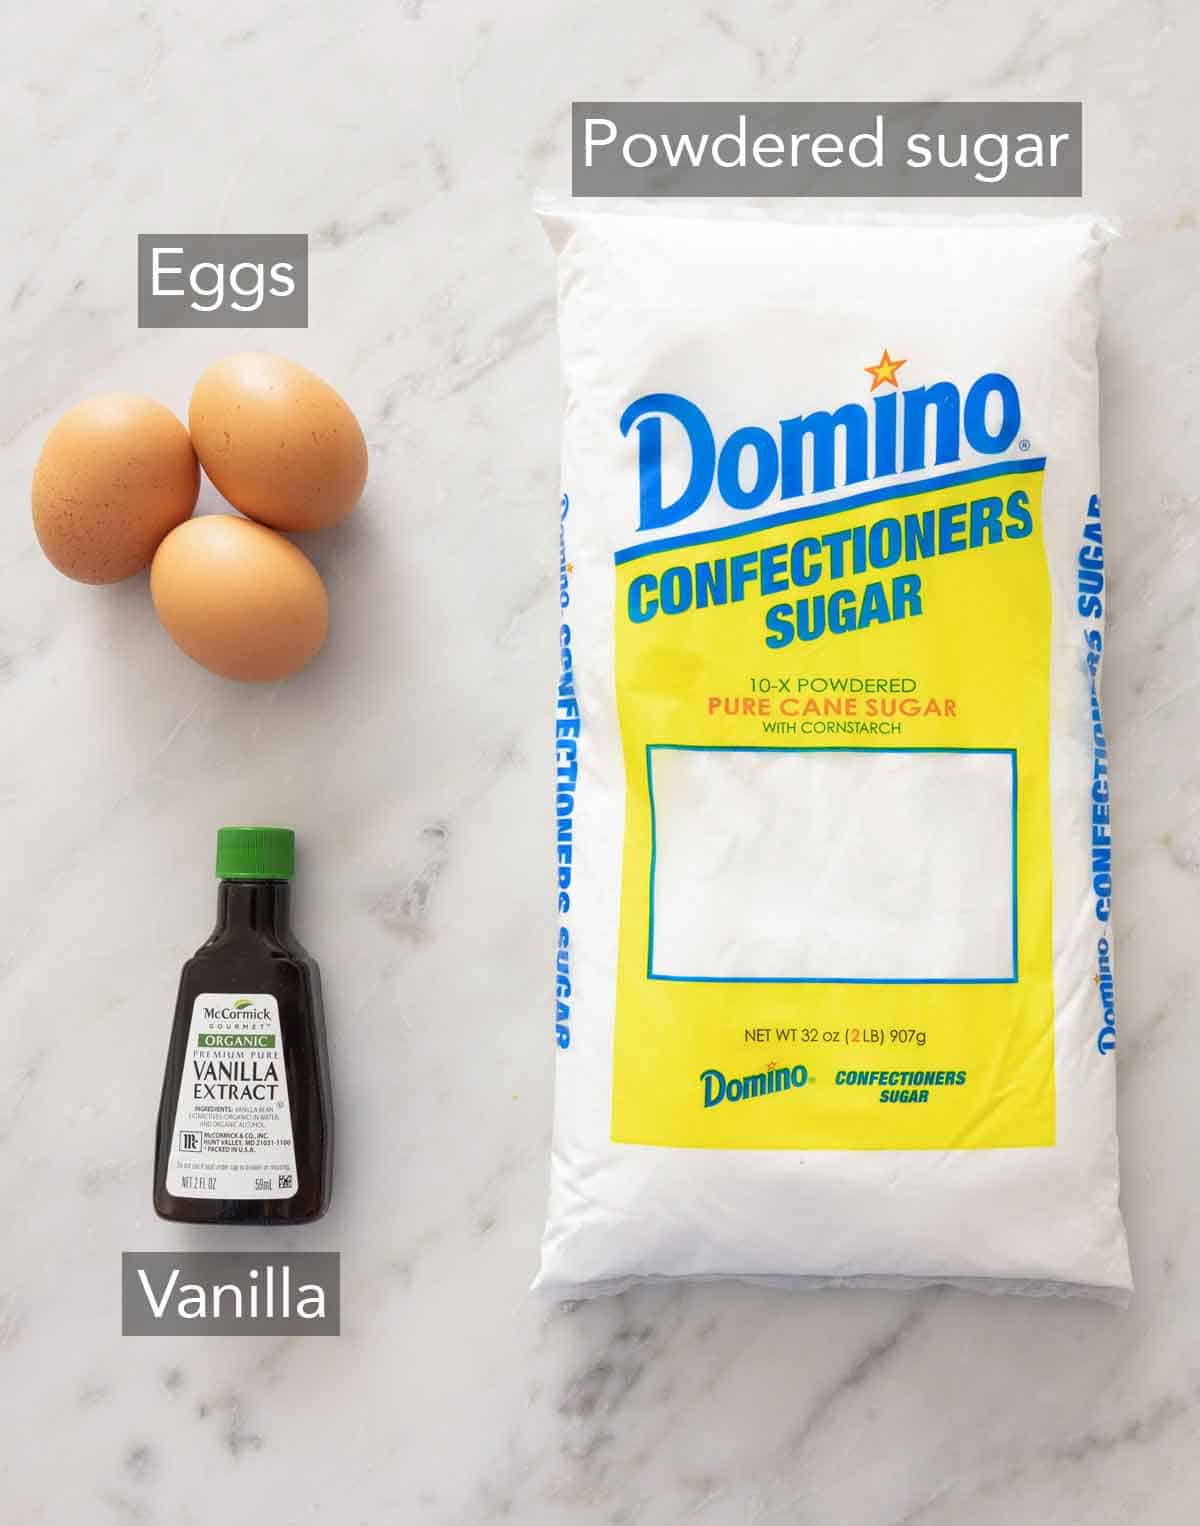
What You Need to Make this Recipe
Egg whites — when separating the eggs, make sure you don’t get any yolk mixed in with the white. If you get yolk into the whites, it’ll prevent it from whipping up into fluffy whites. Try to use fresh eggs as they will whip up quicker and be more stable than older eggs. I recommend using pasteurized raw eggs if you’re concerned about the use of egg whites. Confectioners’ sugar — you might also find this labeled as powdered sugar, icing sugar, or 10X sugar at your local grocery store. The sugar thickens your icing, so don’t be tempted to add too much at once.
How to Make Royal Icing
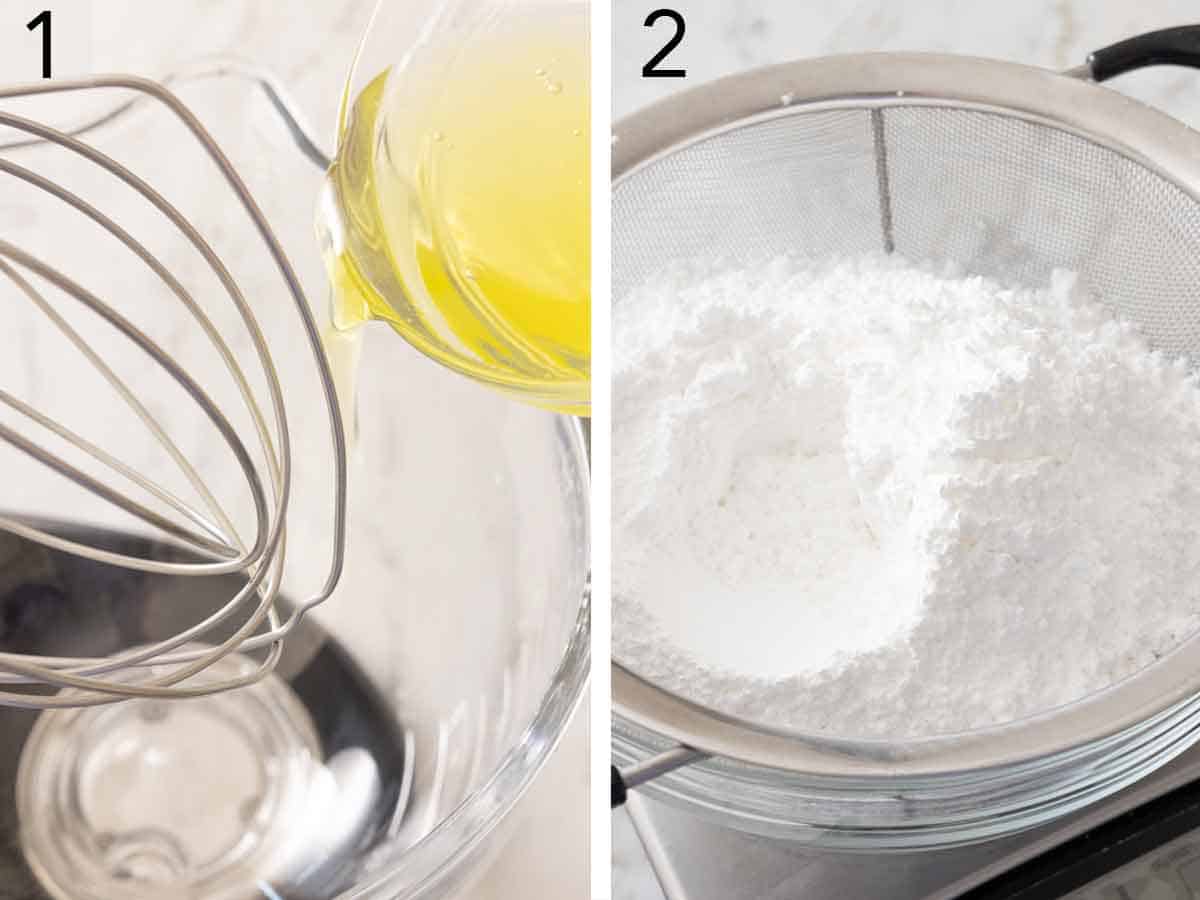
In the bowl of a stand mixer or large mixing bowl, add the egg whites.
Sift the powdered sugar.
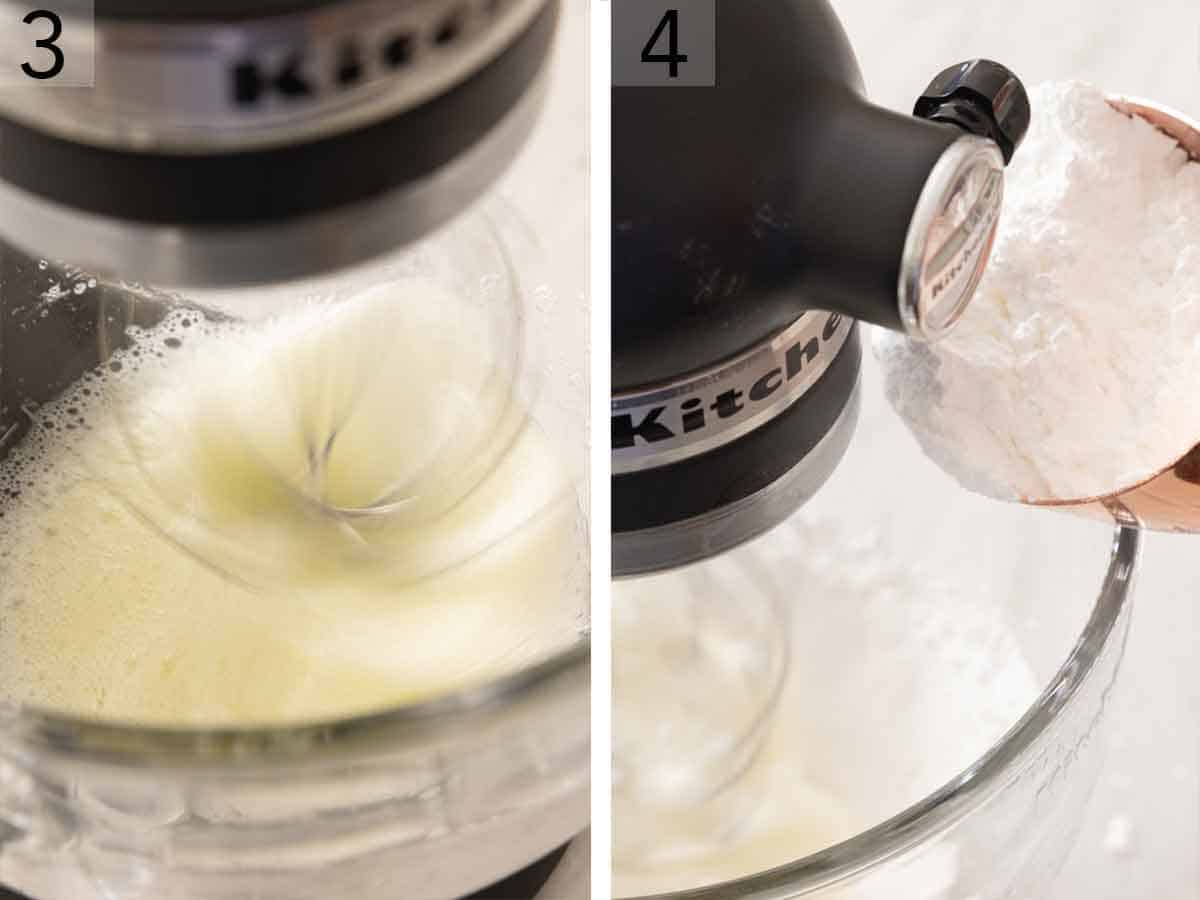
Beat egg whites at medium-low speed until frothy, about 1 minute.
Slowly add in confectioners’ sugar and vanilla.
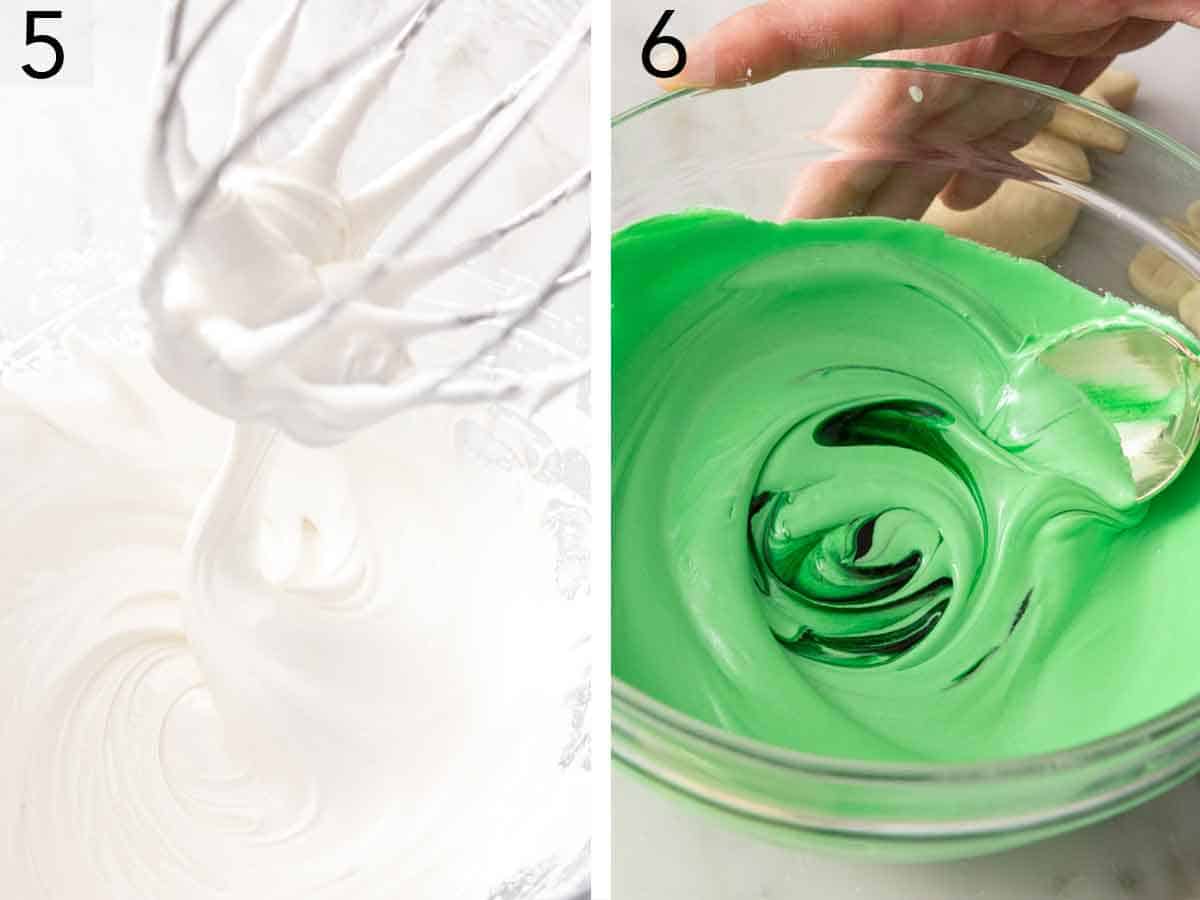
Once fully incorporated, increase speed to medium-high and beat until stiff and shiny peaks form.
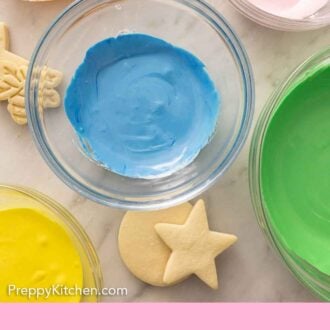
Divide icing among small bowls and dye with gel food coloring if desired. Transfer to piping bags and decorate cookies.
Pro Tips for Making this Recipe
Eggs are easier to separate when cold. Egg whites whip up easier when closer to room temperature. I recommend separating them in advance if you have the time. You can whip egg whites by hand, but it’ll require a lot of elbow grease to get it done so a stand mixer is best. Do not rush the recipe and dump all the sugar into the egg whites at once. You lose volume if you add the sugar too quickly. Whipping the egg whites at a low speed allows the protein in the whites to break down better. This helps the whipped egg whites become more elastic and become more voluminous. Make sure the bowl you whip your whites in is super clean. Any residue water or fat will prevent the egg whites from becoming fluffy. While I prefer using gel food coloring, you can use what you have on hand. Remember that gel food coloring is more concentrated, so you can add less, whereas liquid food coloring may thin out the frosting if you add too much to it. If your icing has started to harden, add a drop or two of water to bring it back to your desired consistency so it doesn’t clog your piping tips. However, avoid making the icing too thin as it’ll lead to air bubbles which is not good for cookie decorating. For the best flavor, use real vanilla extract instead of artificial vanilla. When using royal icing to decorate cookies, pipe the outline icing first, then flood it. Outlining means piping a thin outline of the cookie with thicker icing and flooding means filling the middle with thinner icing. Piping an outline first keeps the icing from sliding off the cookies. Add a few drops of water to the icing and stir with a spatula for a flooding consistency. Continue adding water until you achieve the desired icing consistency.
Does this icing get hard?
As royal icing dries, it hardens to the consistency of a candy-like coating with a smooth, shiny finish, so it doesn’t smear if you run your hands over it. It will take 6 to 8 hours to dry at room temperature.
What is the difference between this icing and buttercream frosting?
Both have similar ingredients and are used to decorate desserts. The main difference is that buttercream is creamy and soft, whereas royal icing will dry hard.
Why is my icing not shiny?
The faster the icing dries on your cookies, the smoother the surface will be. However, if your kitchen is too warm, the humidity will cause the icing to dry slowly, leading to a dull icing. Try to set your cookies in front of a fan to speed up the drying process. Another culprit is over-mixing. If your icing is over-mixed, it dries dull.
Can I make this ahead of time?
Yes, you can! The royal icing will keep well in the fridge for up to two weeks when not exposed to air. Keep the icing in an airtight container, or keep the piping bag tightly sealed. If you’ve tried this Royal Icing recipe, then don’t forget to rate the recipe and let me know how you got on in the comments below, I love hearing from you!