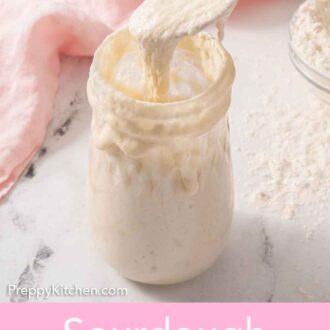
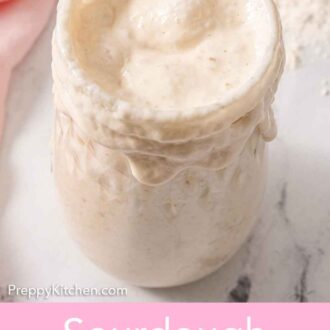
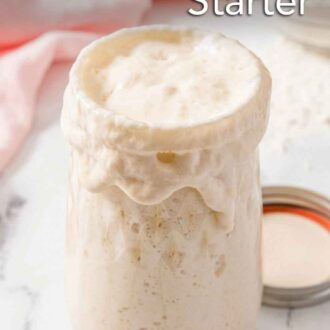
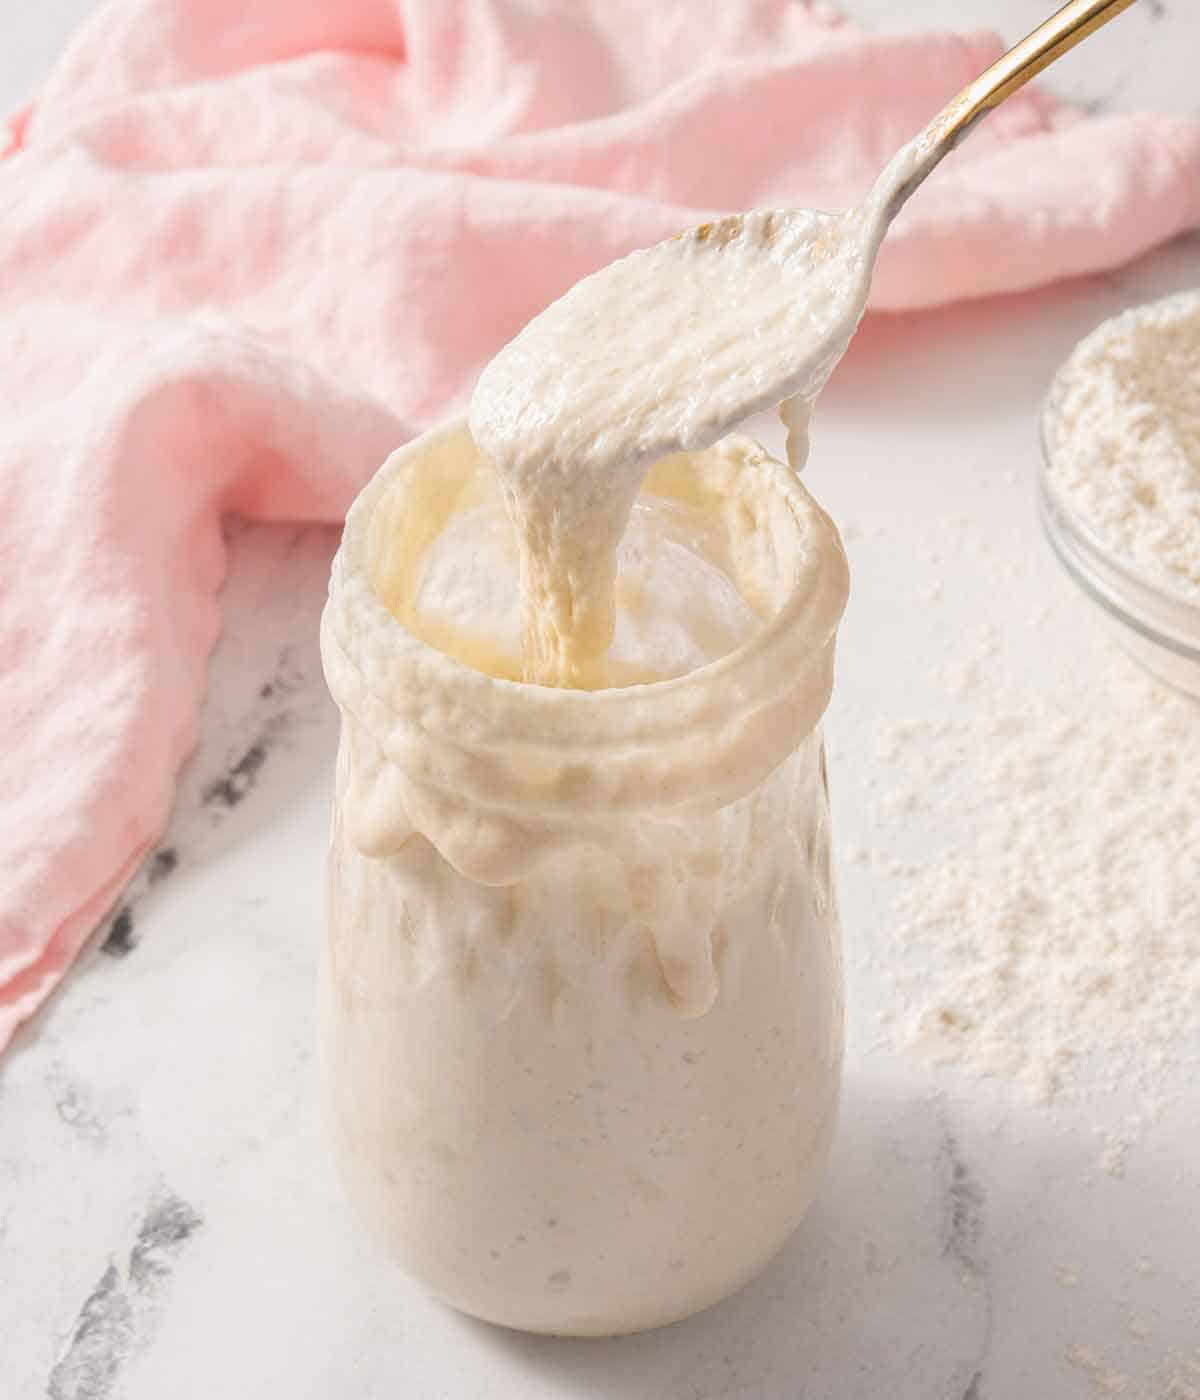
It might seem confusing or daunting as many methods exist to make a starter. But not to worry, this is a simple sourdough starter recipe that’s perfect for beginners with its easy to follow, straightforward steps. Once you have your new starter going, you’ll be baking up a delicious loaf of my homemade sourdough bread recipe in no time. Want some bread while you wait for your sourdough starter to mature? Try my artisan bread recipe, Irish soda bread recipe, or brioche bread recipe.
What You Need to Make This Recipe
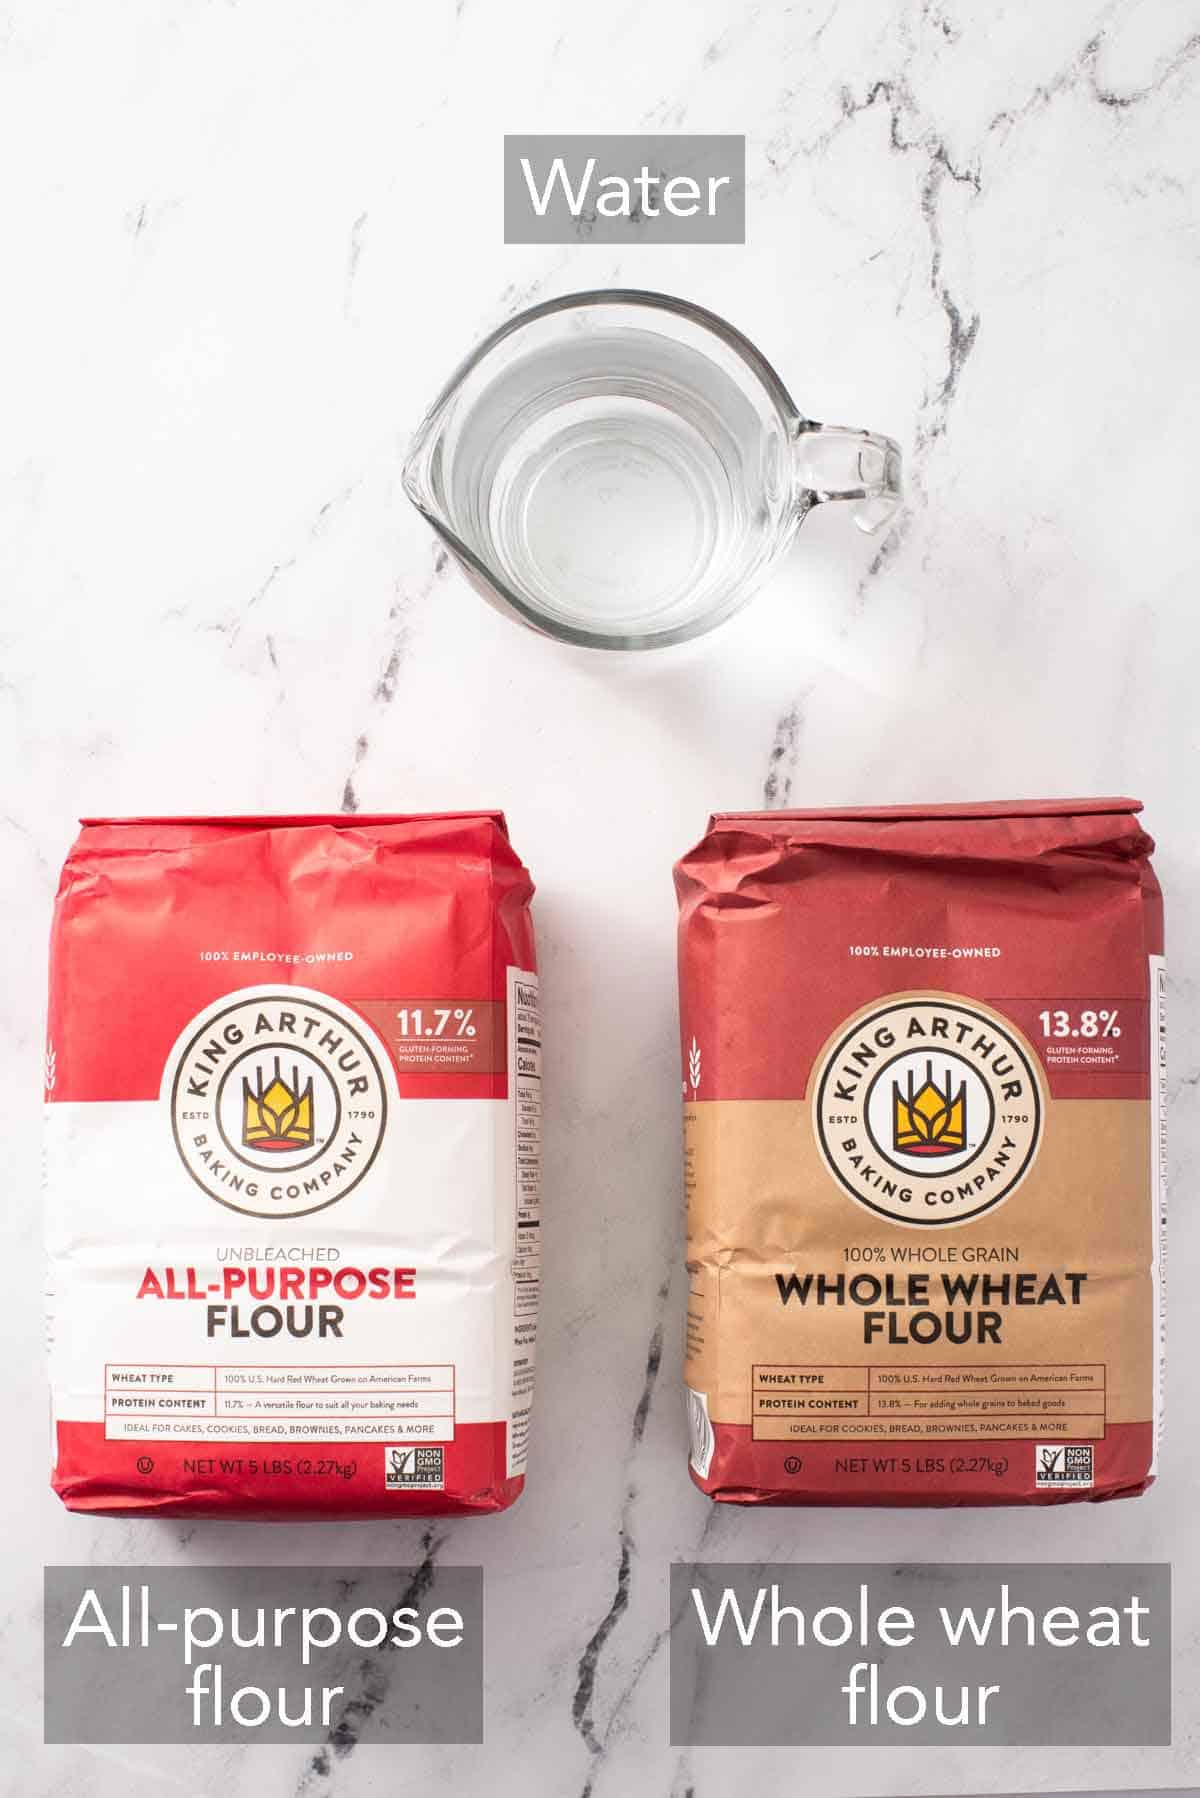
Whole wheat flour — for the best start, start the starter with whole wheat flour. It is full of nutrients and microbes, leading to faster fermentation. However, it is not ideal for gluten development, so later feedings should be with all-purpose flour after you jumpstart the starter with whole wheat flour. Water — be sure to always use filtered water. Tap water or water containing chlorine can kill the good bacteria in your starter, either killing a healthy starter or keeping one from forming to begin with. All-purpose flour — use unbleached all-purpose flour for the best results. The bleaching process reduces the microbes in flour, which can slow down the development of a sourdough starter.
How to Make Sourdough Starter
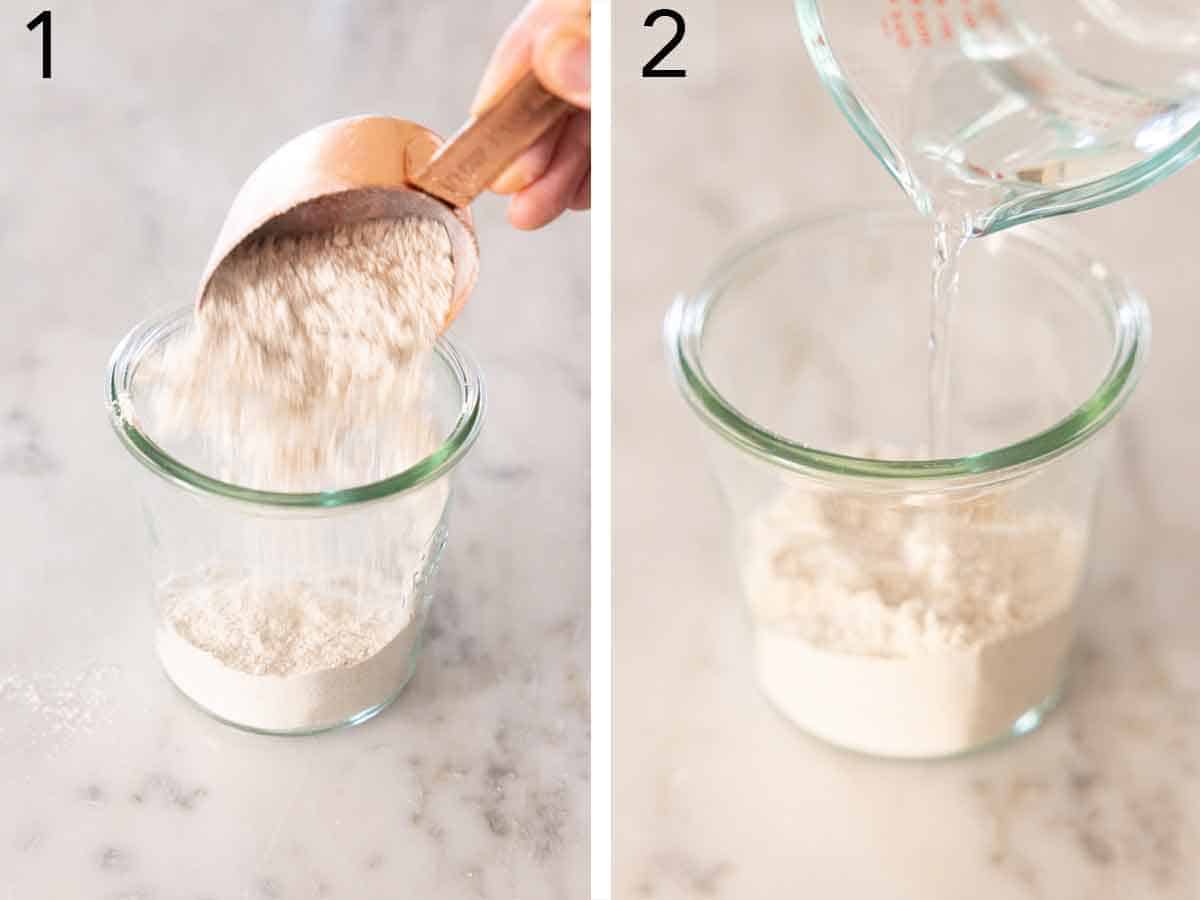
- In a clean glass jar (at least a pint or larger in size), add the whole wheat flour.
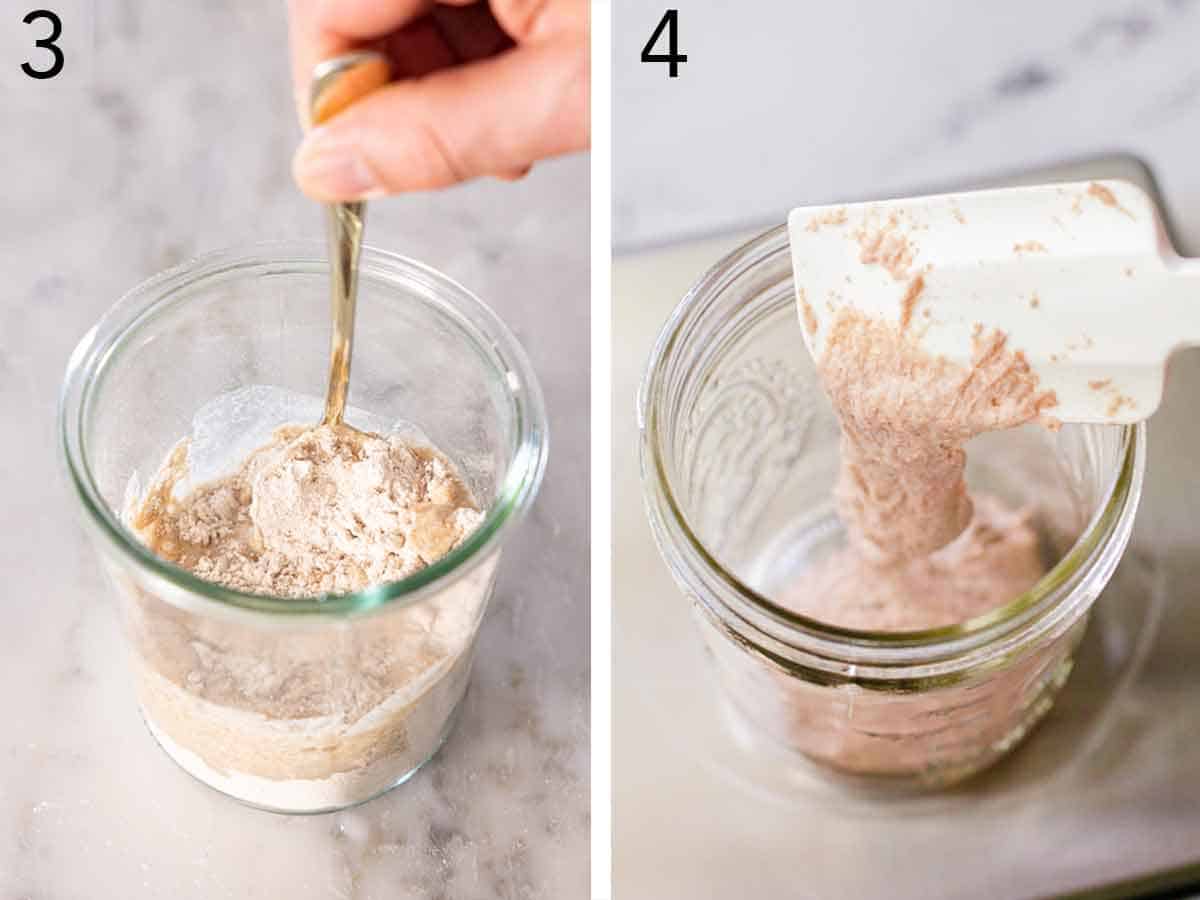
- Add the water and stir together until the flour is thoroughly combined. Cover the container loosely with the lid and let the jar sit in a warm spot (75-80F) for 24 hours. Check the starter for any bubbles that have formed on top, and if there are none, let the starter sit for another 12 to 24 hours or until you see signs of bubbles.
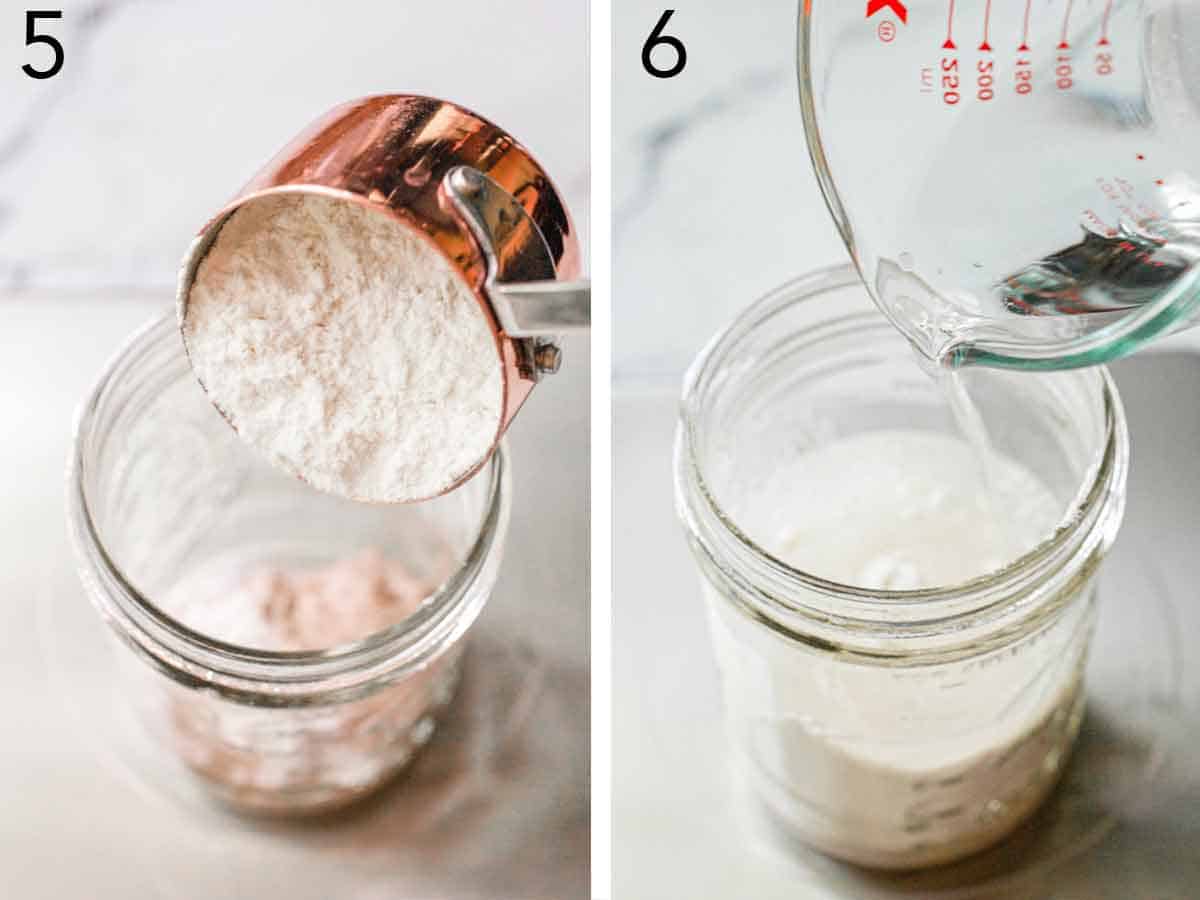
- Discard half of the starter, keeping about 60g in the container. Add the all-purpose flour and water to the container, and stir until well combined. Loosely cover and let it rest in a warm spot for another 24 hours.
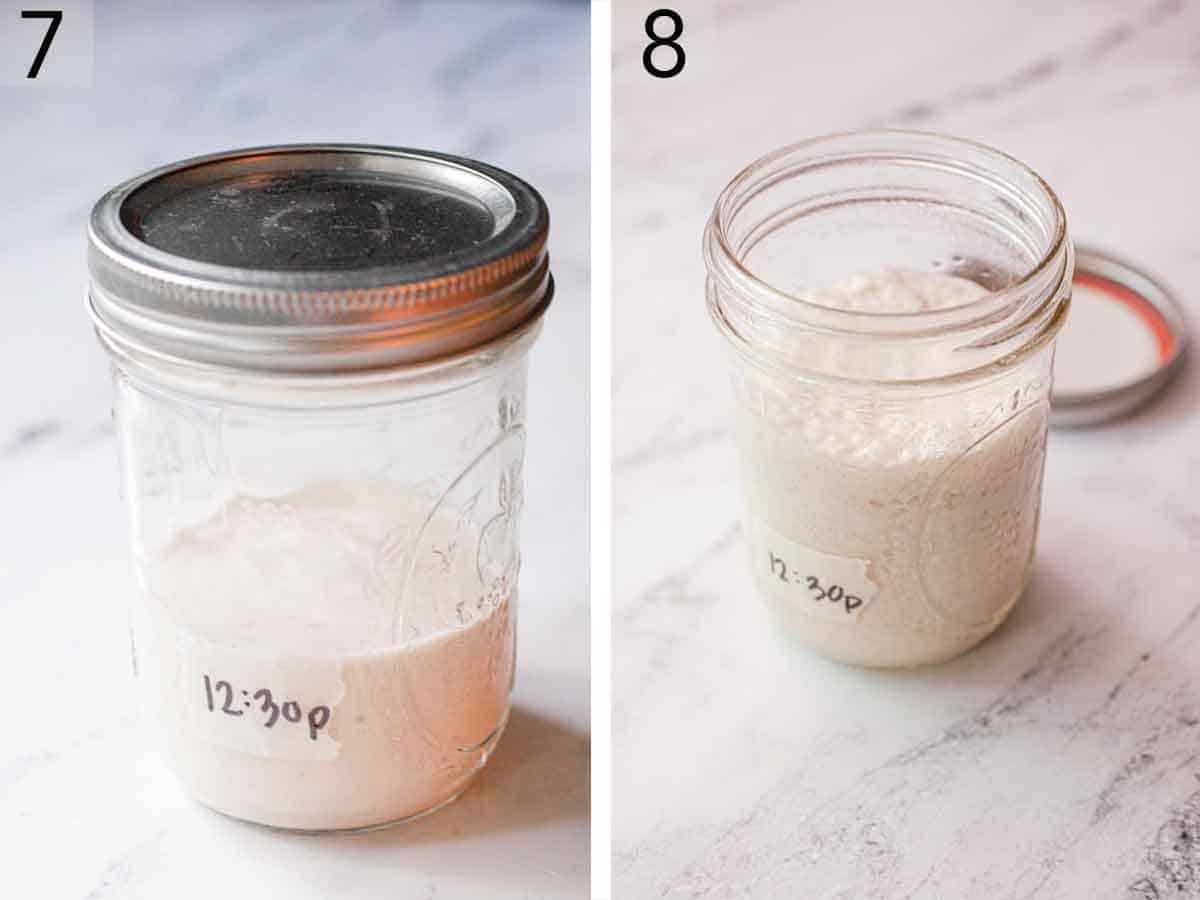
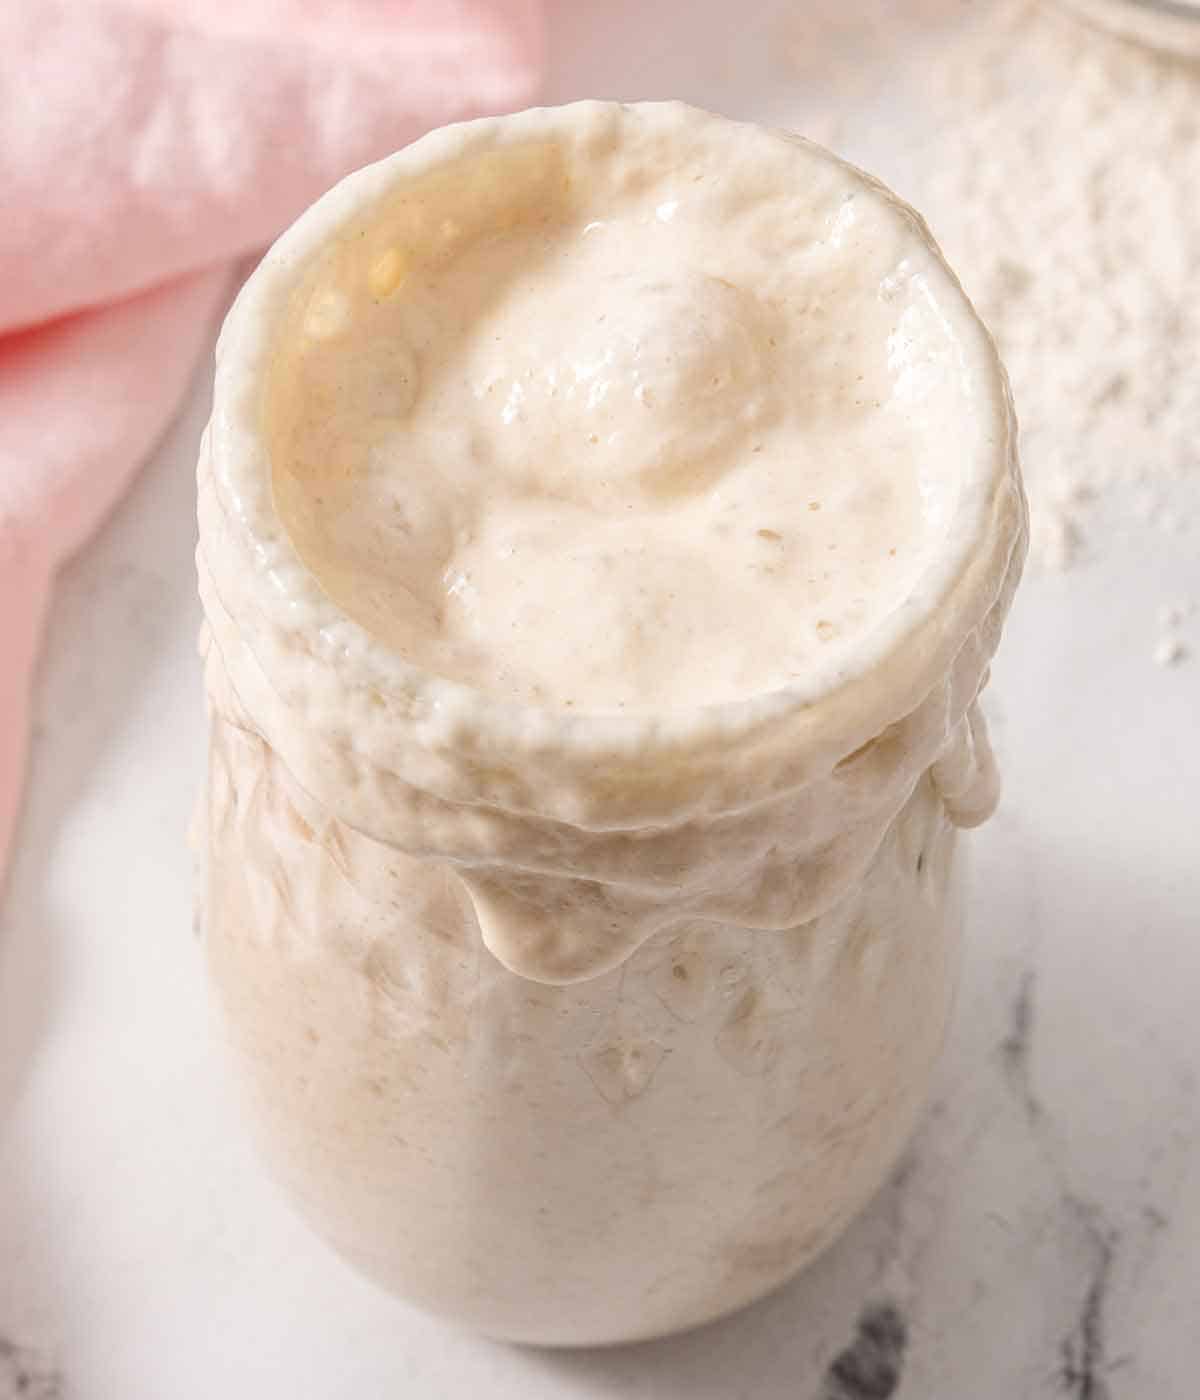
- Once risen, discard half of the starter and feed again with the same amounts of flour and water. Loosely cover and let the starter sit until it has doubled in size.
- Continue discarding and feeding the starter the next day.
- Do a final discard and feed.
- After the final feeding and rise, your starter is ready to use! You can follow my recipe for homemade Sourdough Bread to put it to use.
- To store your starter long-term, keep it refrigerated. Before storing, discard and feed one more time. Let the starter sit in a warm spot just until it starts to rise, then cover tightly and refrigerate. Feed it by repeating the same process of discarding and adding flour and water once every 2 weeks to keep the starter healthy. The cold will slow the yeast down, so they feed on the flour more slowly. When ready to bake again, discard and feed as normal. Let the sourdough starter sit in a warm place until doubled in size. Use as directed in the recipe.
Pro Tips for Making This Recipe
Look for signs that your starter is hungry. Typically, a starter doubling in volume means the yeast is almost at its tipping point of running out of food (or fresh flour). When the starter has doubled in volume but then starts to shrink back down, this indicates it’s “hungry” and running out of fresh flour. This is an excellent time to feed it! Make sure you don’t wait for more than a few hours at this point, or the yeast will start dying. You can also overfeed a starter, meaning you don’t allow enough time between feeding for the yeast to grow. Make sure to only feed after it’s almost doubled in volume or has begun shrinking again.A sourdough starter stored in the fridge or left on the counter for too long can form a clear or greyish liquid on top. The liquid is sometimes called “hooch” and is actually alcohol that forms when the yeast finishes feeding on the fresh flour. You can pour this off or just stir it back into the starter before feeding.Your sourdough starter should smell sweet and tangy. If the starter smells foul, it could be due to using an unclean jar or bad bacteria was somehow introduced to the starter. If this happens, you will have to start over.If you see discoloring or mold on the surface of your starter, discard it and start again.Make sure you have fresh flour. Your flour should have a pleasant sweet smell. If the flour is stale, I recommend replacing it.Warm water is excellent for feeding the starter, giving it a little boost. However, hot water can damage or kill the cultures in the starter.I highly recommend using a scale as the feedings require equal parts water and flour. A scale will ensure accuracy and consistency.If you have a cold kitchen, or if it’s winter, you can create a warm spot for your starter by placing it inside the oven with the light on. Only turn on the light and not the oven! The heat from the light will create a warm environment for the starter.A rubber band or a piece of masking tape around the jar is a great way to keep track of the starter’s growth. I like using a rubber band as you can simply roll it up and down the jar, but masking tape is great if you need to mark down notes and timing.I highly recommend using a glass jar for the starter. Avoid contact with reactive metals like copper or aluminum, as the acid in the starter can react with the metal.
If you’ve tried this Sourdough Starter recipe, then don’t forget to rate the recipe and let me know how you got on in the comments below, I love hearing from you!
