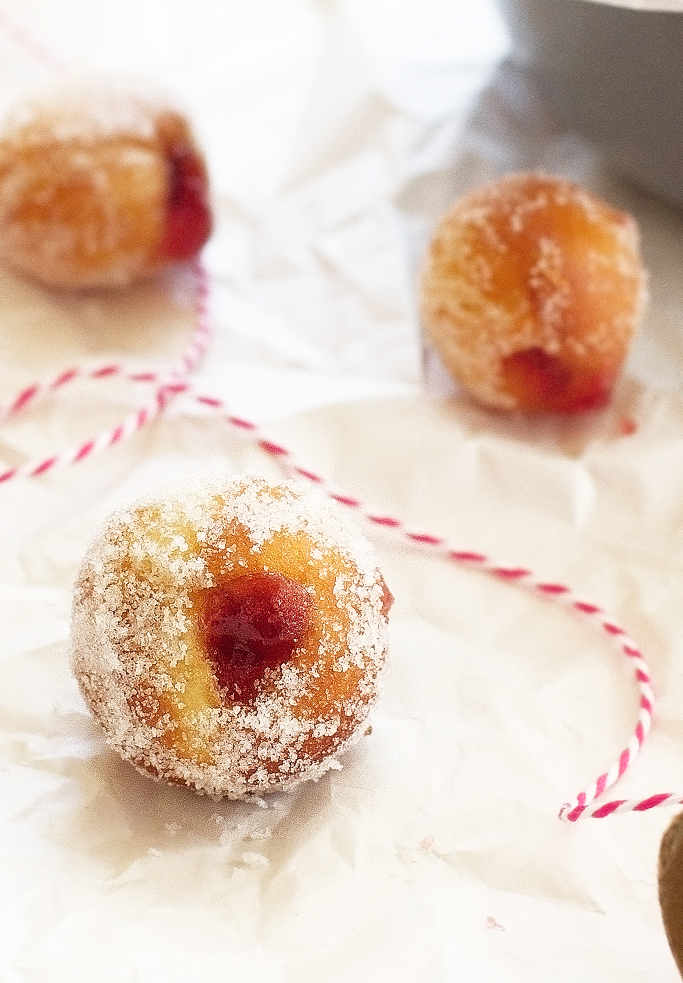
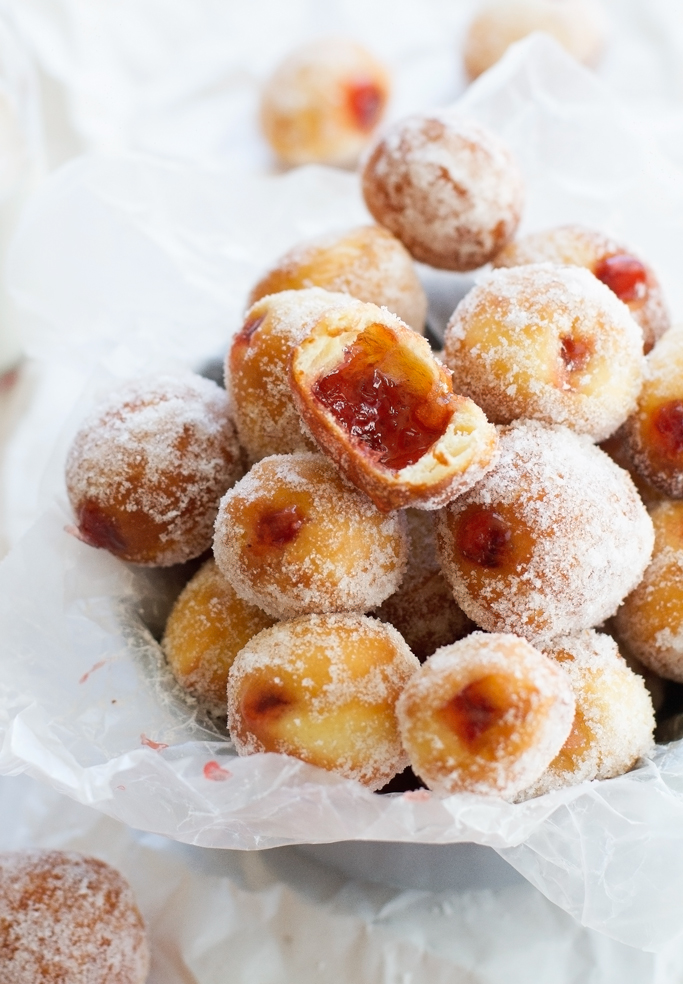
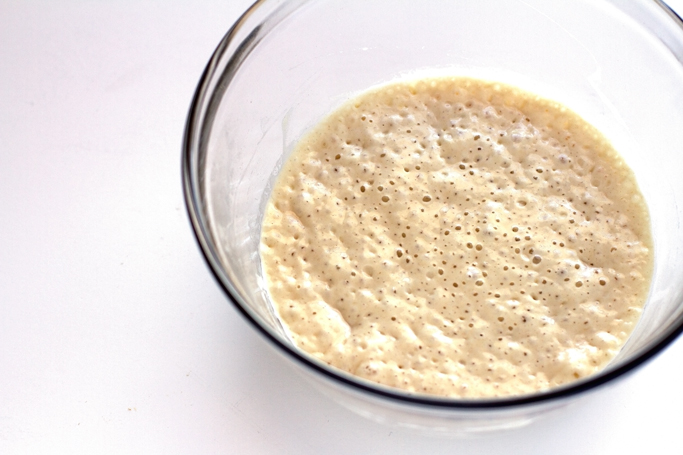
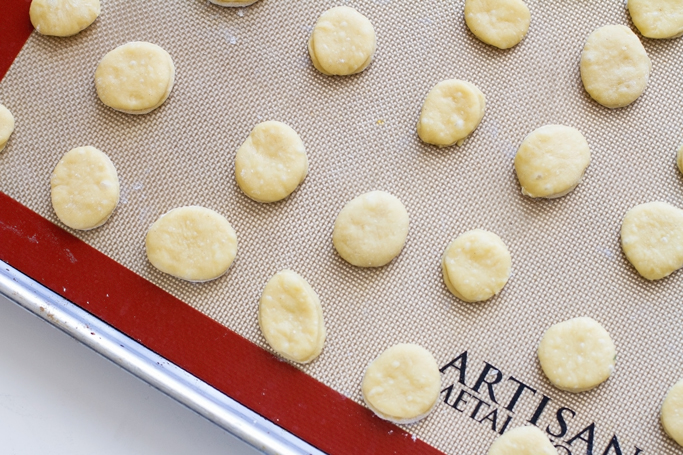
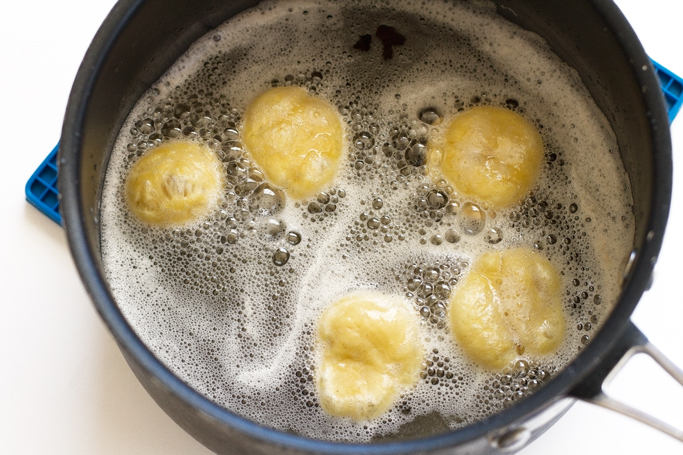
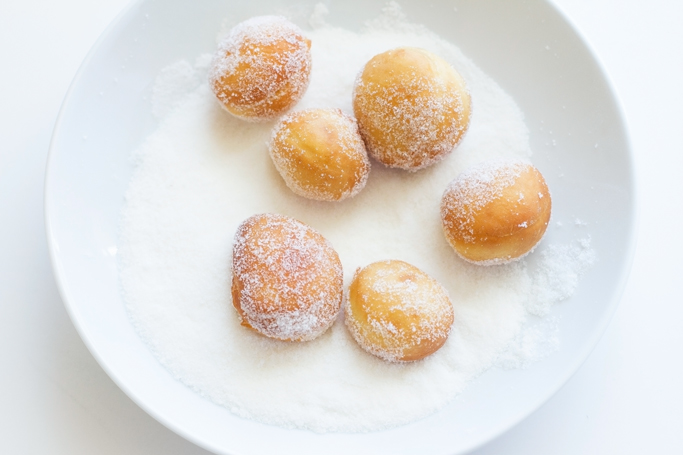
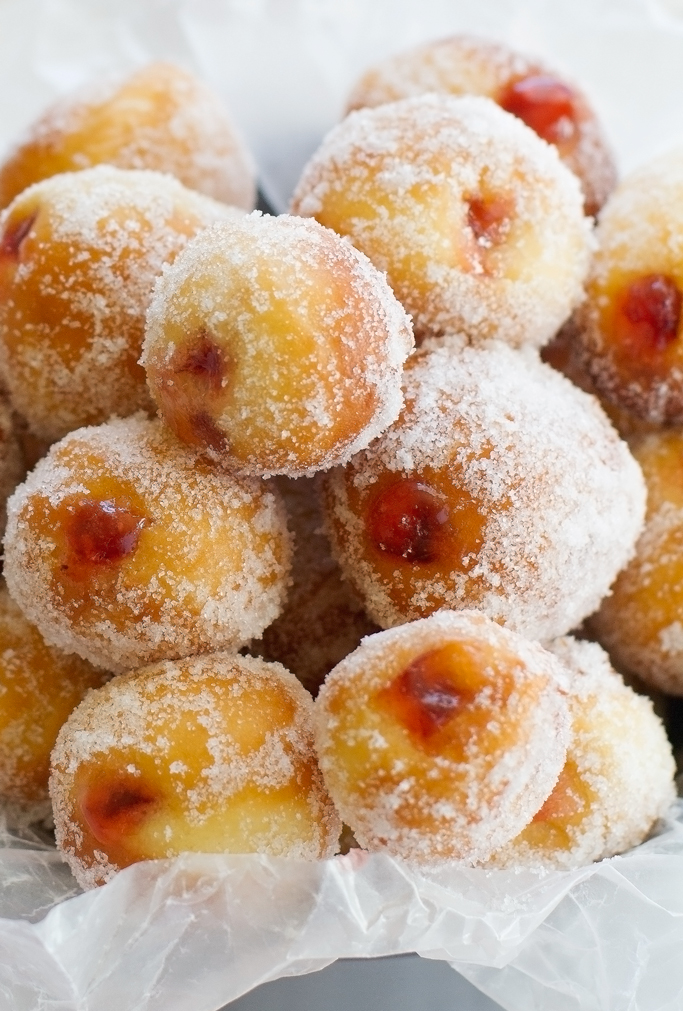
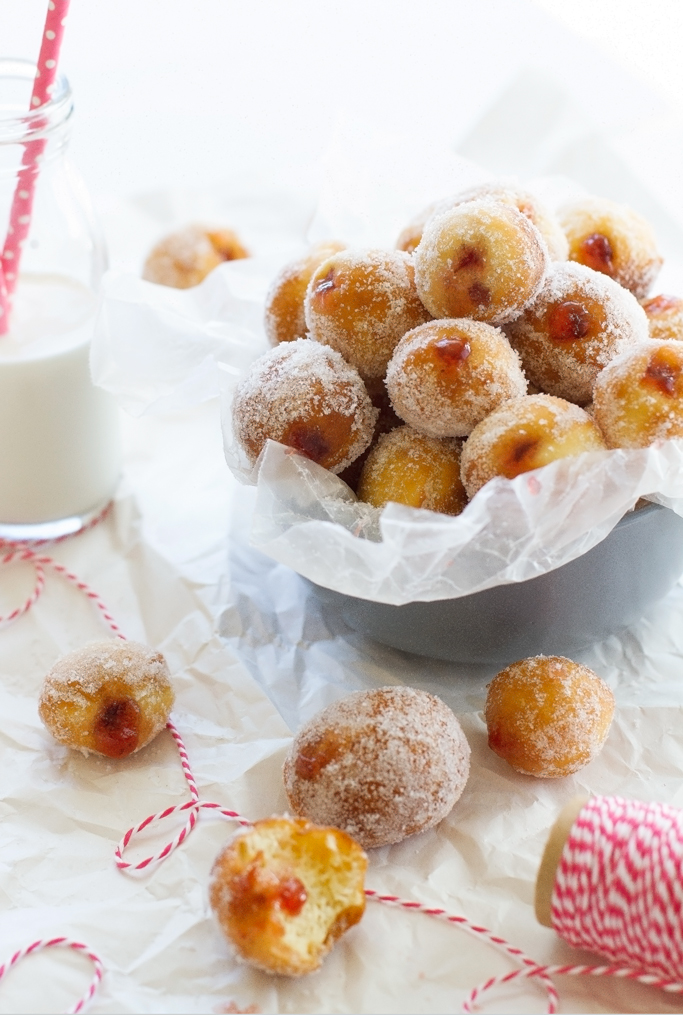
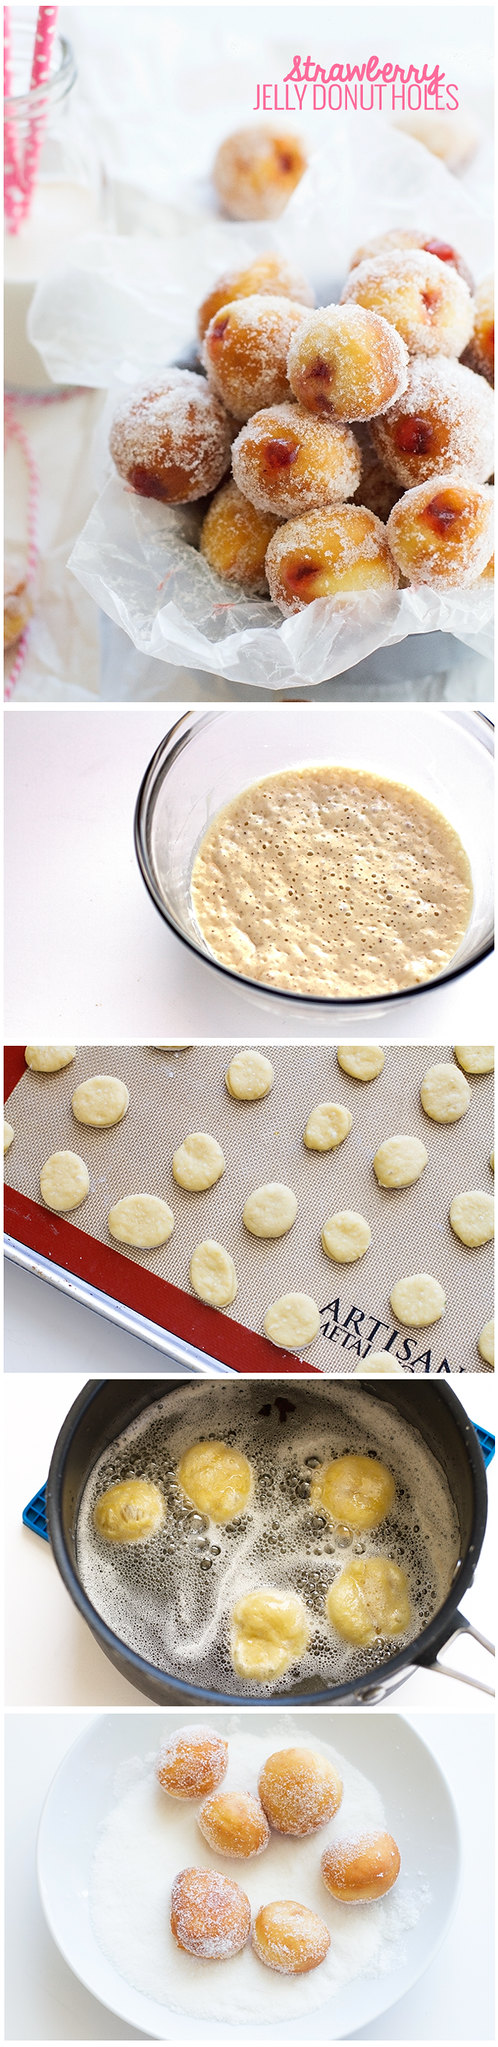
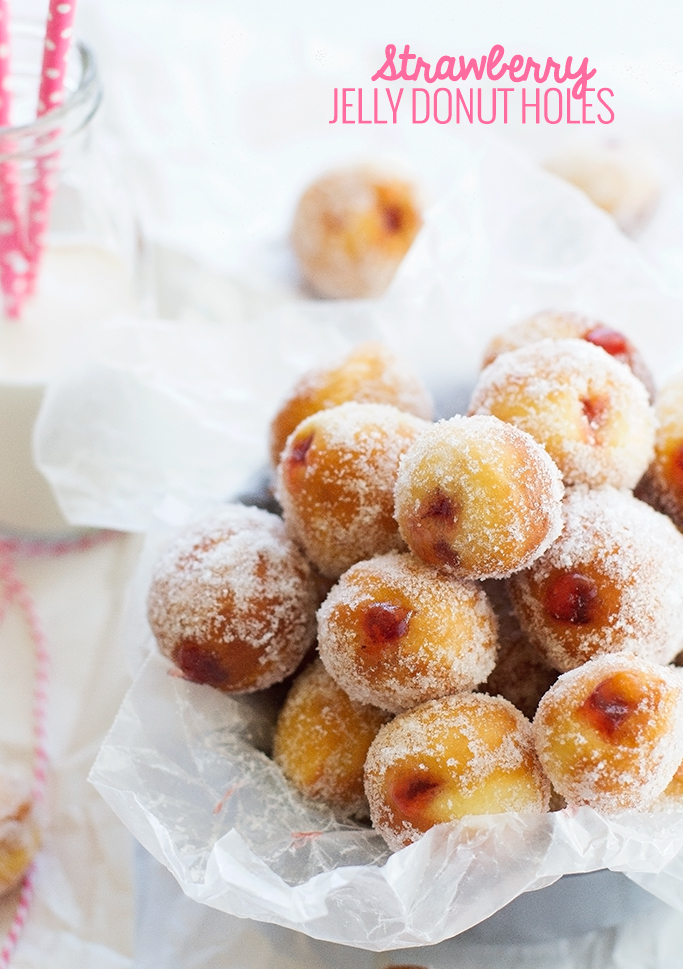
Jelly in my donut holes, and in my hair? ♥ I could totally live with it not being in my hair. Although, I will say, it does smell quite pleasant. A snacky snack for later? Ew. Okay. No. Gross. I’m on a major strawberry jelly high right now. These little jelly donut holes created quite a ruckus this past week! They were made after I had mentally signed a contract with myself saying that I was to consume only one donut hole and no more. Guess what? I should be in donut jail right now. Because I probably ate like 10, okay 15 times that amount! My self control didn’t stand a chance when the doughy goodness hit the hot oil, then rolled around in granulated sugar. Oh and if that wasn’t enough, I stuffed them with sweet strawberry jelly. <–Nope didn’t stand a chance. A Saturday morning with strawberry jelly donut holes — could that BE anymore perfect? <– (Quick! Name that Friends character!) Let me tell you about these little munchkins. They’re soft pillowy bubbles of airy, doughy goodness that are rolled around in sugar and then filled, and I do mean filled, with strawberry jelly. It’s the perfect kind of doughnut hole that’s made to be consumed by the dozens with lots of hot coffee. I’m just going to tell you this now. WHEN you make these donut holes, because NOT making them is not an option. Make sure you just make a double batch. Although this yields 8 servings, it really means 8 servings for those who have (and practice) self control. Because us regular people that don’t eat donut holes and then have one and can’t stop, are going to polish 1/2 a batch of these jelly donut holes all by themselves! What I love most about these little munchkins is the fact that they’re made with all regular ingredients. There’s no funny additives of junky preservatives in my donut holes recipe! Just plain old yeast, flour, sugar, and eggs. The first step to making homemade donut holes is to make the dough starter. All you need for the dough starter is warm water, yeast, and flour. Once you’ve mixed the 3 ingredients together, allow them to sit covered in a warm area to rise for about 1 hour. Here’s a tip: start your front load dryer (yes, as in the thing that dries your clothes) and let it run for 5 minutes on the low heat setting. When it’s nice and warm, turn it off and place your covered bowl inside. The yeast get’s all nice and happy when it finds a place that’s both warm and dark. When the hour is almost up for the dough starter, dissolve the remaining yeast in a couple tablespoons of warm milk in the bowl of a stand mixer fitted with the dough hook attachment. Add the remaining flour, salt, egg yolks, butter, sugar and the starter that was prepared earlier. Allow the mixer to mix together and form a ball. This may take up to 10 minutes. The original recipe that I adapted these donut holes from never stated a time on how long the dough would take to form and I had a mini freak out when after 5 minutes it just would pull together. But luckily I hadn’t tossed out the mixture by then and at 10-12 minutes it came together. Place the dough in a greased bowl and allow it to rise until doubled. Back to the warm dryer it goes! Roll the dough out on a lightly floured surface and cut out 1-1 1/2 inch circles. Don’t worry if they’re not perfect, organic shaped donut holes taste just as good if not better! Drop the dough into a a couple inches of oil that’s been heated in a saucepan to 325ºF (or just eyeball it to medium low in the heat settings). Fry the doughnut holes for about 2 minutes or until they get nice and golden brown. Drain them on a paper napkin. Roll the donut holes in sugar. I like to roll them, let them sit in the sugar for a minute or so and then roll them again. Extra sugar never hurt anyone, right? Using a piping bag and a medium sized frosting tip fill the doughnuts with your favorite flavored jelly. Here’s a tip: use the jelly that comes in the squeezable containers. The flavor tastes just like the jelly that’s used in donut shop donut holes and it’s so much easier to just squeeze the jelly into the piping bag. Because we’re making donut holes from scratch, keep in mind that these will taste best on the day that they’re made. They are okay for 1-2 days after making them too but that’s if they last that long! Ours were gone in 2.5 seconds. I think we may have even licked the plate clean! red blushy face Have yourself a cozy, lazy Saturday this weekend and give these little munchkins a try! This is by far my favorite breakfast (after pancakes, of course!). Anything that’s bite sized like these jelly donut holes are sure to be a hit with anyone and everyone! P.S. wish me luck, this is moving weekend! I could use a batch of these donuts after we’re done moving everything.
LOVE THIS RECIPE? KEEP IN TOUCH AND DON’T MISS OUT ON ANY OF LITTLE SPICE JARS RECIPES! FOLLOW ME ON INSTAGRAM, PINTEREST, FACEBOOK, TWITTER, BLOGLOVIN’, AND TUMBLR.
HAVE YOU TRIED ONE OF MY RECIPES? I’D LOVE TO SEE WHAT YOU’VE MADE! TAKE A PICTURE AND USE THE HASHTAG #LITTLESPICEJAR ON INSTAGRAM SO I CAN SEE!
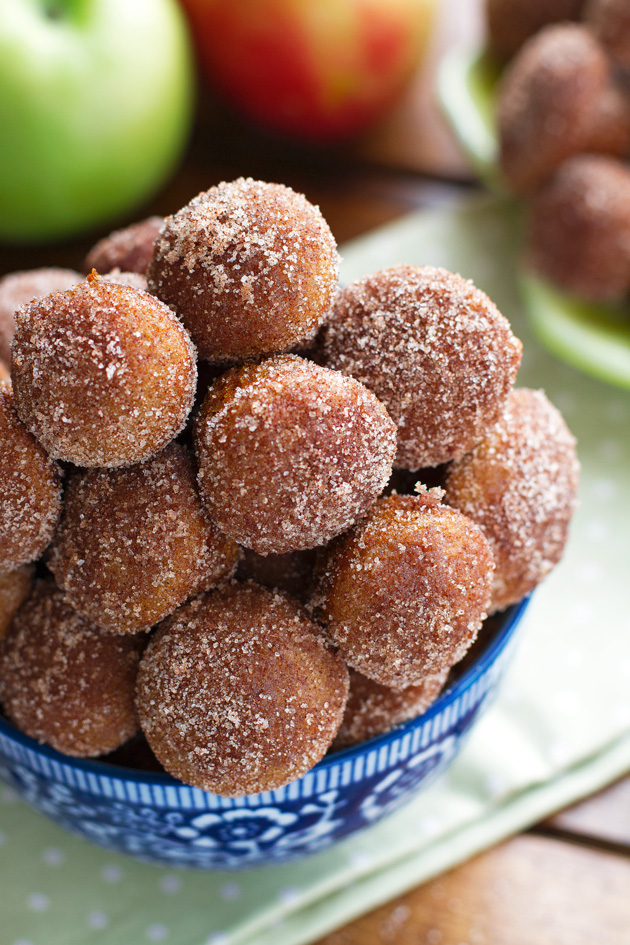
If you like this recipe, you might also like:
Baked Apple Cider Donut Holes
I find that turning the dryer on the low setting for 5 minutes, turning it off and placing the cover dough bowl allows the dough to rise perfectly. Being both dark and a warm place, the dryer is the ideal place for letting the dough rise.The dough may take up to 10-12 minutes to form into a ball, this depends on humidity and several other factors. Donut holes taste best on the day they’re prepared. Store any leftovers at room temperature in an airtight container.Recipe adapted from Deliciously Yum who adapted it from Food and Wine.