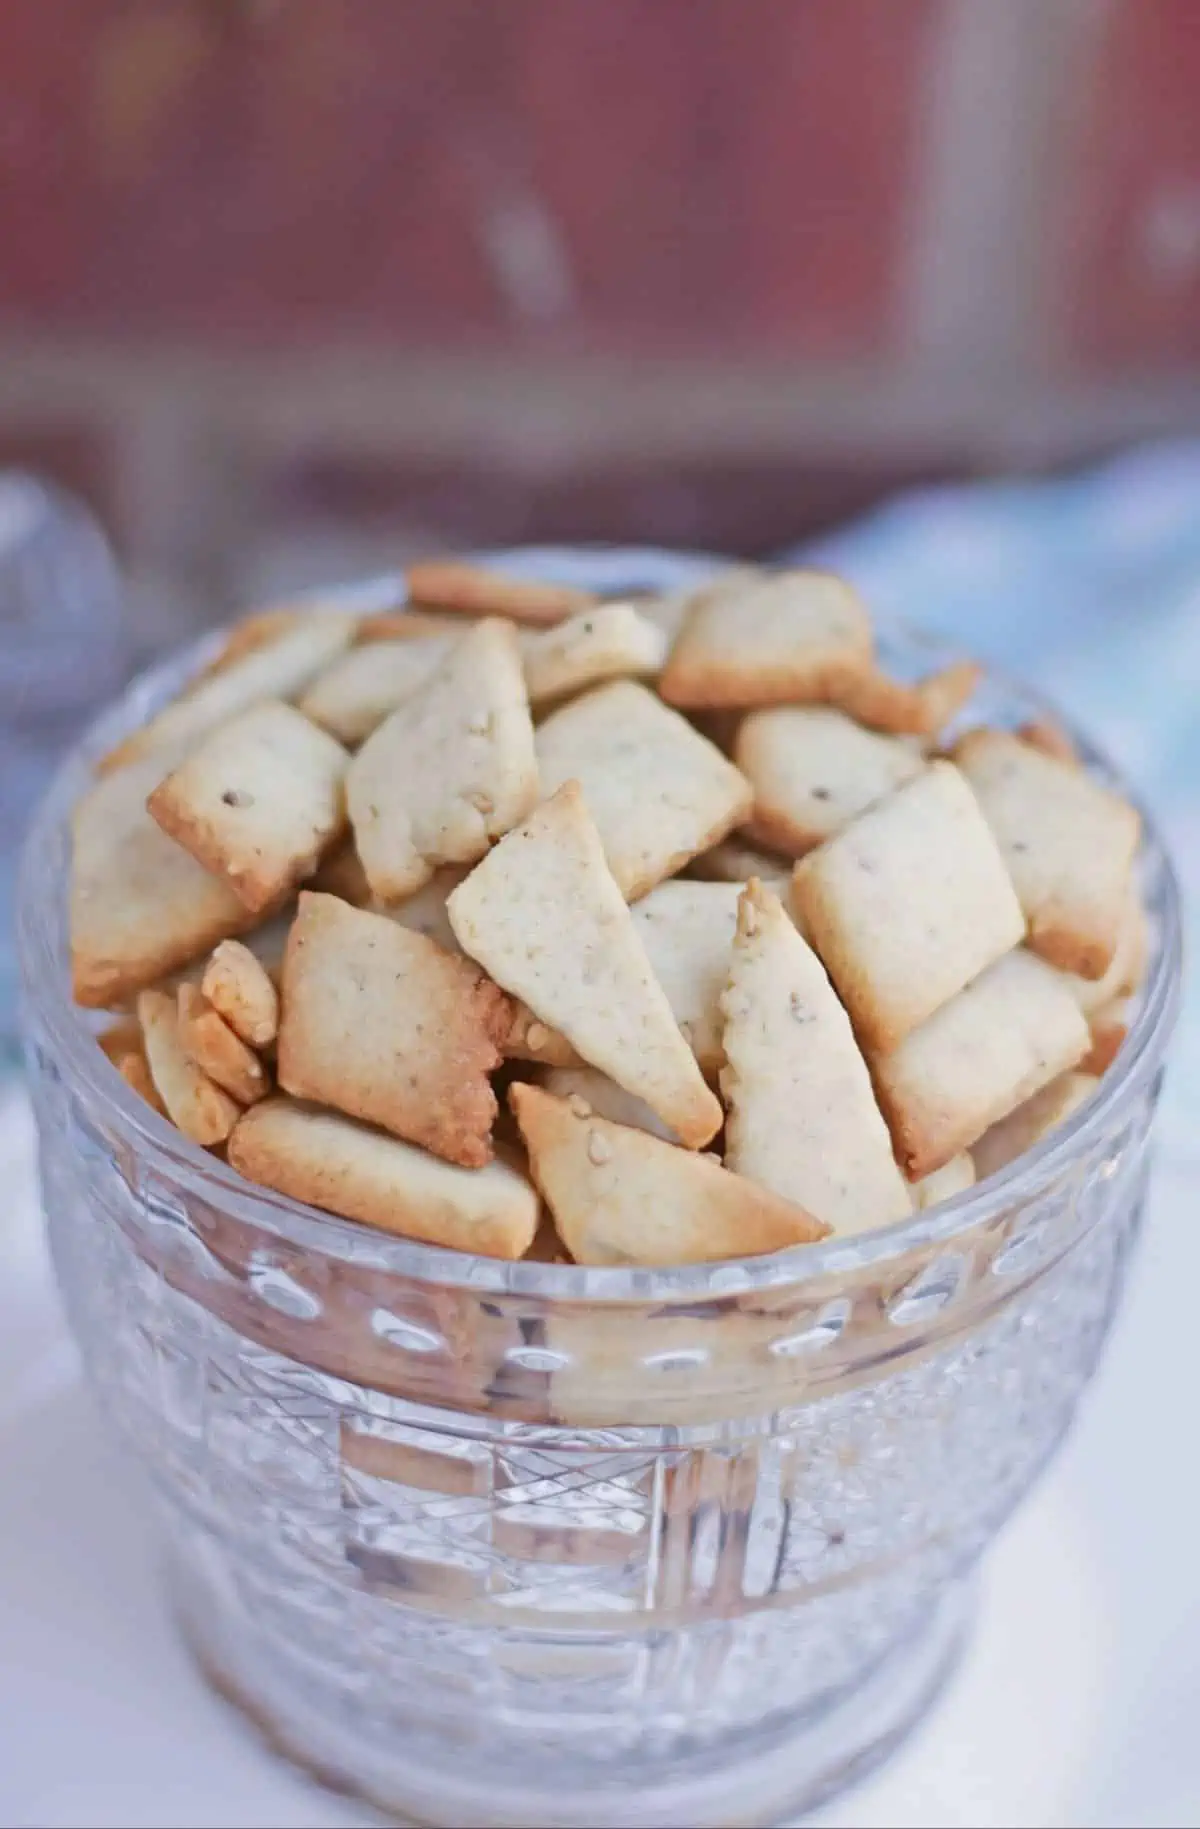
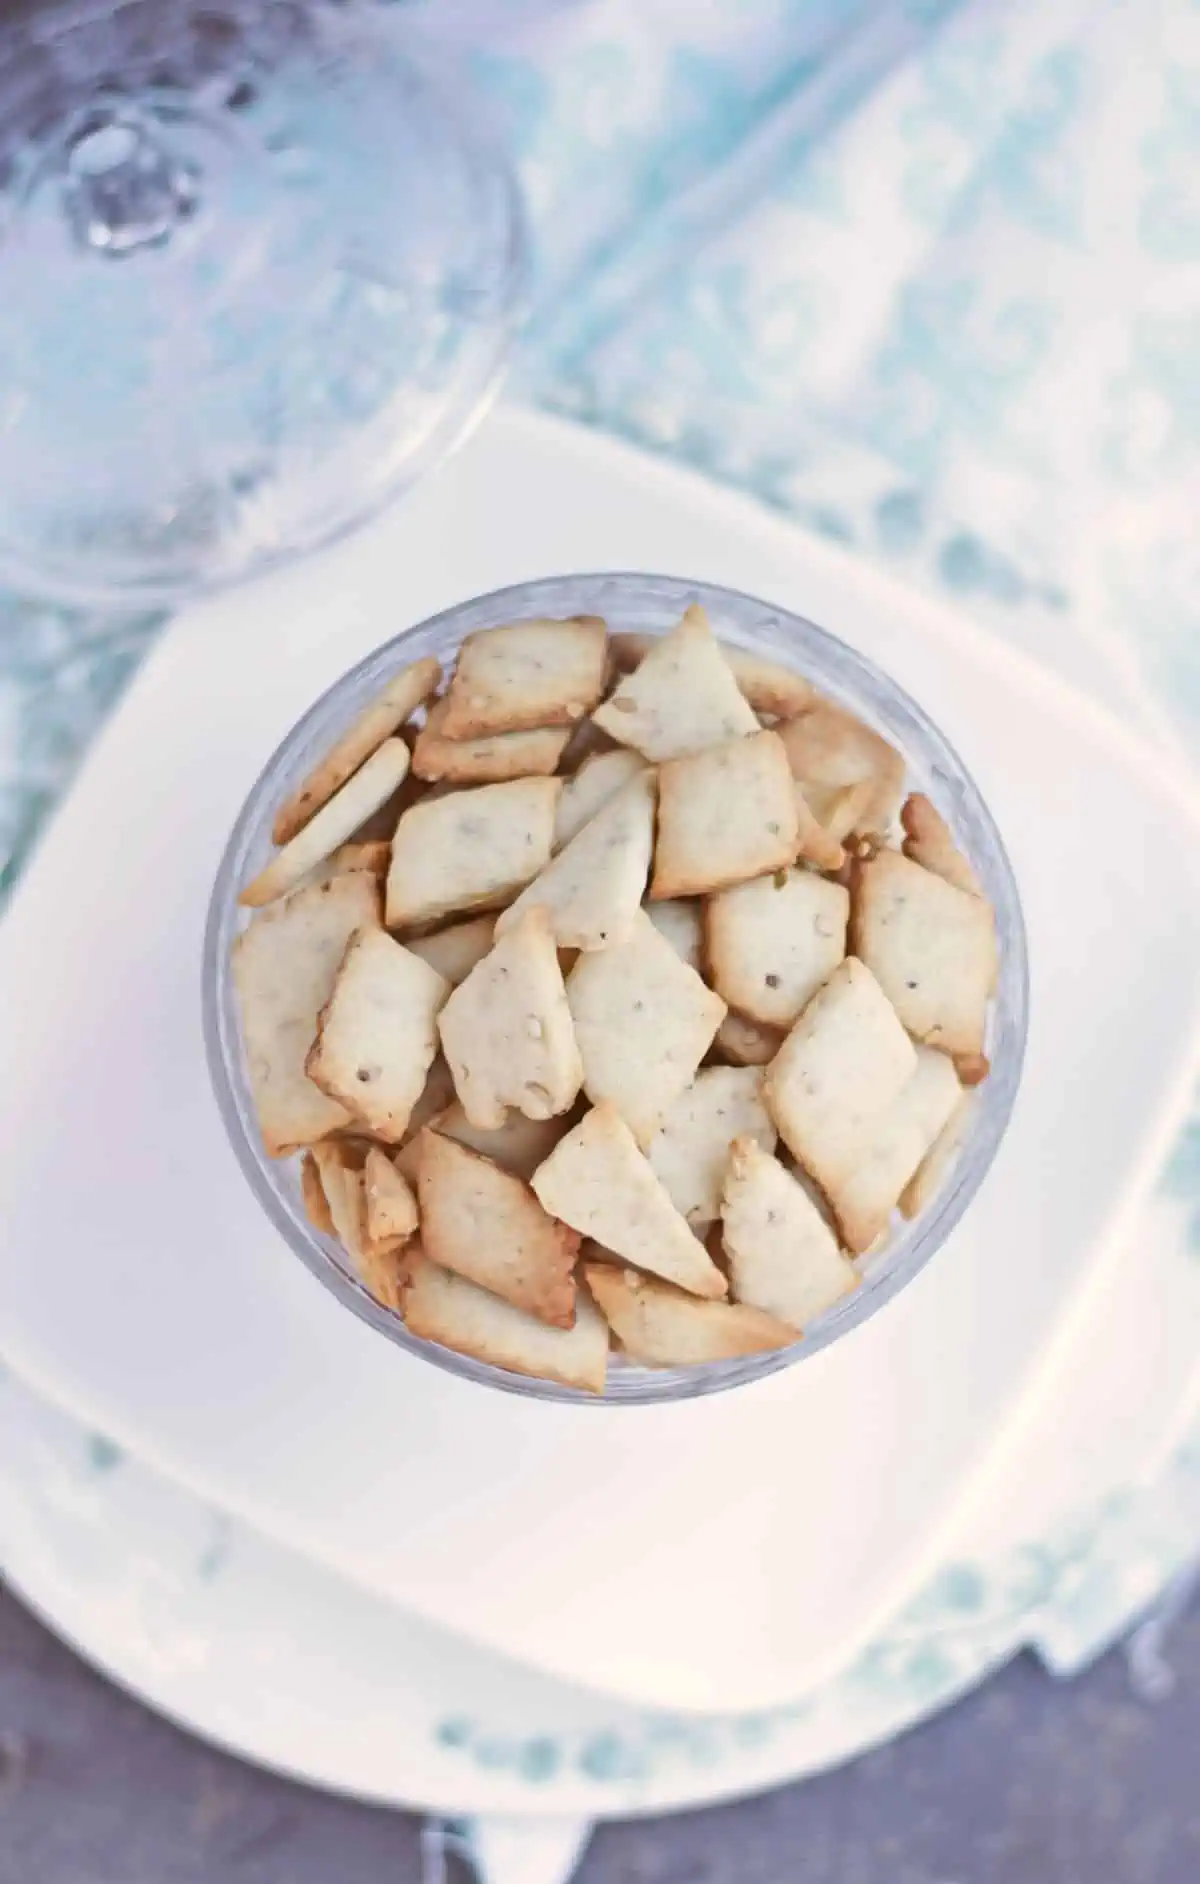
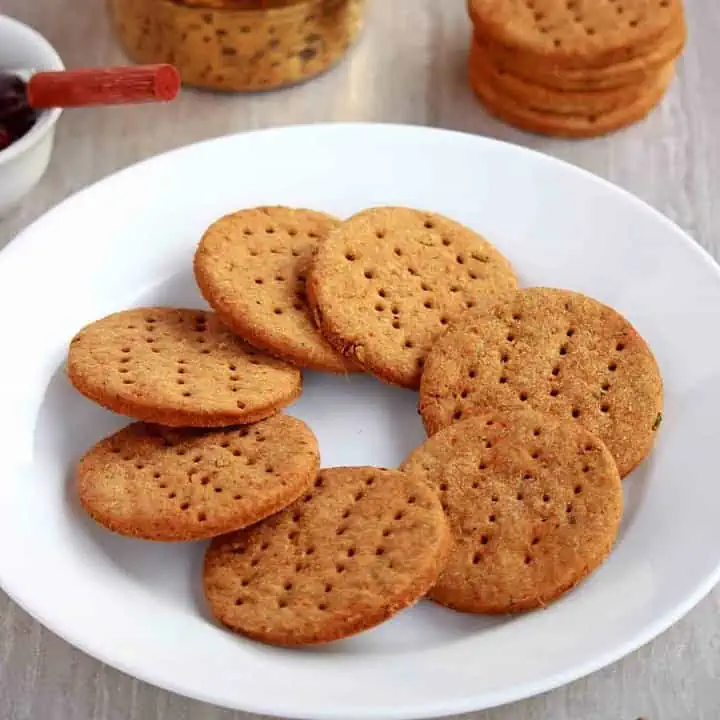
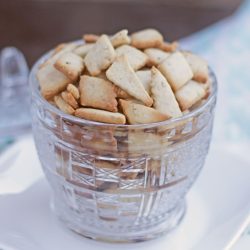
This baked variation of the traditional Maida biscuit or Shakarpara is a tad bit healthier and guilt-free. Al,so these are so easy to make with jusa t few common ingredients. There are many different kinds of diamond biscuits. One of my other favorites is the sugar-coated shakkarpara which has a layer of crystallized sugar syrup coating. The other variety which is my younger son’s favorite is the spicy diamond biscuit / savory maidbiscuitsts. I love making this baked shakarpara often as I don’t have to deep fry and also because they are so easy to make. The texture of this sweet maida biscuit is literally like butter that just melts in your mouth. Also, the baked shakarpara is not as sweet as many other Indian desserts/sweets. That also makes it a wonderfuguilt-freeee snack. There are other kinds made with wheat flour, but since I am baking this shakarpara, I decided to stick with all-purpose flour. If deep frying, we can swap thall-purposese with wheat flour. I have been making this sweet maida biscuit for years now but not once have I tried to deep fry it. This version of my sweet shakapara is always baked. I do however fry thsugar-coateded shakkarpara.
Why does this recipe work?
Homemade snacks are the best and if you are a snack lover like my family, you will love this recipe. This shakarpara recipe is baked instead of traditional deep frying and it is a healthier option. This sweet diamond biscuit is mildly sweet. Just sweet enough to satisfy your sweet tooth but still guilt-free to indulge in a few extra. Takes just a few basic ingredients to make and is very easy. Kids and adults approved. And lastly, I love to make this when we are road-tripping. Works great as a pass time snack and it is very travel-friendly.
Ingredients needed
Check the recipe card at the bottom of the page for exact measurements and printable detailed recipes.
Flour - I have used unbleached all-purpose flour. I always use unbleached flour for all my baking.
Powdered sugar - You could use store-bought powdered / confectioner’s sugar or make your own.
How to make powdered sugar at home - Take the measured granulated sugar in the mixer jar and grind it until it is powdered. Use a high-speed blender/grinder for best results.
Baking Powder
Cardamom powder - I make my own by grinding whole cardamom in a spice blender.
Cold Butter - We will be using cubed cold butter in the recipe. We can use salted or unsalted butter.
Sesame seeds - I have used white/brown sesame seeds.
Milk - We will need a little cold milk to make the dough.
Equipment - Baking sheet, parchment paper or silicon mat, rolling pin, oven.
Step-by-step process
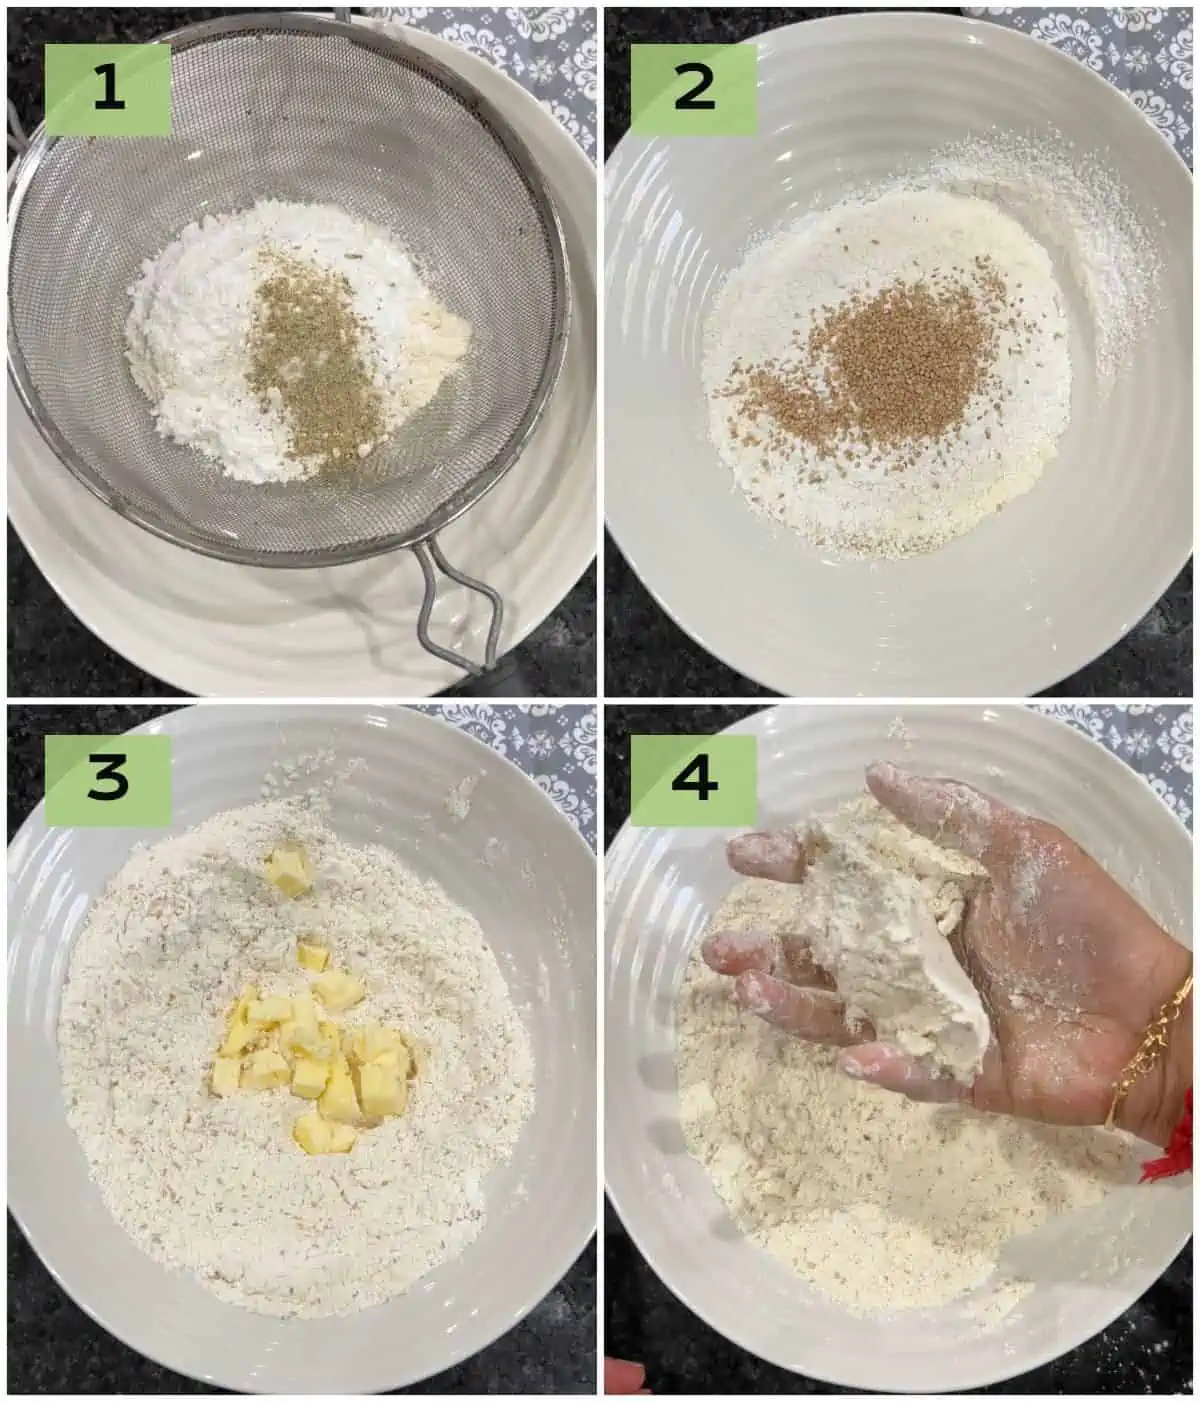
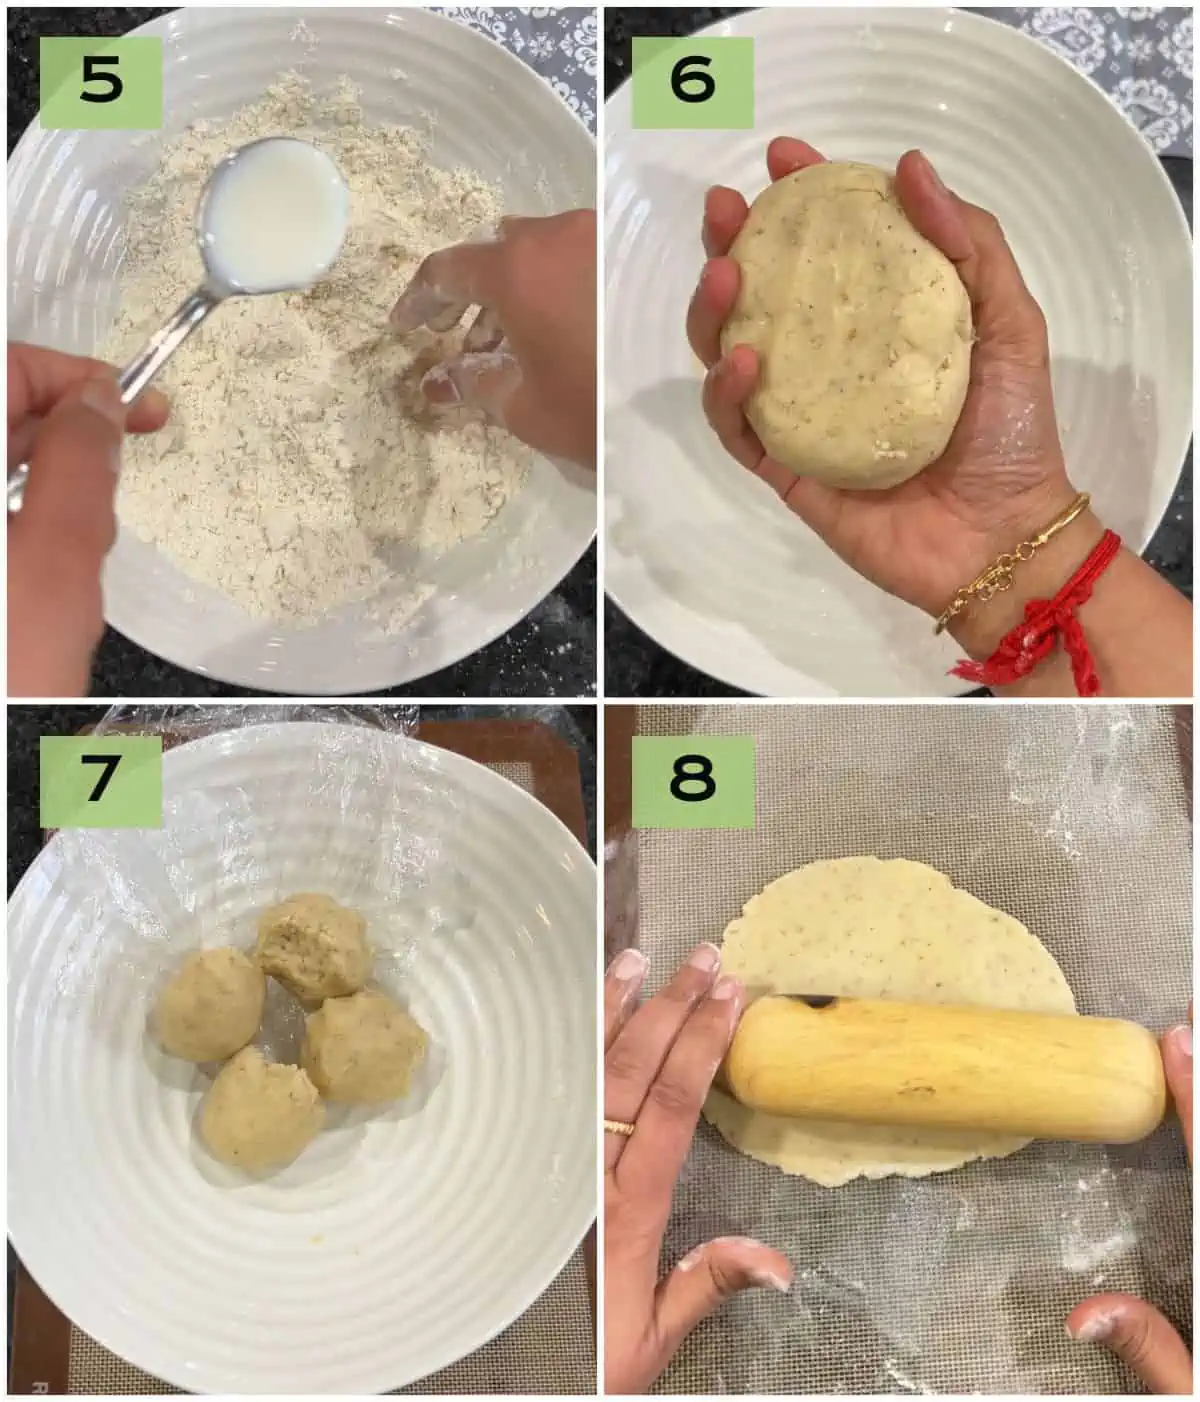
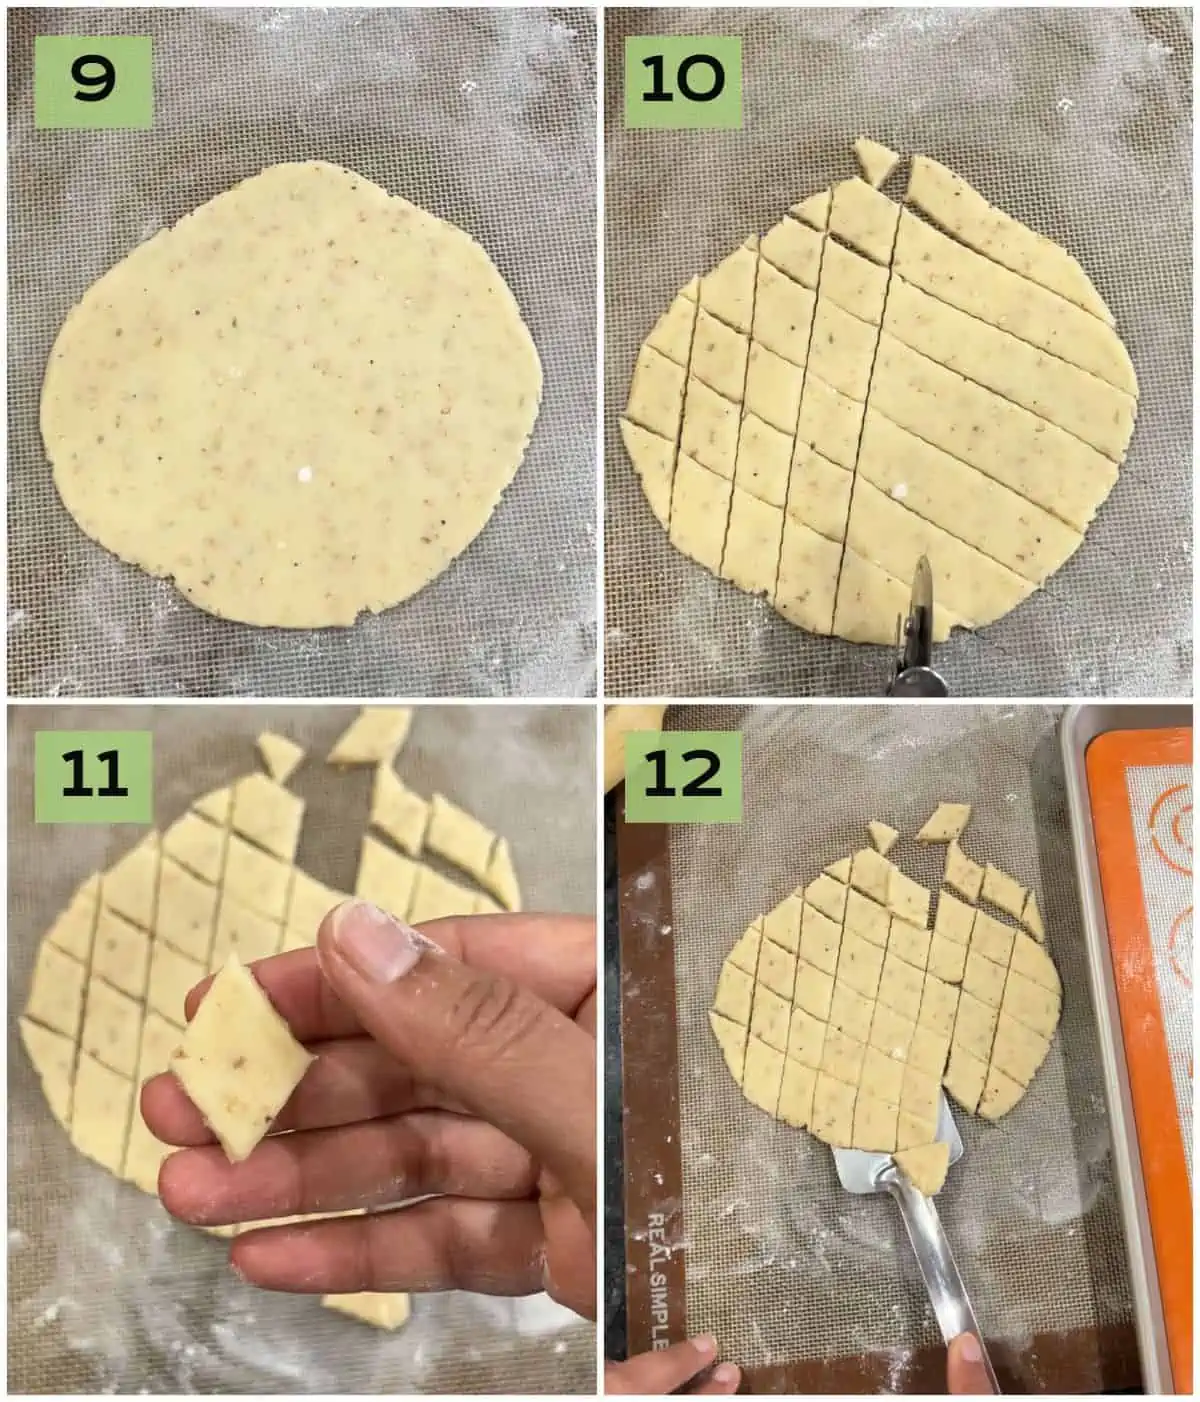
Sieve together the flour, sugar, baking powder, and cardamom powder in a bowl (1). Add the sesame seeds to the flour mixture (2). Cut the butter into tiny pieces (3) and rub it into the flour using fingertips (4). Once we start rubbing in the flour, it will have a texture like wet sand. Now slowly add the milk, one tablespoon at a time, to form a stiff dough (5). Make sure that the dough is not sticky (6). Cover the dough and let it rest for about 30 minutes. Grease the baking tray with butter. Preheat the oven to 350 F. Divide the dough into 4 parts (7) and roll each part into a ½ mm thick circle using little flour for dusting the surface (8). Using a pizza cutter or the special shakarpara wheel, cut the rolled-out dough into diamonds (10). Using a flat spatula, carefully transfer the shaped maida biscuit onto the greased and lined baking sheet (12).
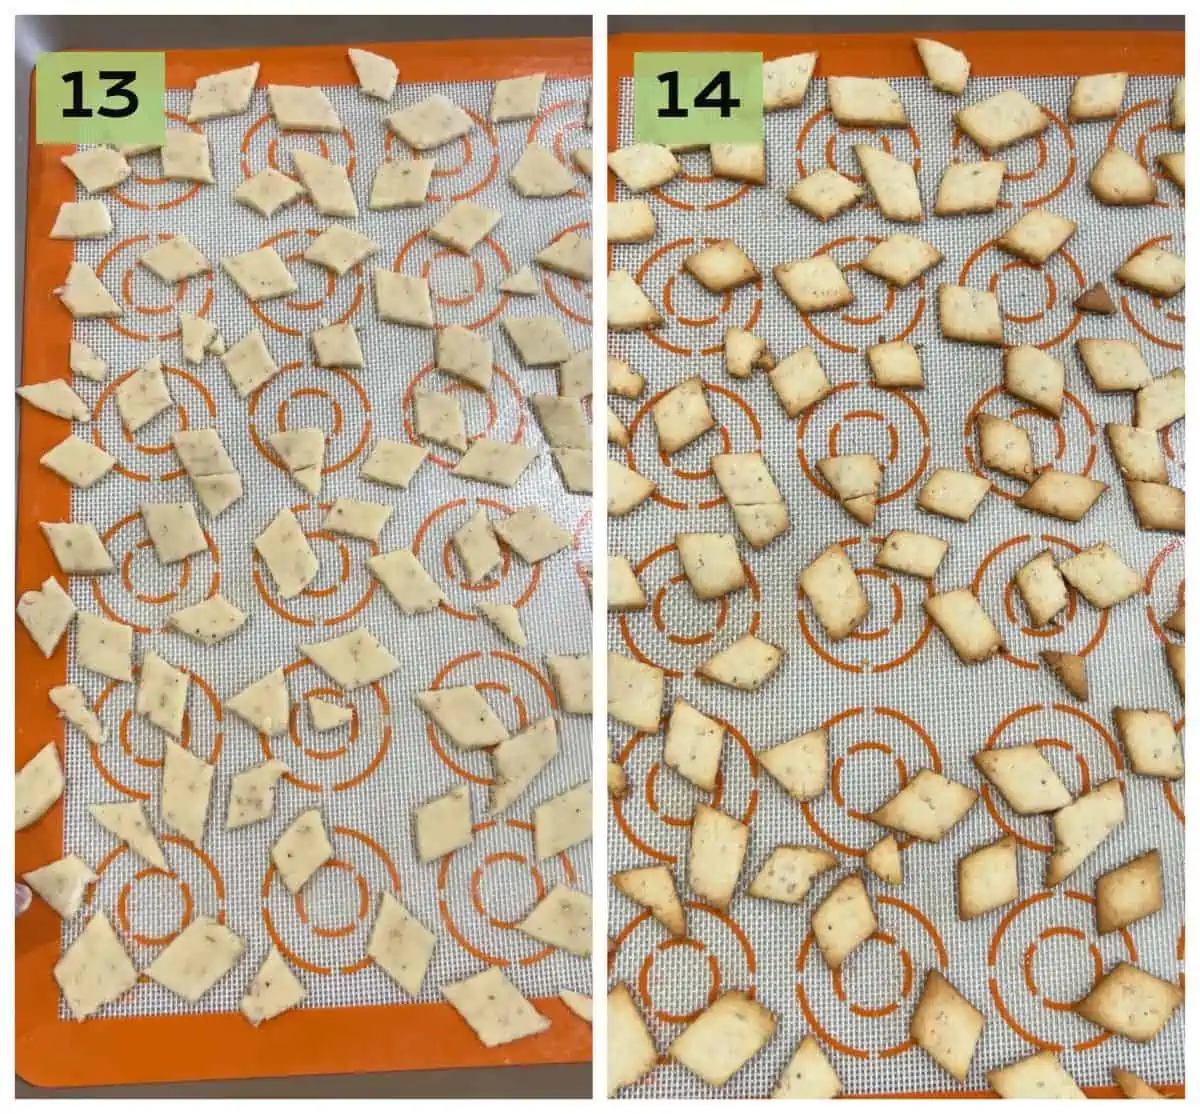
Place the cutout shapes on the greased tray (13) and bake for about 10 - 12 minutes. Keep an eye on the shakarpara for about 10 minutes as they tend to brown quickly.
Remove the tray from the oven and let it cool on the cooling rack (14).
Once completely cool, store the Sweet Diamond Biscuits in an airtight container.
Storage instructions
Let the Sweet maida biscuits cool completely before storing them. I usually store them in a stainless steel dabba / sambadam / box. My other option is glass jars with tight lids. These diamond biscuits will stay fresh for a couple of weeks outside. I am sure they would stay fresh longer as well but mine has never lasted that long. I have not tried freezing them. When making these, I usually make a small batch to last us for a week.
Expert Tips
Sesame seeds in the shakarpara dough are optional, but it adds so much flavor to the snack. I would highly recommend using it. Make sure that the dough is stiff and not very sticky when done kneading. The maida biscuit dough will kind of have rugged edges. Do not worry, just try to fix it as much as possible when rolling. A pizza cutter works as a great tool to cut the diamond shape. You could also make it just small squares. Make sure to roll the dough a little thick and keep the thickness even. When rolled unevenly, the baking time will differ and thinner rolled maida biscuits will brown too quickly. Keep an eye on from the 10-minute mark when baking. Depending on the size and thickness of the sweet diamond biscuits, they go from pale brown to dark brown in seconds.
Frequently asked questions
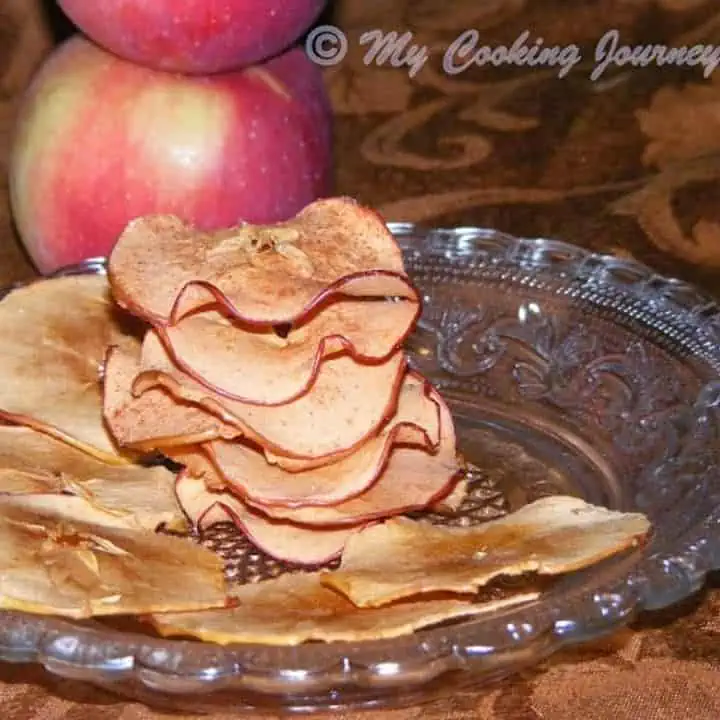
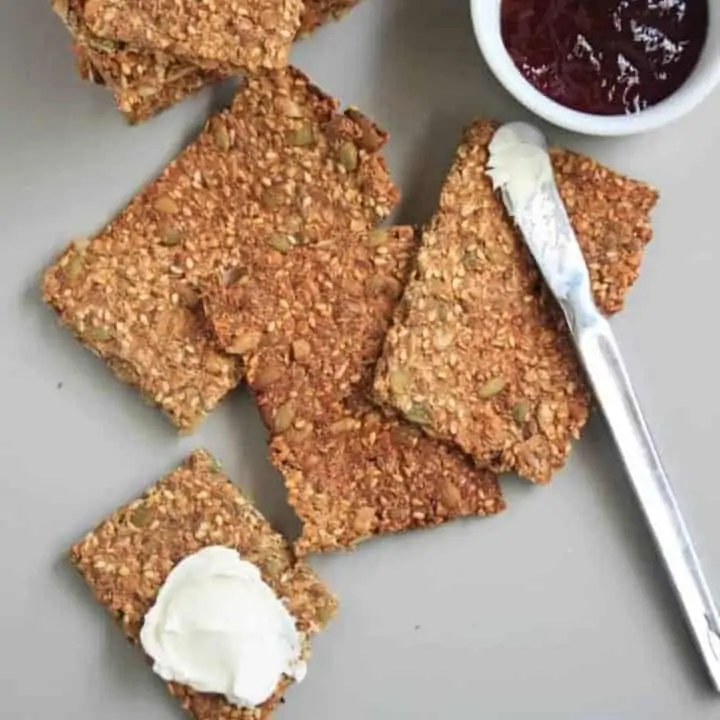
More baked snacks
If you made this recipe and liked it, give a star rating on the recipe card or let me know in the comments below. You could also share it with me on Instagram using #MyCookingJourney and tagging me @sandhya.ramakrishnan. You could follow me and my recipes on Facebook |Instagram | Pinterest | Twitter/X
Recipe Card
Recipe