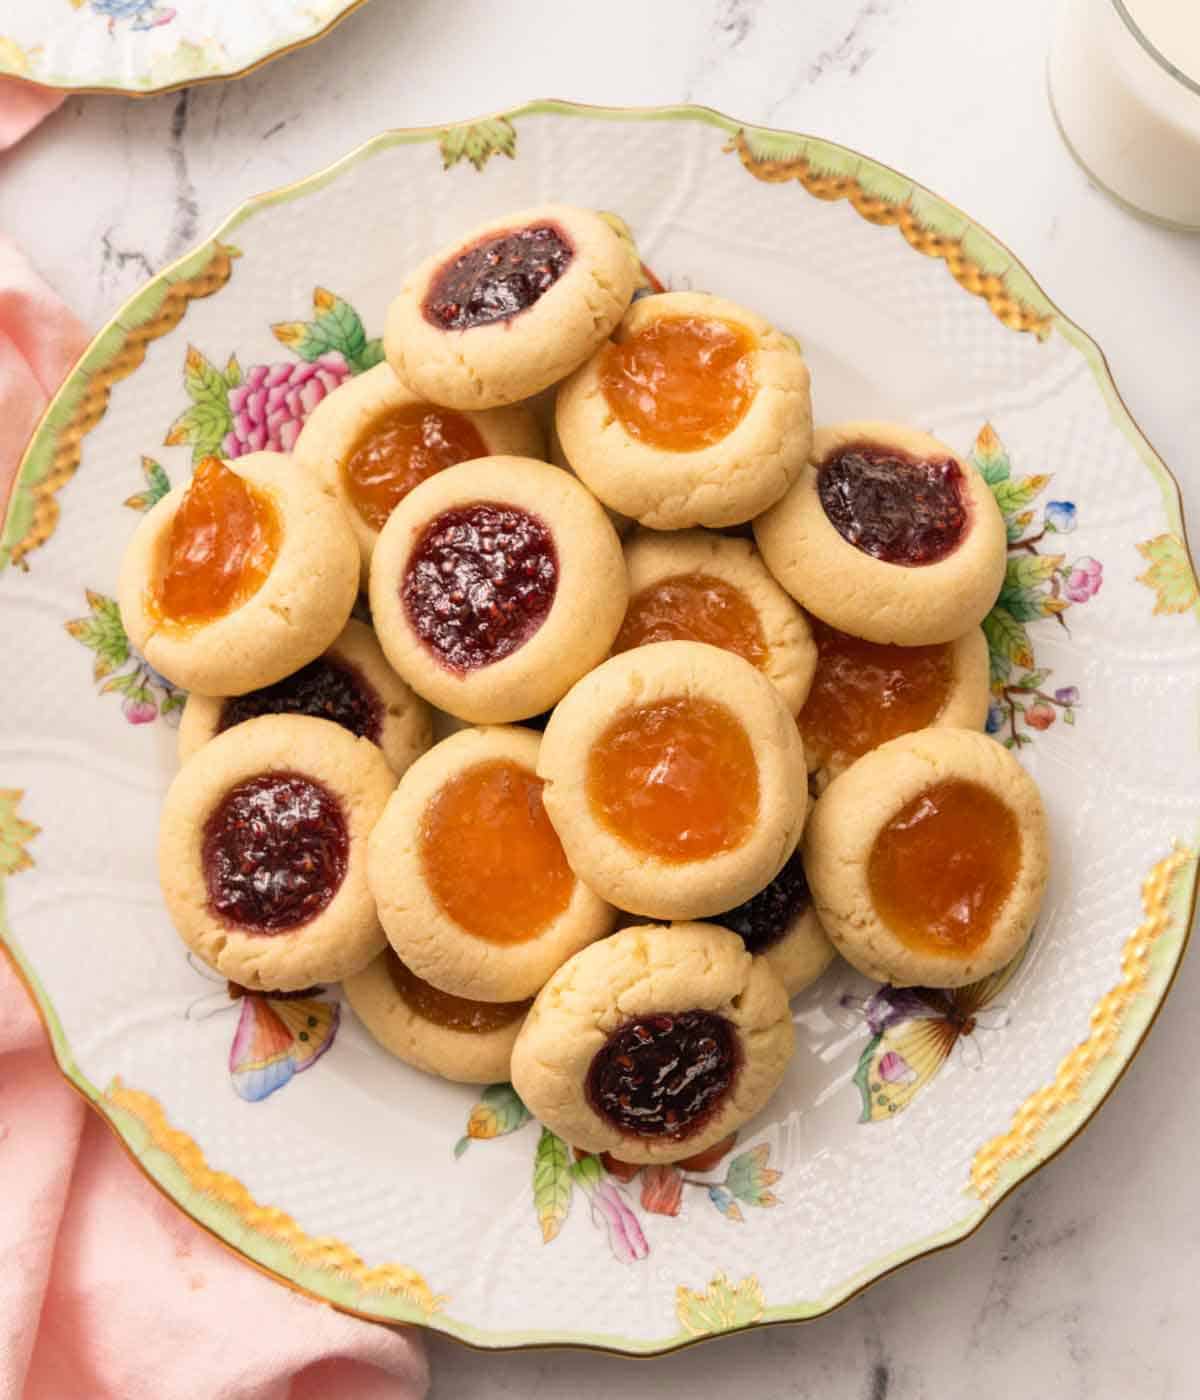
They’re so easy to make and customize, as you can fill them with just about any flavor. You can even top the cookies with crushed nuts, powdered sugar, or a glaze drizzle to fancy them up. These classic thumbprint cookies are the perfect cookie for a wonderful edible gift during the holidays and to have on hand for guests. If you want another holiday cookie recipe, then try my Grinch cookie recipe, rainbow cookies recipe, or chocolate biscotti recipe.
What You Need to Make This Recipe
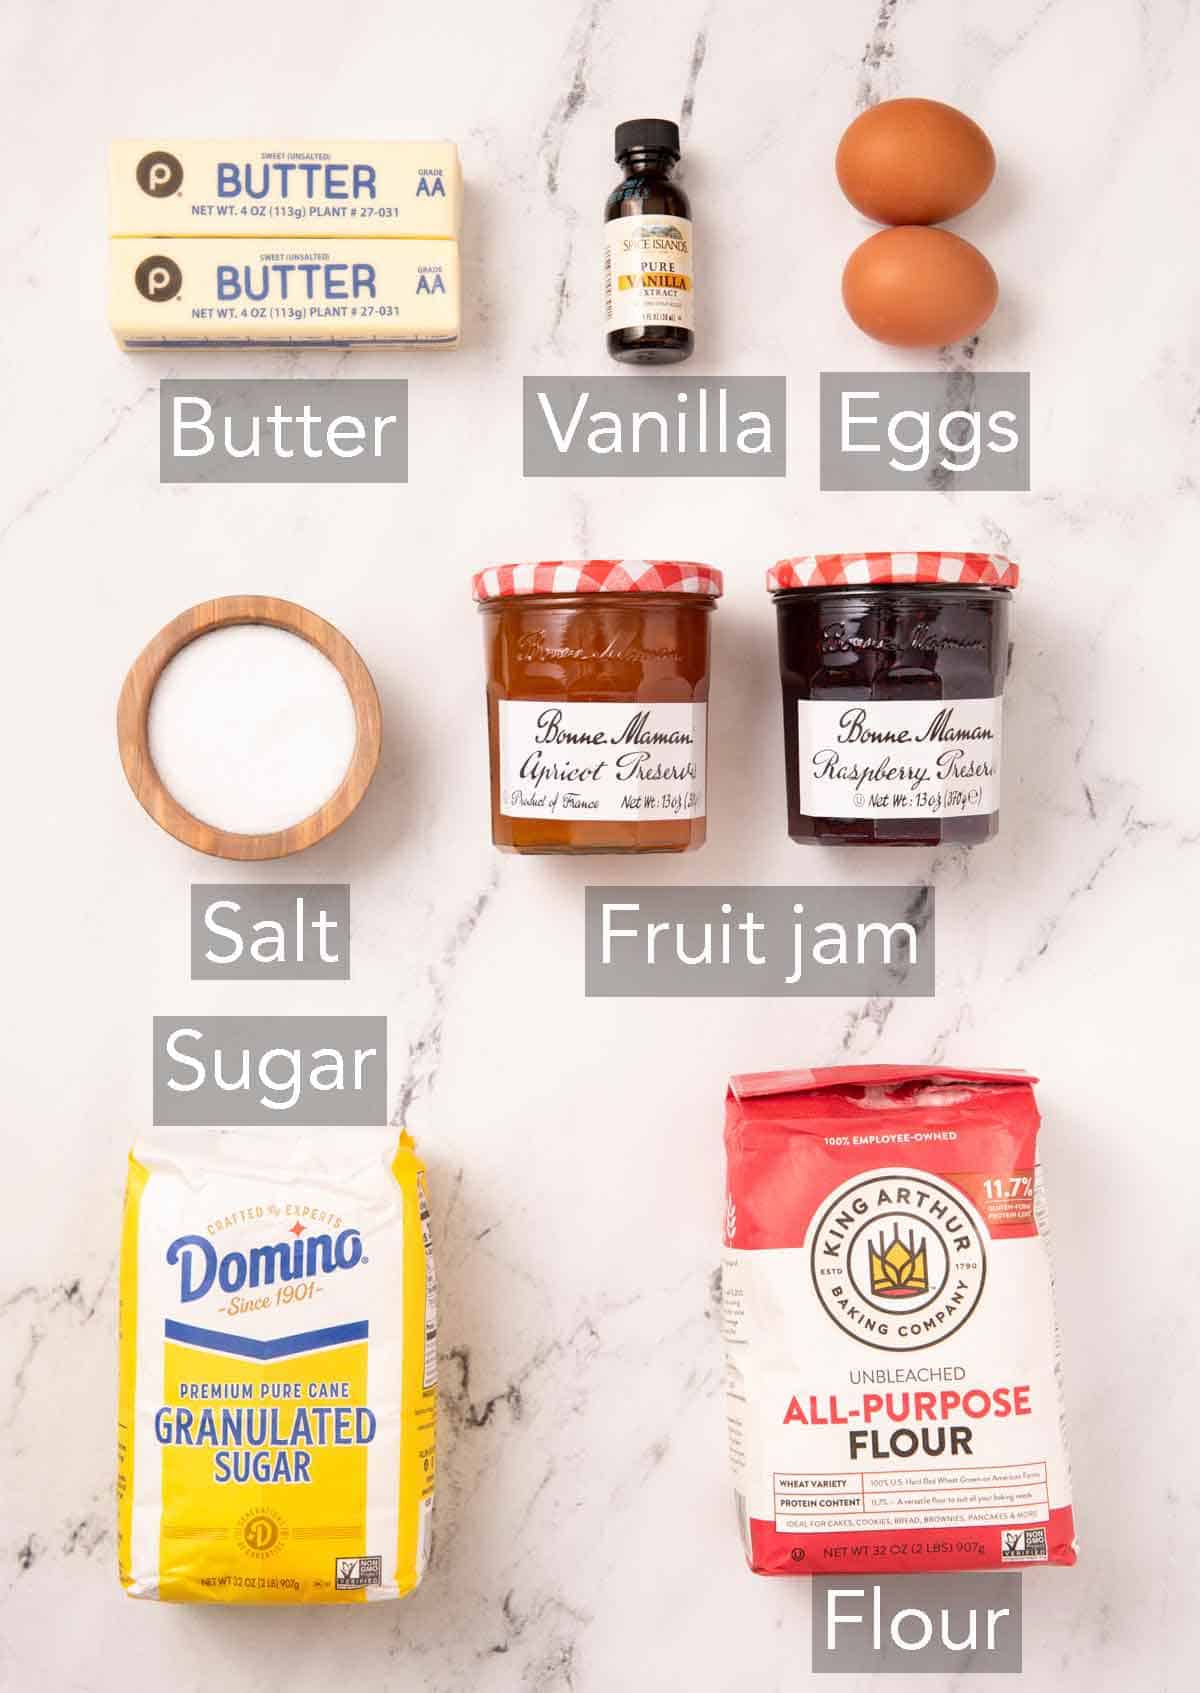
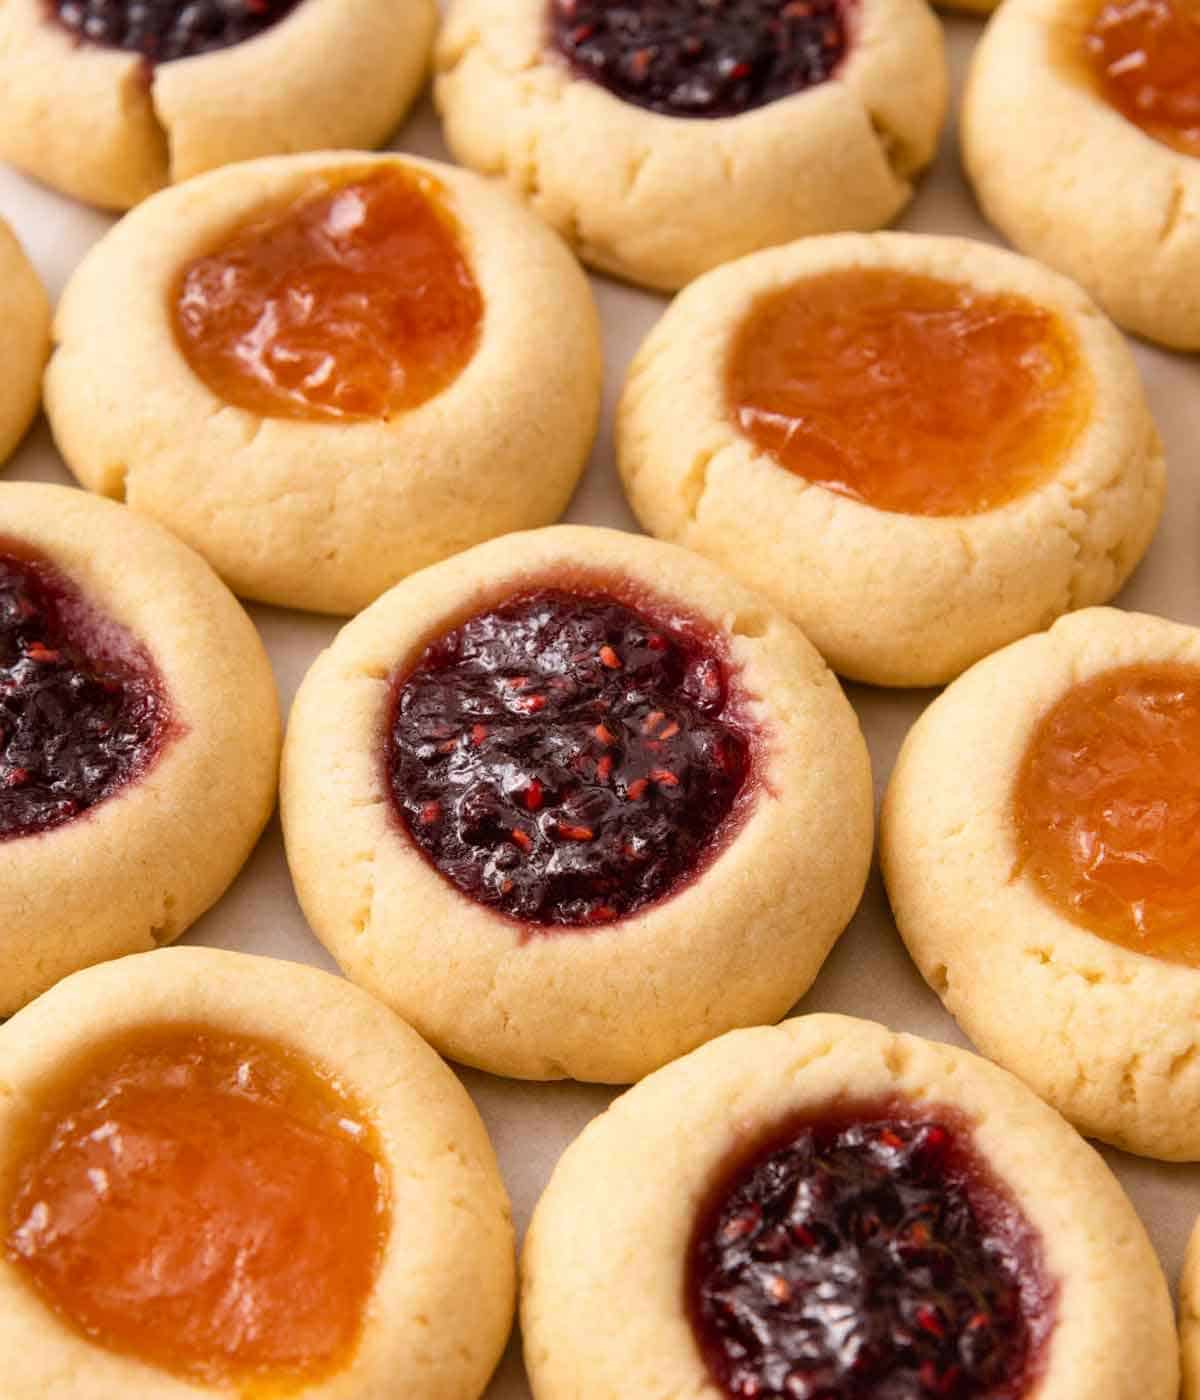
Butter — make sure to use unsalted butter to keep the thumbprint cookies from tasting salty, as the amount of salt in salted butter can vary quite between different brands. These cookies have a rich, buttery taste, so I recommend using good-quality butter. Make sure the room temperature butter is soft enough so your finger leaves a dent when you press into it. If it’s cold and firm, it’ll be challenging to cream it. Egg yolks — using just the egg yolks will give your cookies a lovely soft and chewy texture. Don’t throw the egg whites out, though! Save them for another recipe like my angel food cupcakes recipe. Vanilla — a little bit of vanilla extract goes a long way. Check out my homemade vanilla extract if you want to learn to make your own. Flour — I don’t recommend making substitutions to the flour. Stick with all-purpose flour for the best results. Jam — use your favorite jam for the filling! I like using strawberry jam, raspberry jam, or apricot jam. A whole fruit jam works a bit better than jelly.
How to Make Thumbprint Cookies
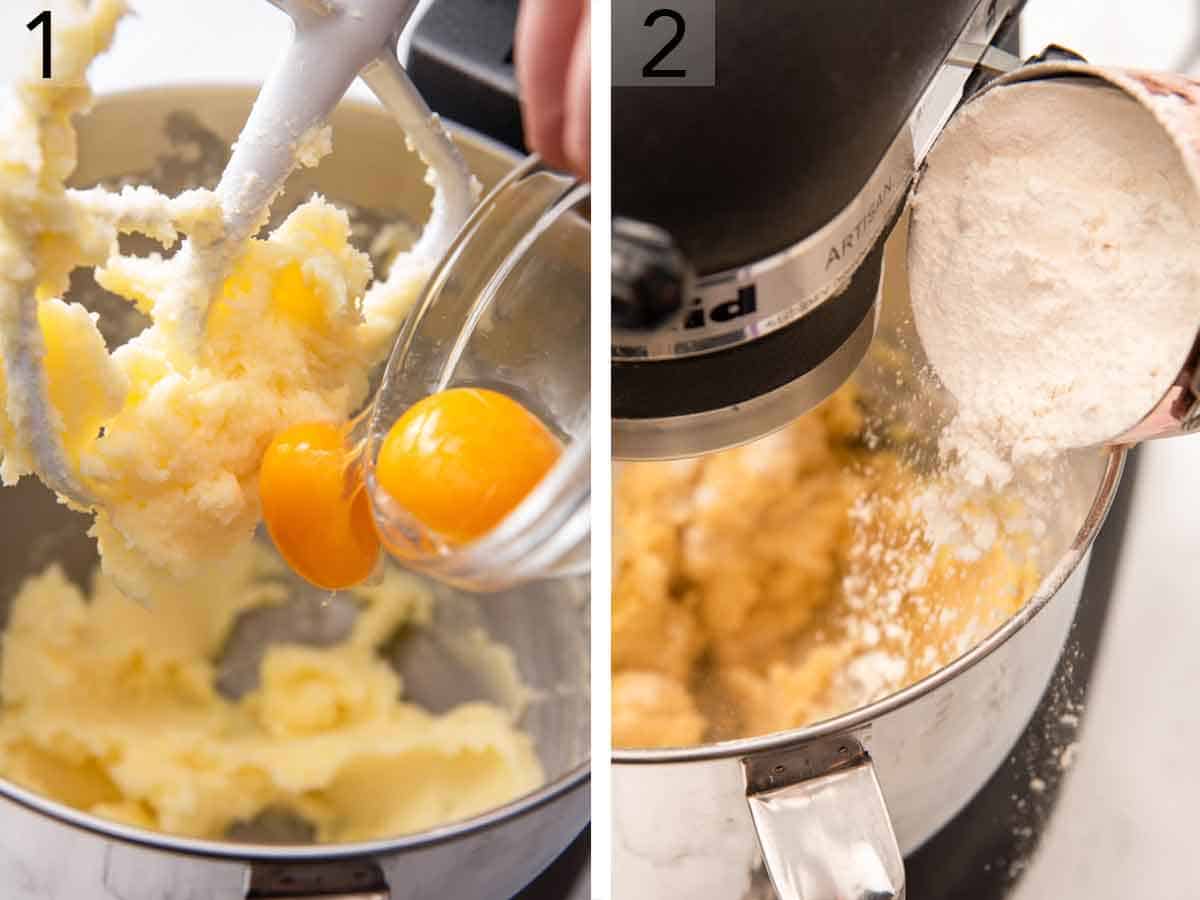
- In the mixing bowl of a stand mixer fitted with the paddle attachment, beat the butter and sugar together on medium speed until creamy. Add the egg yolks, vanilla, and salt, and beat until well combined.
- While mixing on low, gradually add in the flour and beat just until combined. Stop and scrape down the bowl as needed during mixing.
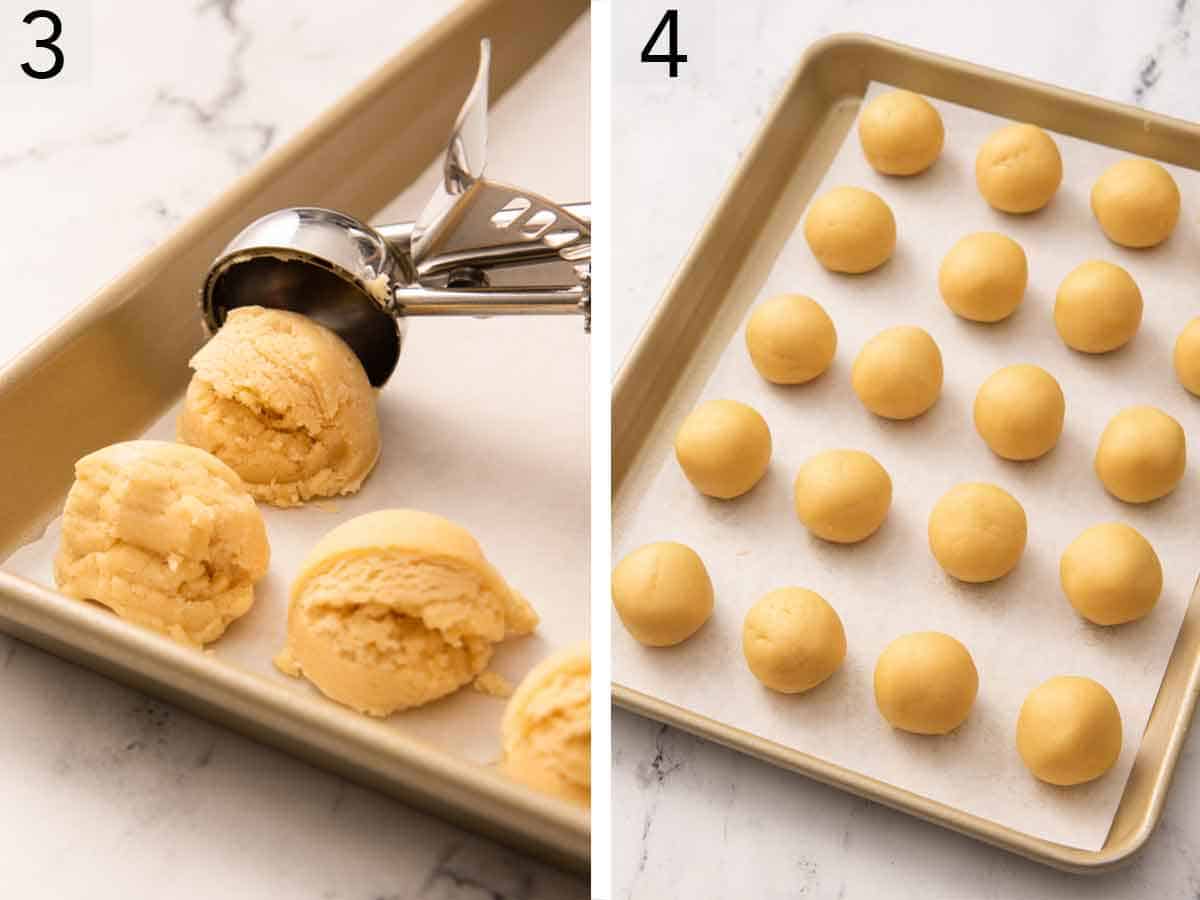
- Scoop the cookie dough into 1 tablespoon-sized balls.
- Roll the dough into smooth balls between your palms.
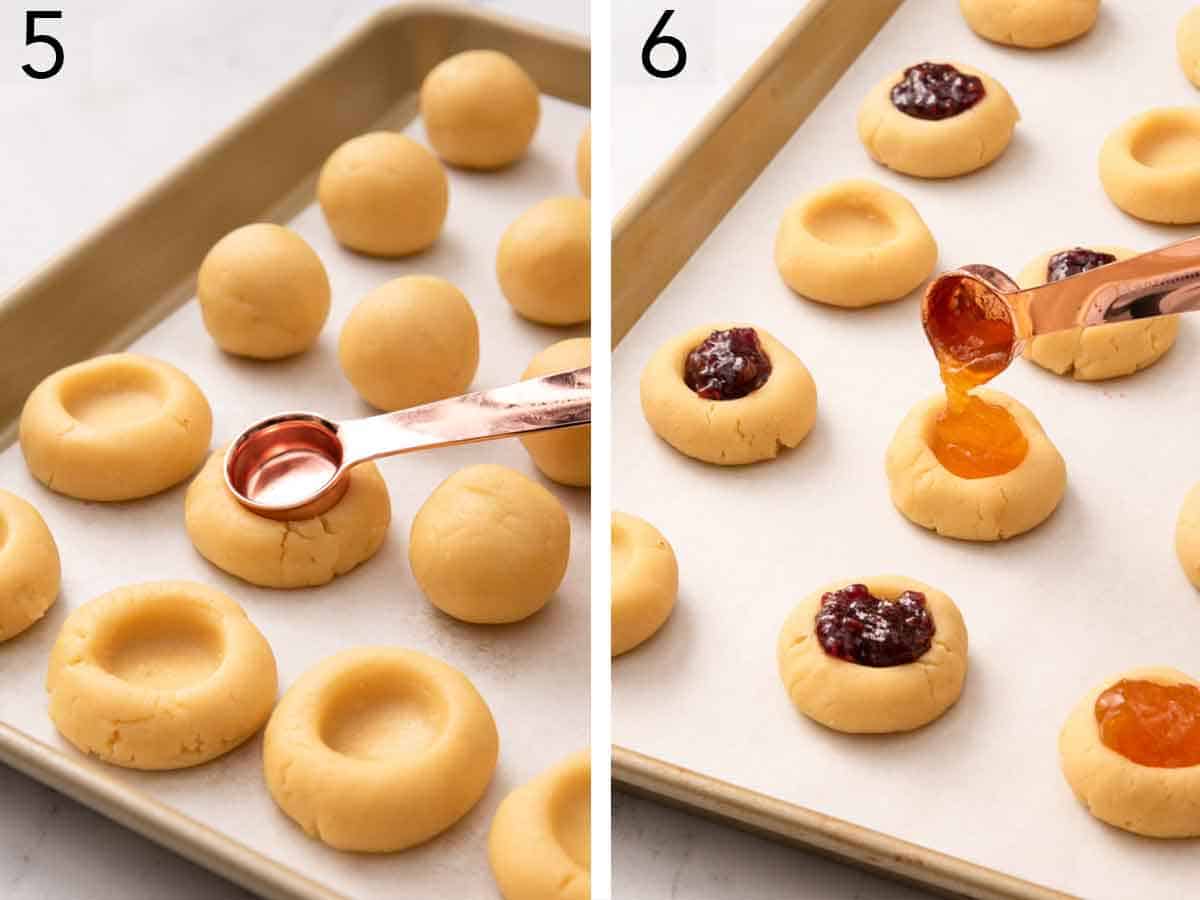
- Place on a parchment paper-lined cookie sheet or plate, and press your thumb or the back of a teaspoon into the center of each dough ball to create a cavity. Freeze for 30 minutes or refrigerate for 1 hour.
- Working with one sheet at a time, place the frozen dough on the cookie sheet 2 inches apart. Fill with about ½ teaspoon of jam. Bake cookies one sheet at a time for 12 to 14 minutes or until the edges are just starting to turn brown. Let cool completely on the baking sheet before transferring to a wire rack.
Pro Tips for Making This Recipe
For the best filling, use good-quality jams. Sugary, thin jams do not bake as well and tend to become runny. Want to change things up? Try my homemade lemon curd for the filling. If the dough cracks a bit when making the center indentation, roll the ball of dough in your palms a bit longer to warm the dough up more. Don’t skip chilling the dough. Chilling the dough will make shaping it into balls easier and hold them together so they won’t fall apart when indented. Measure your flour correctly! Adding too much flour to the recipe is the most common mistake that will yield dry and dense cookies. The best and easiest way to measure flour is by using a digital scale. If you don’t have one, fluff your flour with a spoon, sprinkle it into your measuring cup, and use a knife to level it off. If you only have one baking sheet, make sure it has cooled thoroughly before adding the second batch of thumbprint cookies to it. A cool cookie sheet will help prevent the cookies from spreading. If you’re having difficulty filling the indent with jam, you can transfer the jam to a piping bag to pipe the jam into the cookies. Be careful not to over-whip the butter and batter. Overwhipping the butter can lead to the cookies spreading, and overmixing the batter can lead to dense cookies.
If you’ve tried this Thumbprint Cookies recipe, then don’t forget to rate the recipe and let me know how you got on in the comments below, I love hearing from you!